The Best Floor Paint & How to Use It
Painting floors is a very doable DIY project, but the floor has to be clean, dull, and sound before a brush ever touches it. Most failures I see come from rushing prep, using wall paint, or moving furniture back too soon.
A quality floor paint will level more nicely than people expect, especially on wood and smooth concrete. Plan on two thin coats for the most even color and wear, even if the first coat looks covered.
Among the floor paints I trust, Benjamin Moore's INSL-X Tough Shield is my first recommendation for most wood porch, patio, and interior floor projects. It costs more than many hardware-store options, but floors are not where I try to save ten dollars. For tighter budgets, KILZ and C2 are the other two I would consider.
Below, I'll show you which paints make sense for common floor surfaces, where I would avoid paint altogether, and the prep steps that keep the finish from peeling at the traffic paths first.
Can I Paint Floors?
Yes, most floors can be painted if the surface can be cleaned, scuffed, and primed well enough for paint to grip. The real question is whether the material will hold paint after shoes, pets, moisture, and chair legs start testing it.
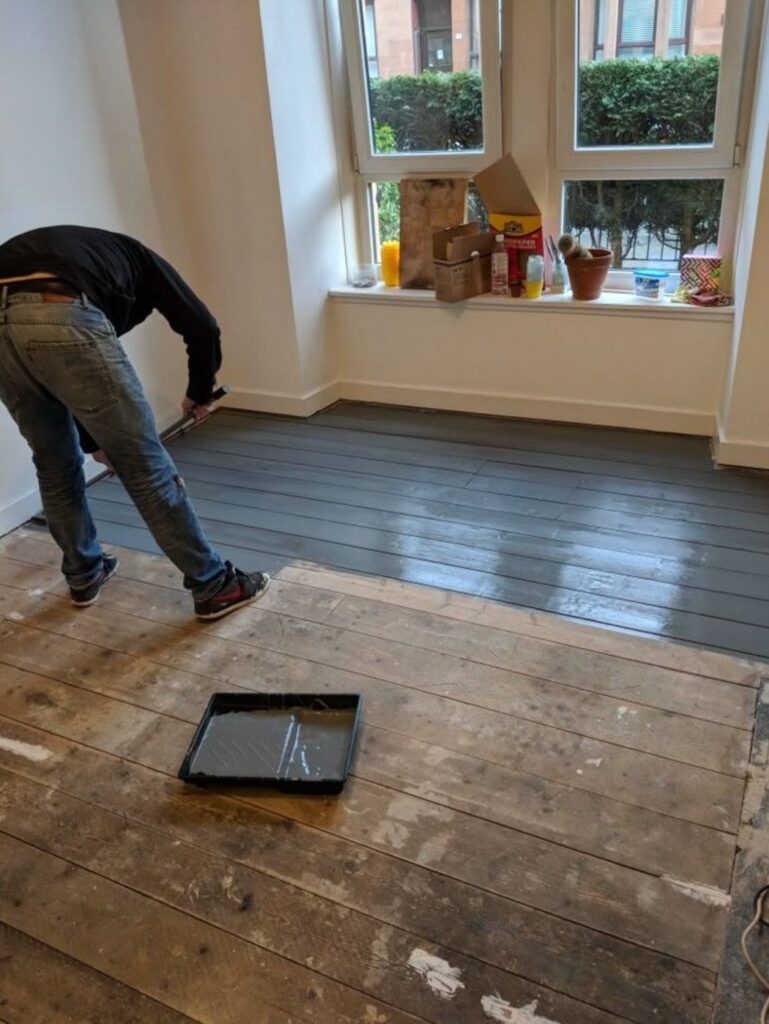
Painted wooden floors
source
Wood floors are the most forgiving surface to paint. Sand off gloss, feather any chipped edges, vacuum the seams, then prime bare or stained areas before applying floor paint. If the floor has old wax or polish on it, remove that first, because paint will not bond through a slick residue.
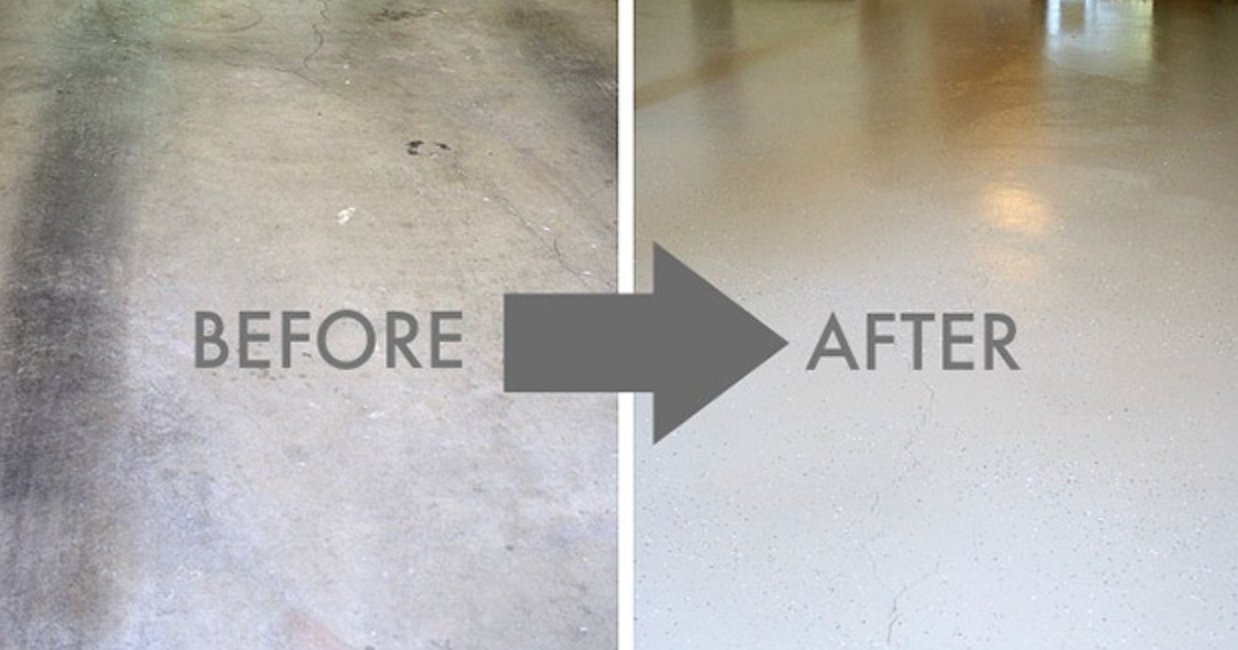
Painted garage floor
source
Concrete floors are also paintable, but they ask more from the prep. You usually need sanding or chemical etching, a masonry primer when the slab is alkaline, and enough dry time for moisture to leave the concrete. I have painted concrete in my garage that has held up for years, but only because the surface was cleaned, etched, rinsed, and dried properly first.
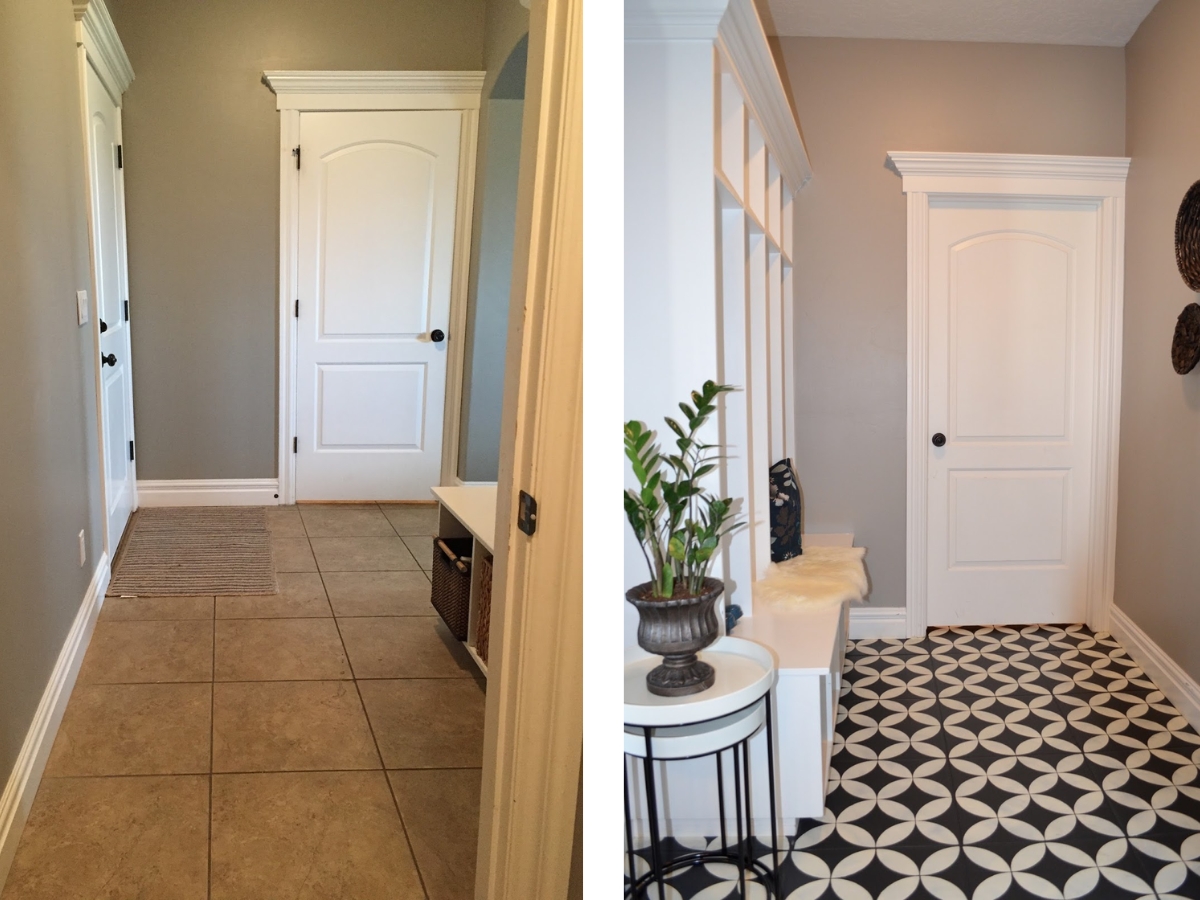
Painted ceramic tiles in the mudroom using the pattern to mimic the look of cement tiles
source
You can paint ceramic tile, especially in a mudroom, laundry room, or powder bath where replacing tile would be expensive. I wrote a detailed guide about tile paints because tile needs its own prep, primer, and curing plan.
I would not paint laminate floors. Some products claim it can be done, but laminate is too slick and too prone to edge swelling for reliable results. Even with careful prep, the paint tends to chip at seams and traffic lanes, so replacement is usually the better use of the money.
Don't try to stretch the budget by using cheap paint on a floor. Buy the best floor-rated product your budget allows.
Floors take more abuse than walls. If the coating fails, you lose time, money, and the use of the room while you sand and repaint.
Best Floor Paints and Why
1) INSL-X Tough Shield Floor Paint
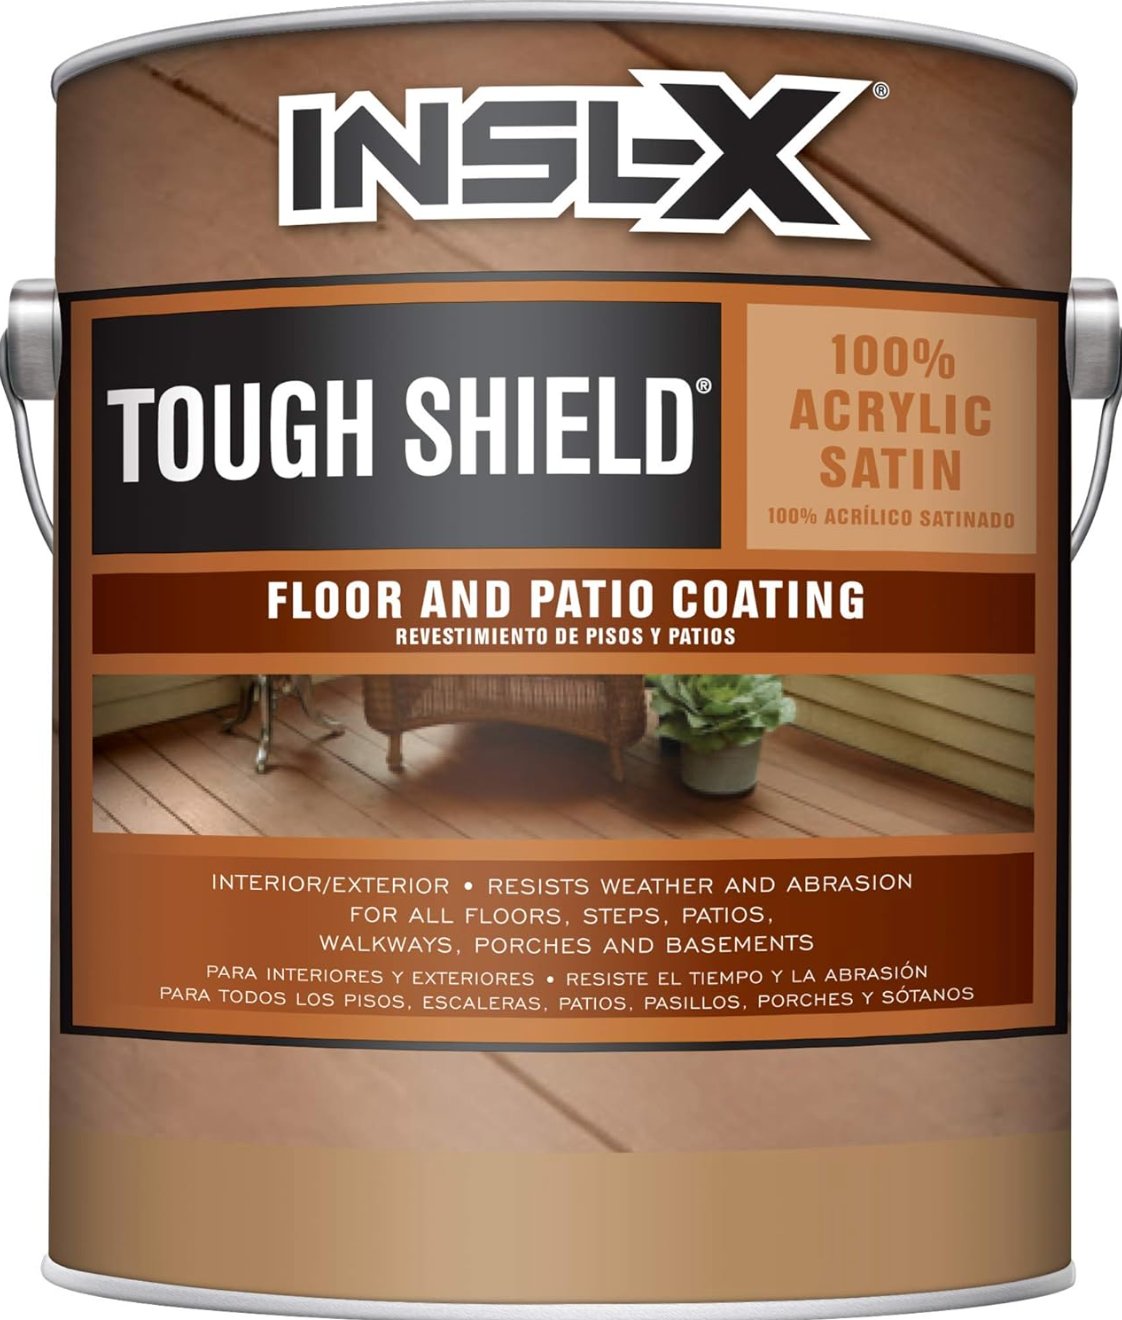
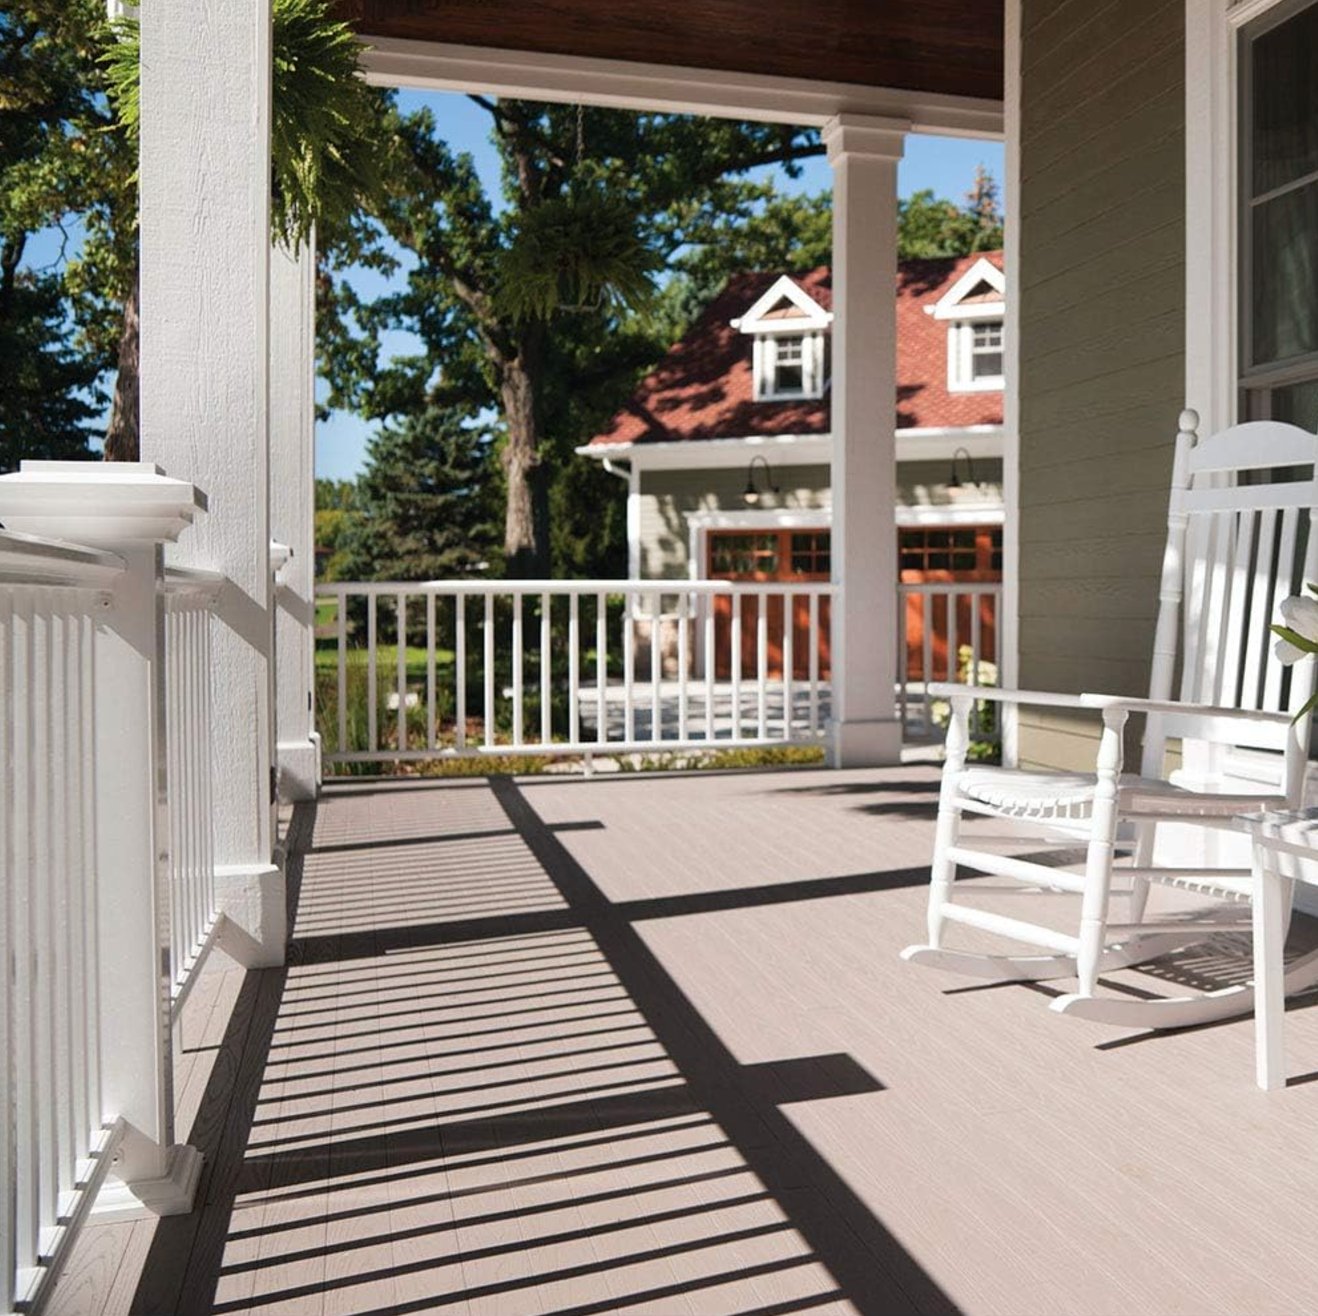
INSL-X Tough Shield is my top pick for many painted floor projects. It is an acrylic floor paint from INSL-X, a Benjamin Moore brand, and it runs about $50. I like it for interior and exterior floors where the surface is wood, concrete, or properly primed metal.
It is a water-based acrylic enamel with a satin finish, so it has enough sheen to clean without looking glossy. One gallon covers 350 to 450 square feet on a smooth surface.
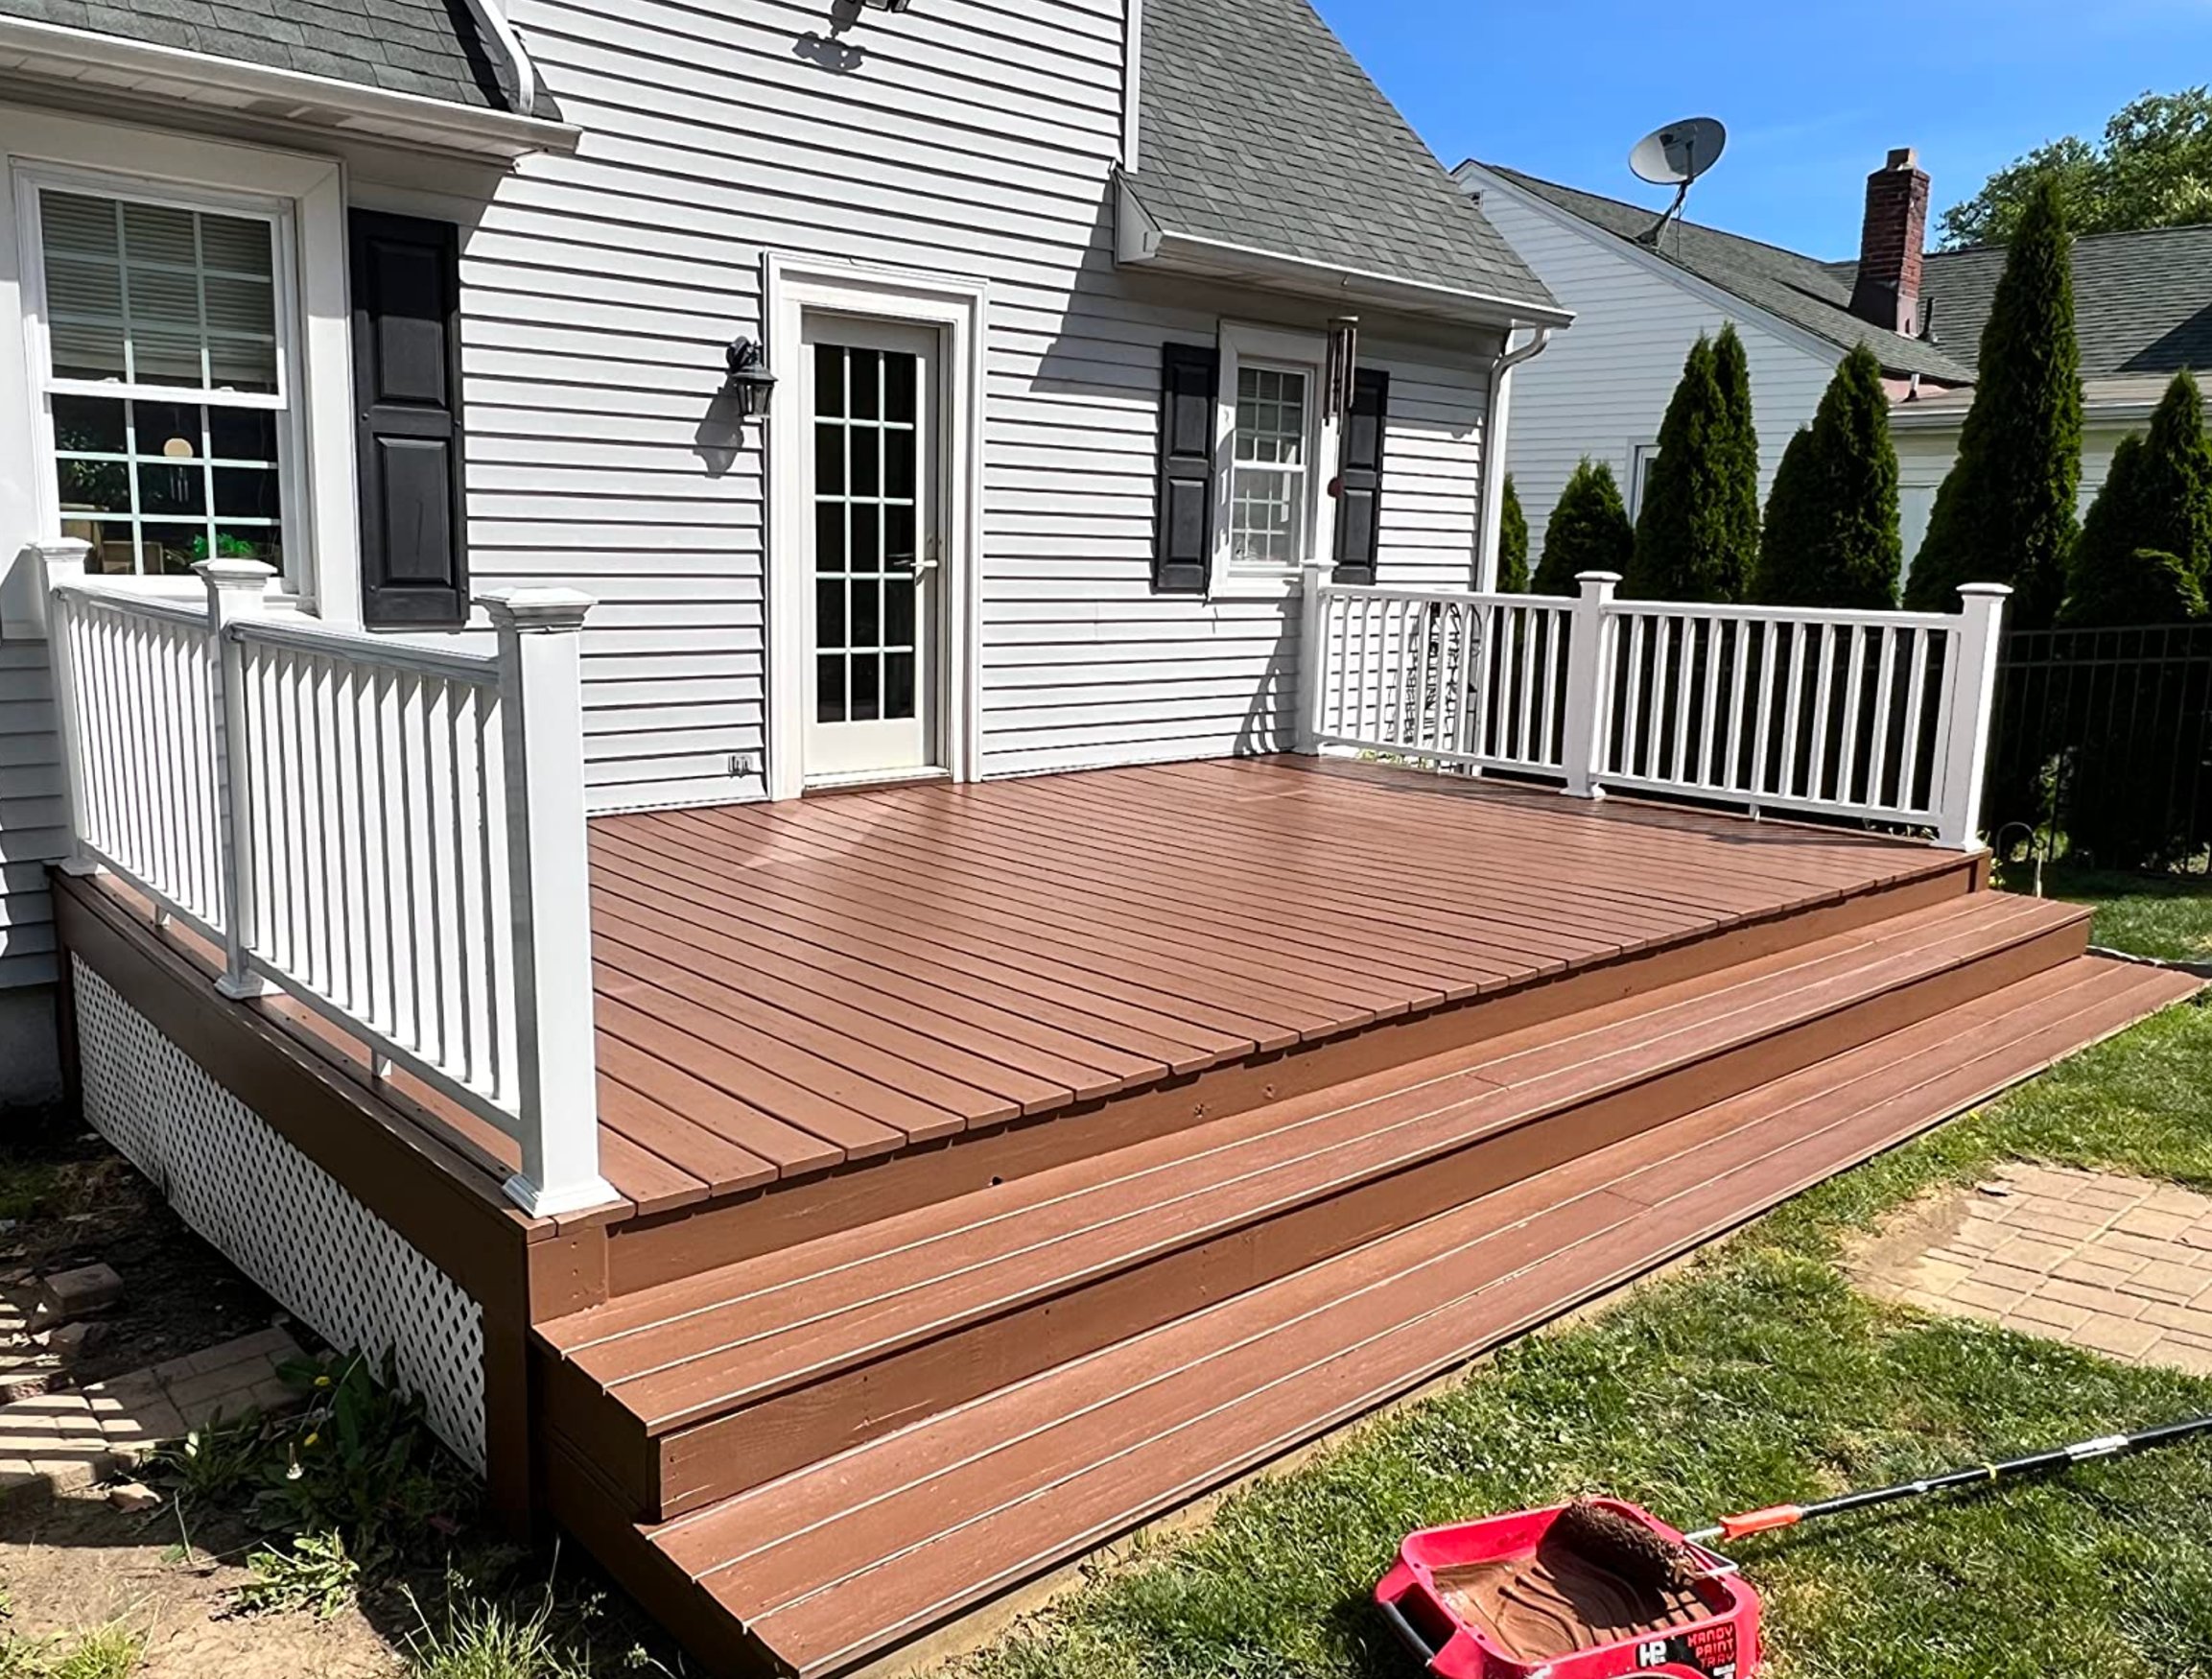
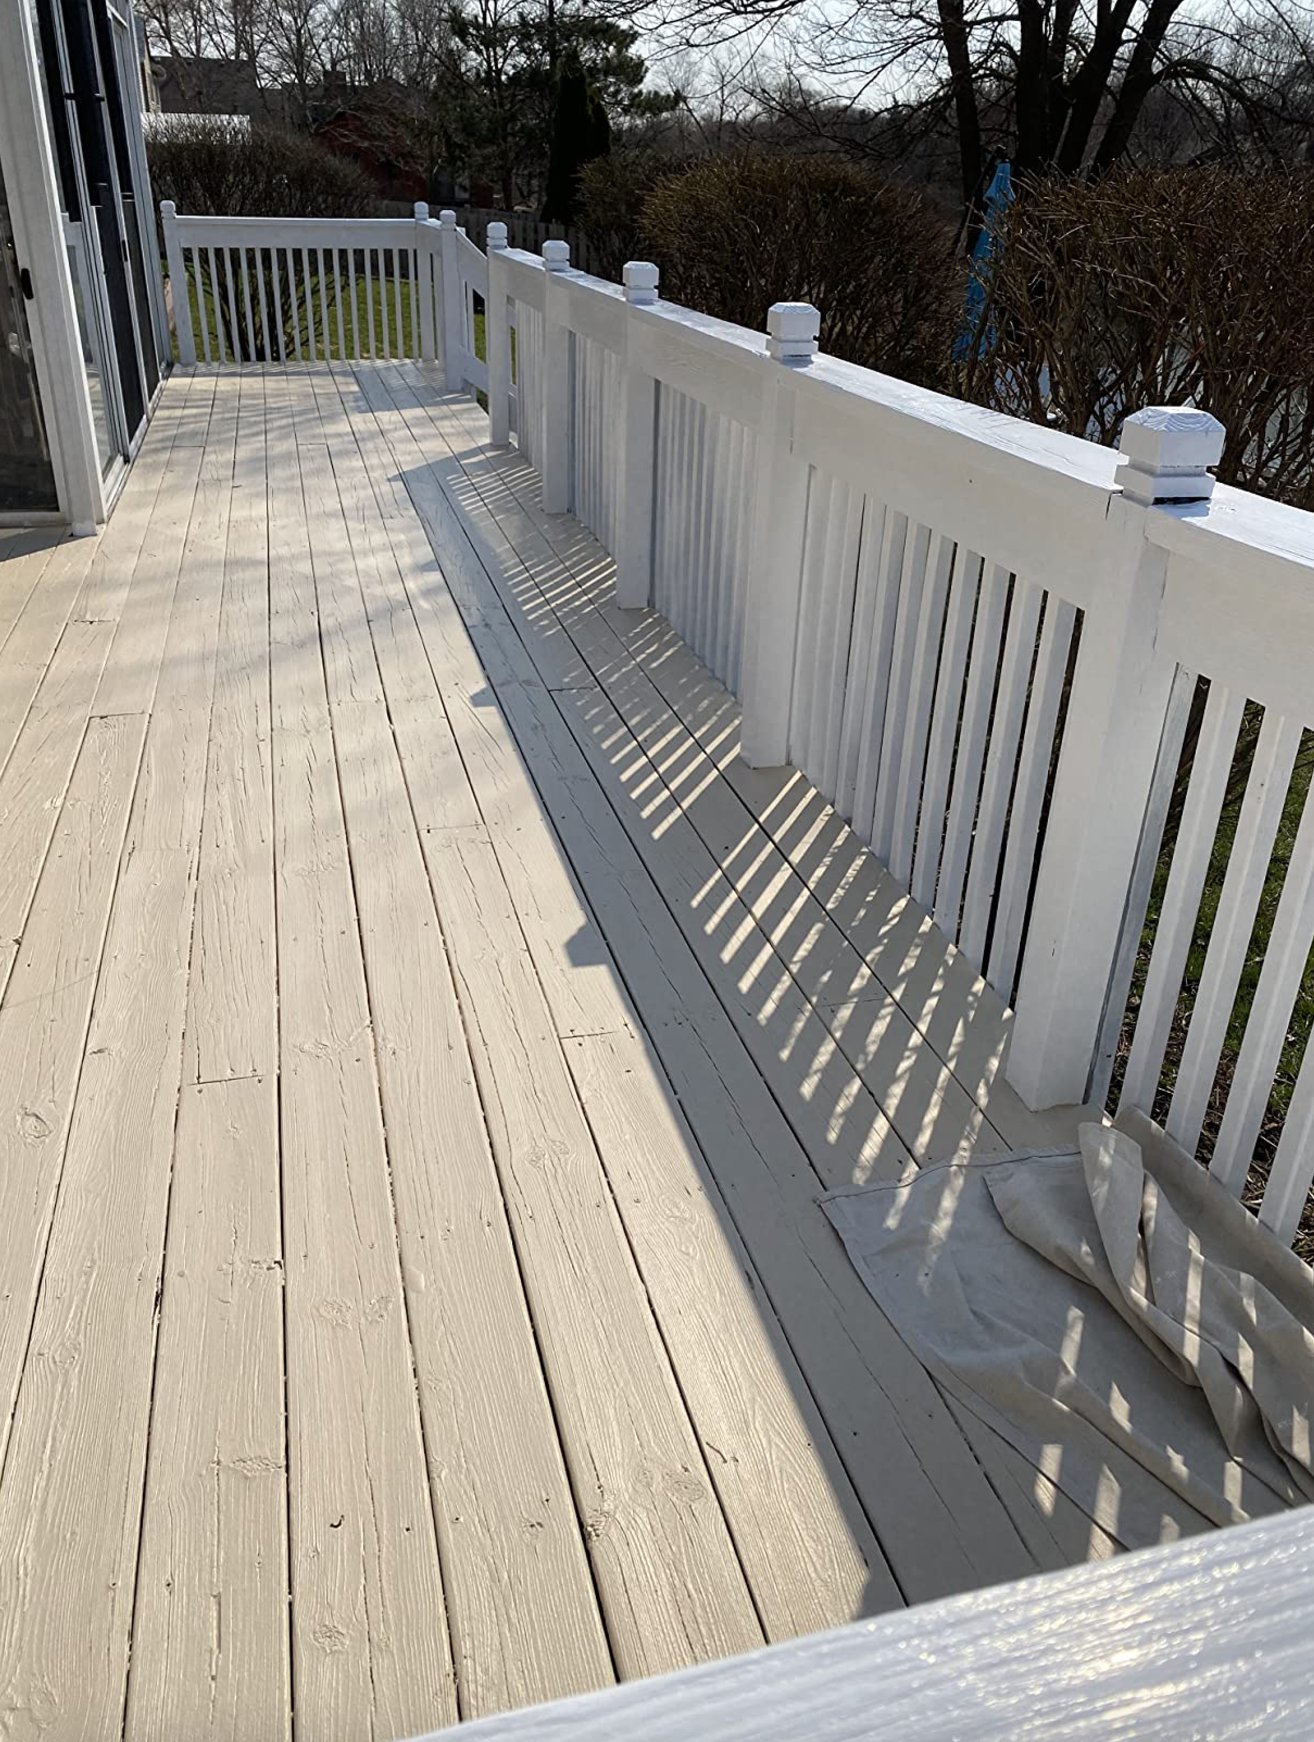
The reason I reach for this paint is durability. It stands up well to oils, cleaning products, and water, which matters in entries, porches, utility spaces, and workshops. It also rolls smoothly on concrete, wood, and metal, although metal needs primer first. The drawback is color range: you are limited to 4 colors, and white is not one of them.
INSL-X Tough Shield is not meant for garages or parking areas. Use it for porches, patios, steps, or indoor rooms instead. Darker colors usually hide dirt, scuffs, and tracked-in grit better than pale colors.
2) KILZ Enamel Latex Floor Paint

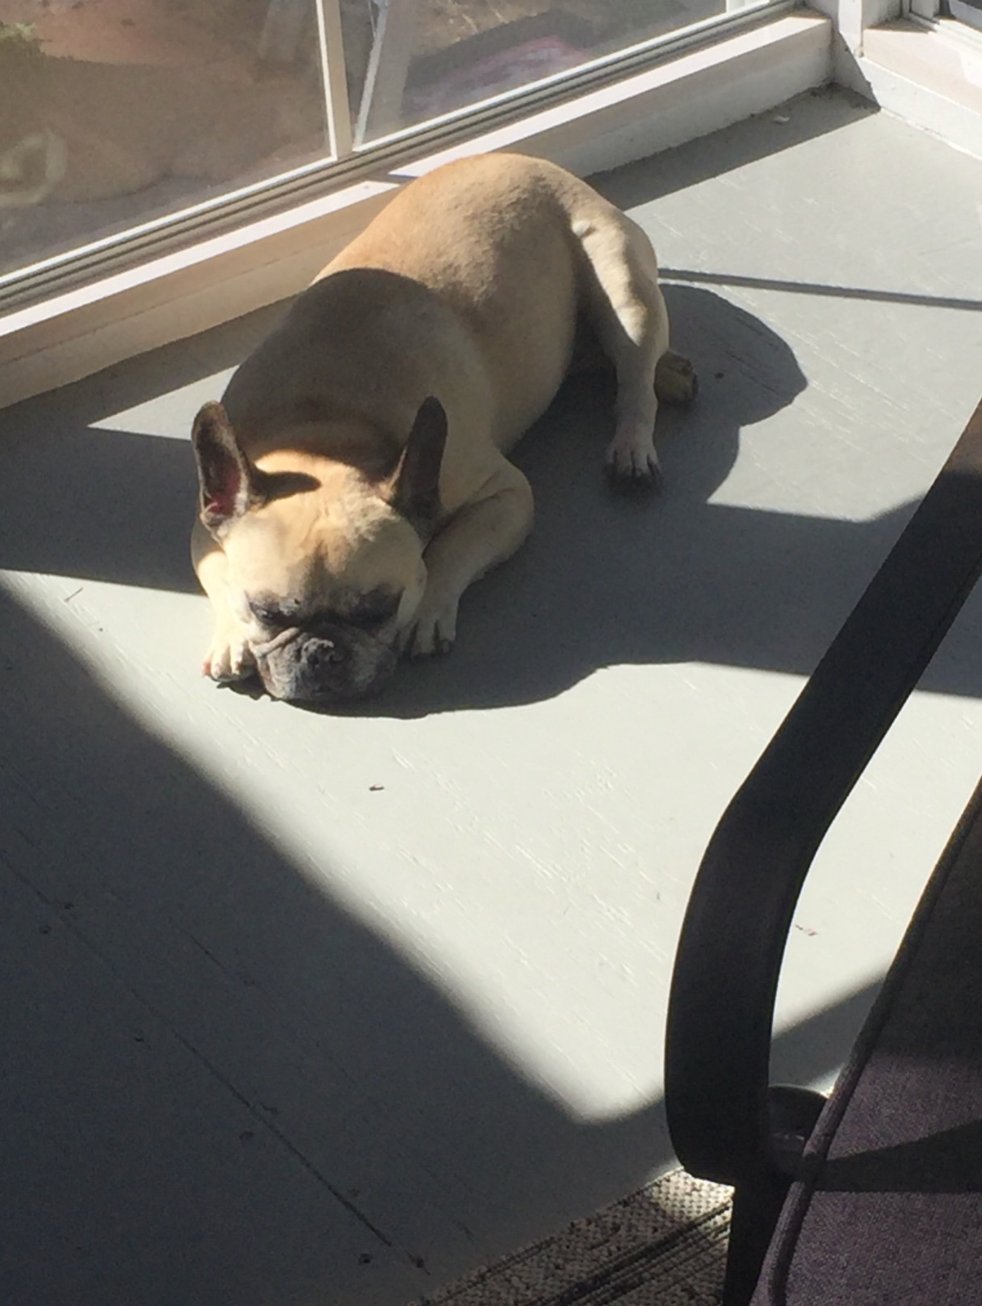
This acrylic paint comes in only two shades of gray, so the color range is limited. I would use it for indoor or outdoor projects like porches, basement utility areas, steps, and garden furniture, but not for concrete or garage floors.
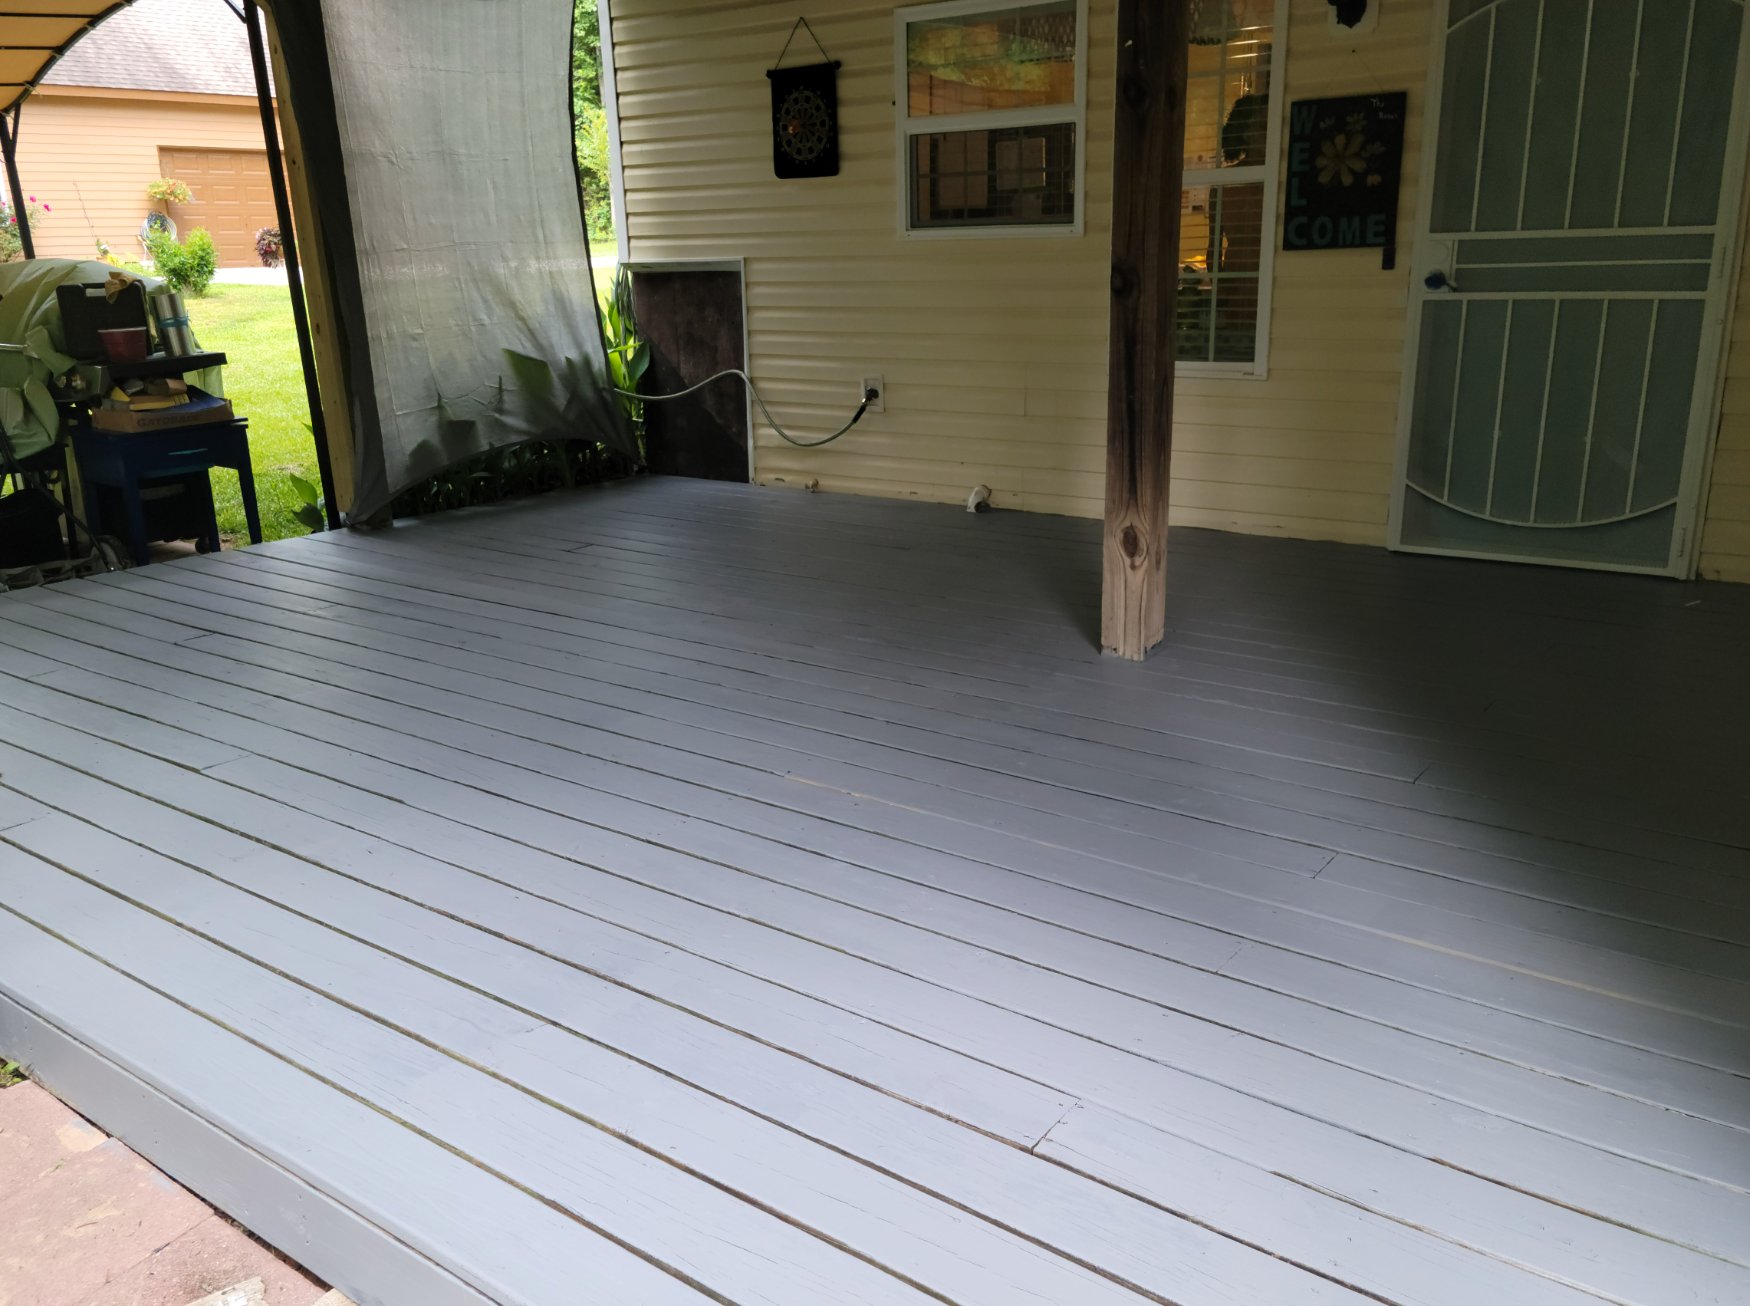
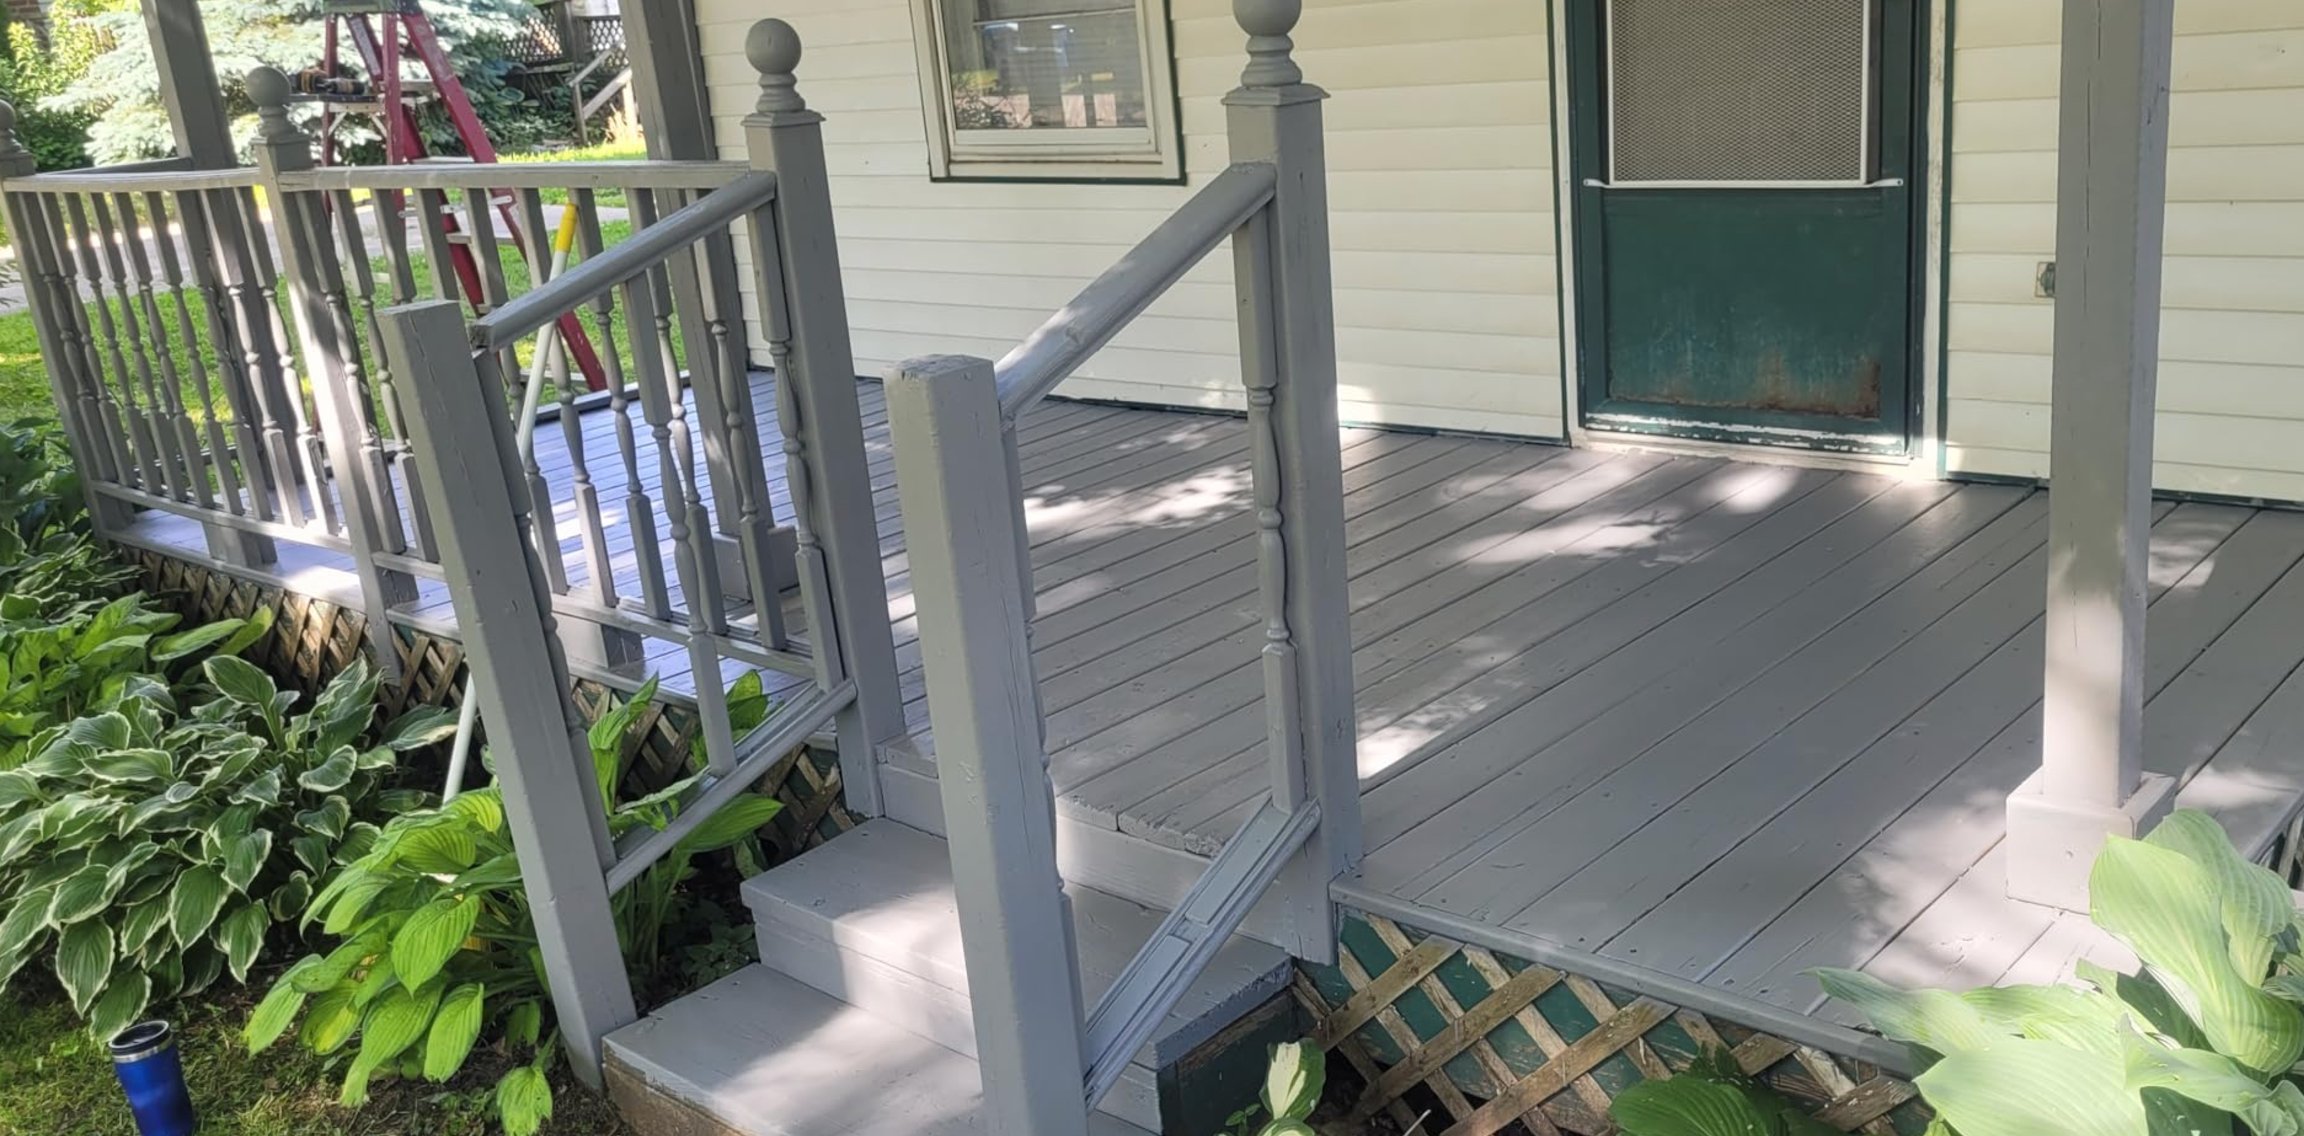
The KILZ matte finish gives you a surface that handles moisture, daily wear, and fading better than standard wall paint. Coverage is about 200 to 300 sq. ft. per gallon on smooth surfaces and a bit less on rough ones, so it does not go as far as Benjamin Moore / INSL-X.
The drying time is useful when a room has to go back into service quickly. You can walk on it after an hour, and if you need a second coat, you can add it after 4 to 6 hours.
3) C2 Cabinet & Trim Paint
C2 Cabinet & Trim Paint deserves a spot on this list even though it is not labeled as a traditional floor paint. The manufacturer says it is "also great on floors," and I have found that to be true when the floor is properly prepped.
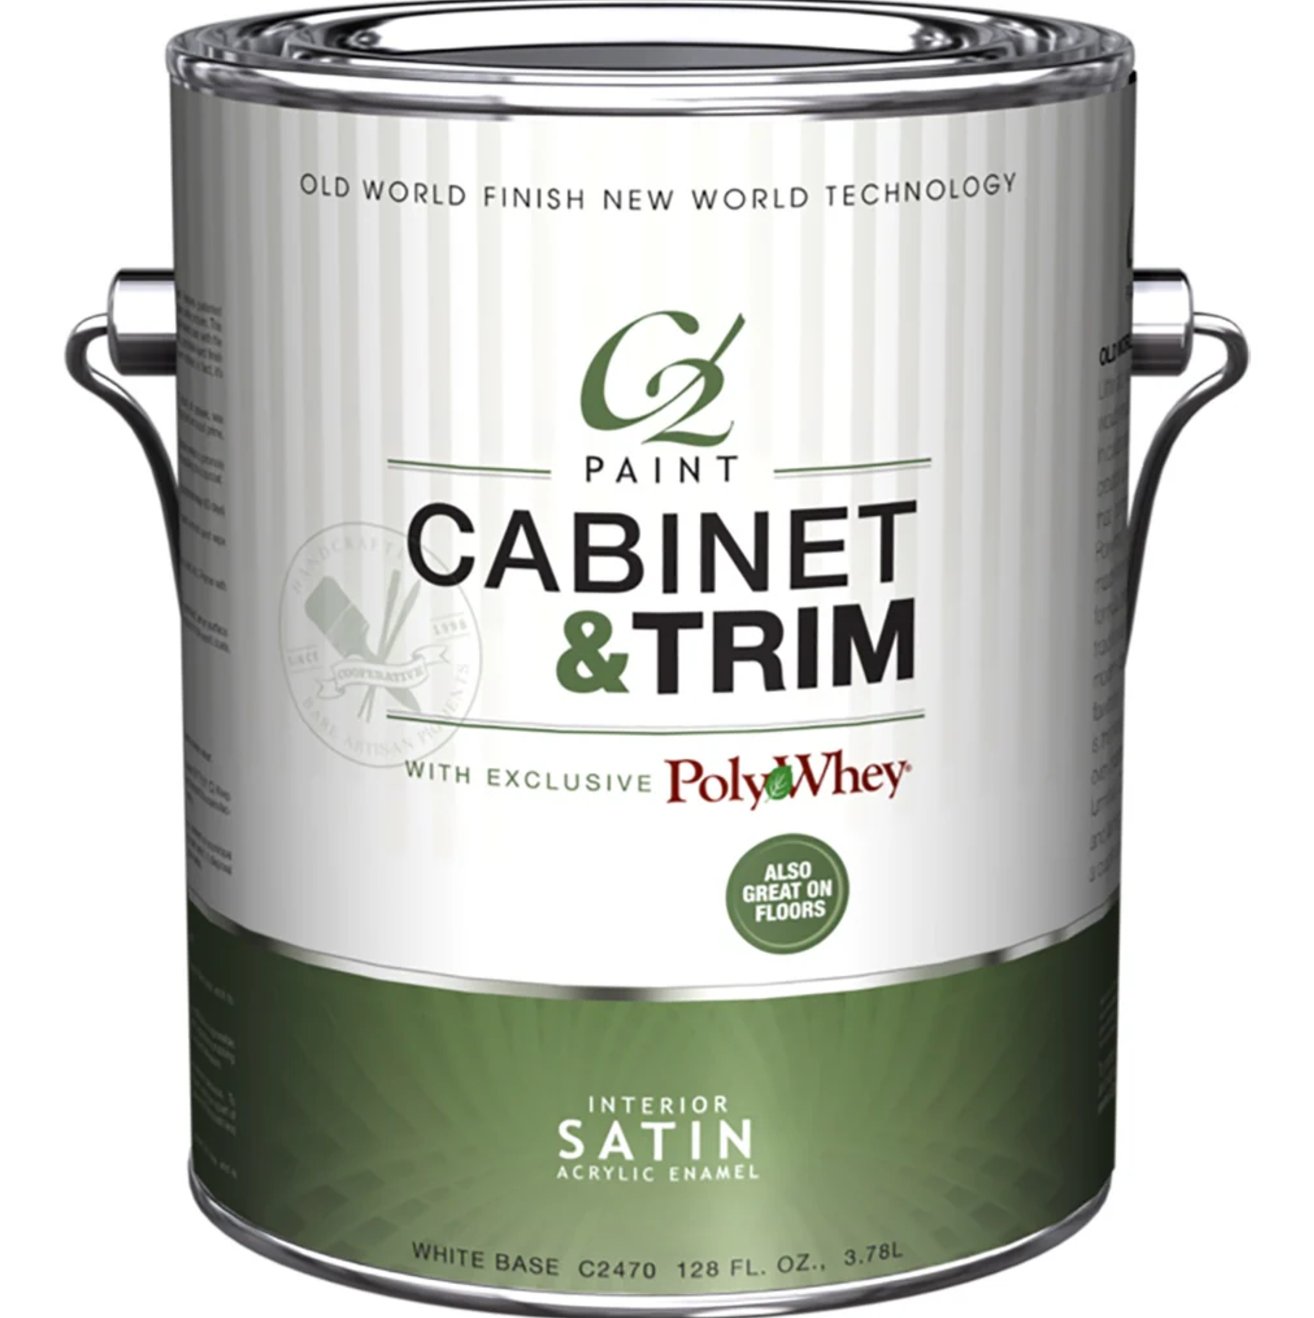
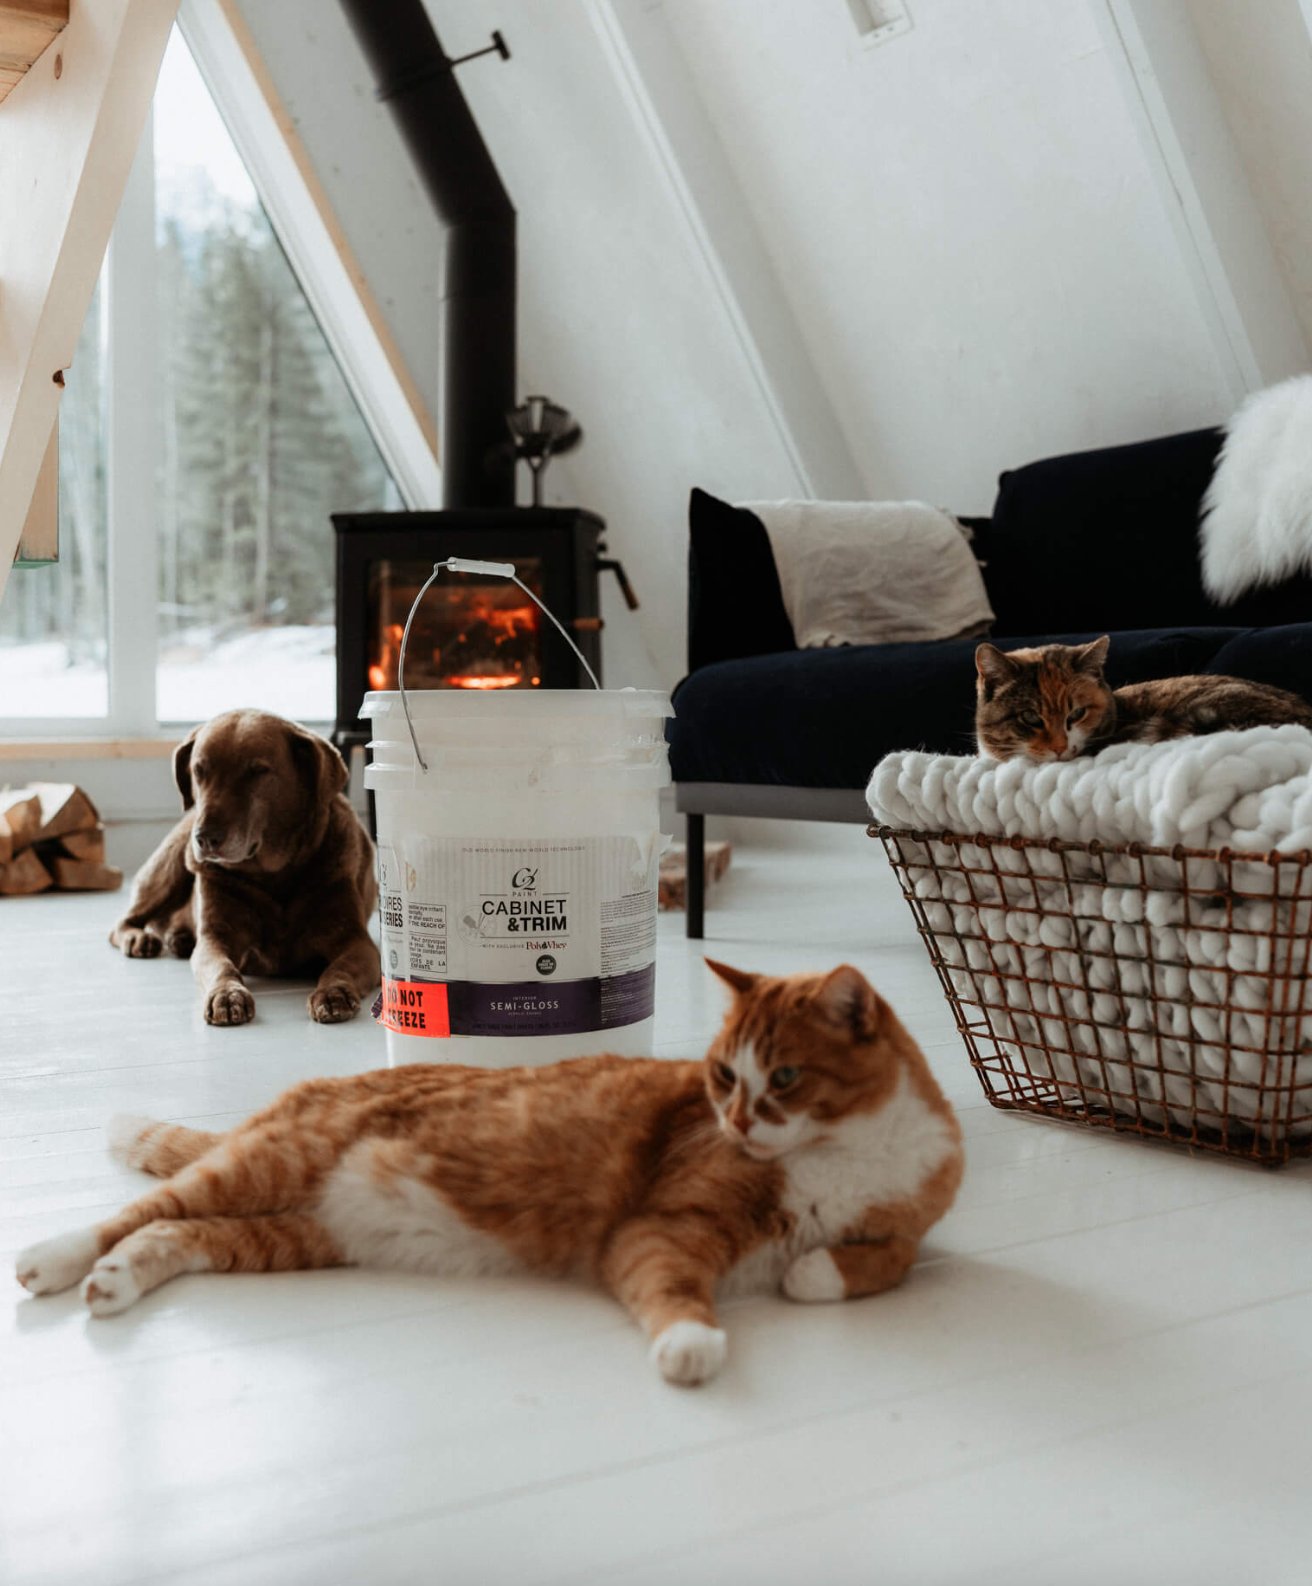
What makes it unusual is C2's patented Polywhey® technology, which uses recycled milk protein. The practical benefit is a hard, smooth coating with a lower-odor application than old oil-based trim paints. That matters when you are painting a bedroom floor, upstairs hallway, or any room where ventilation is limited.
C2 brushes and rolls smoothly, which helps on floors where lap marks are easy to spot in side light. You can technically walk on it after 30 minutes, but I usually wait 2 to 3 hours before light foot traffic.
The finished floor has a hard feel underfoot because the paint includes a built-in top coat. If you get scratches or worn spots, touch-ups are straightforward. Let the repair dry for a day, and the patched area usually blends well because the color holds consistently.
How to Paint Floors
Prep work:
- Make a room plan before opening the can. If you can't clear out all the furniture, break the room into sections and leave yourself a path out. Cover anything valuable with plastic sheets and secure them with green painter's tape. Skip the brown tape because it often leaves sticky residue.
- Plan for the return trip too. Keep old blankets or cardboard nearby for sliding furniture back without scraping the new finish. Paint can take a few months to fully cure, especially in cool weather, so treat the floor gently even after it feels dry.
- Prep until the floor is clean, dull, and stable. Strip off any peeling paint and sand rough spots, starting with coarse grit and working your way to medium. For leveling, use floor compound. For cracks, use the right sealant, injection type for large cracks and cement-based sealant for smaller ones.
- Clean more than once. Start at the spot where you'll finish painting. Vacuum first, mop second, then wipe corners and baseboard edges by hand. Dust left on the floor becomes grit in the paint and can create weak spots later.
- Treat concrete as its own surface. You'll need to rough it up by sanding or etching. I use eco-friendly etching products when possible because they are safer to handle. After etching, rinse the slab at least 2 to 3 times and let it dry fully.
- Some surfaces absolutely need primer. Alkaline floors, especially fresh concrete, need a special masonry primer to create a barrier between the floor and the paint. And if you're working with new concrete, give it at least a month to dry before you start.
Now for the painting itself:
- Map out your exit first. Start at the far end of the room and work toward the door. Check closets, alcoves, and stair landings before you begin so you do not trap yourself behind wet paint.
- Cut in the edges and corners first. A good brush works just as well as tape for this if you have a steady hand. Avoid bargain brushes because loose bristles are hard to remove cleanly once they land in floor paint.
- Use a roller for the main field. I like a 3/8-inch roller nap for most smooth floors. Pour a small ribbon of paint directly onto the floor, spread it evenly, then reload before the roller starts to drag. A telescopic roller handle keeps pressure more even and saves your back.
- Give each coat the dry time it needs. You can usually walk around in socks the next day, but the paint is still soft. If you are doing a second coat, stay within the product's recoat window so the layers bond well. Check the floor in strong side light before deciding the first coat is finished.
- Test the finish before bringing furniture back. Press a fingernail into an inconspicuous spot. If it leaves a mark, give the floor more time. When furniture goes back, use pads or temporary boards to spread the weight instead of loading everything onto narrow legs.
- Use a clear coat only when it solves a real problem. In my experience, it can extend the life of the floor, but it also makes future repainting more work. I usually reserve clear coat for floors with decorative chips or areas that need extra abrasion resistance.

I'm Elizabeth, your go-to guide for all things paint and design! My days are filled with color swatches and innovative room makeovers. When I'm not painting the town - literally - I'm soaking up inspiration from my travels. This blog is my way of sharing my passion and making the world a more vibrant place, one color palette at a time.