What's the Best Paint for Pressure-Treated Wood?
The best paint for pressure-treated wood is a high-quality exterior water-based latex paint, used over an exterior primer after the lumber has dried. The drying part matters more than the brand name on the can. Pressure-treated boards often look ready long before they are ready to hold paint.
The treatment chemicals help protect the wood from rot and insects, but the process leaves the lumber with extra moisture inside. If you seal that moisture under primer and paint, the coating can blister, peel, or lift in strips. I see this most on deck railings, fence boards, stair stringers, and porch framing that was painted right after installation.
Use the right coating system, test the moisture, and give each coat proper dry time. That is what separates a tidy paint job from one you are scraping off next season.
What Makes a Great Paint for Treated Wood?
Water-based latex paint is your best bet for treated wood. It moves better with the lumber as humidity changes, which is important on exterior boards that swell and shrink. Oil-based paint can get too rigid on this surface and is more likely to crack or flake when the wood is still settling.
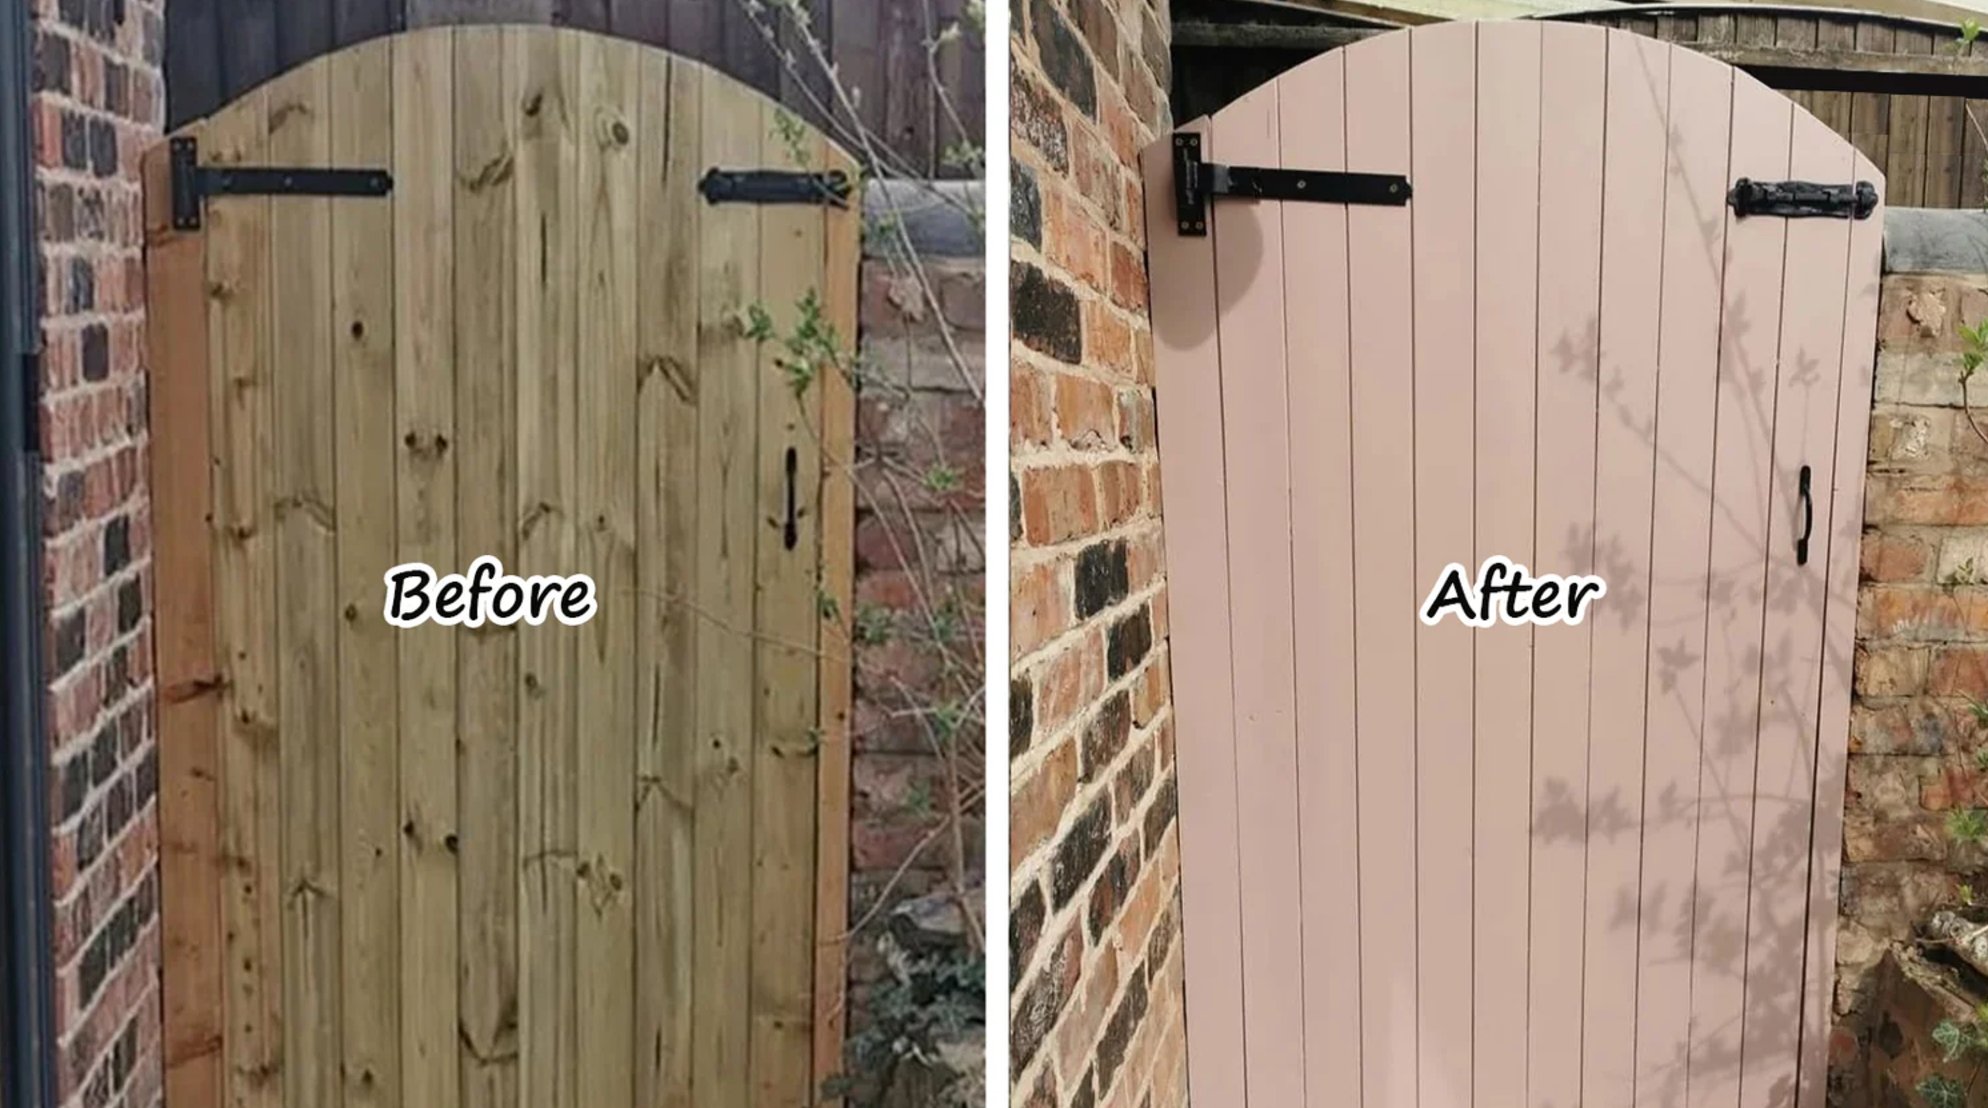
Good paint for treated wood must handle UV exposure, rain, and temperature swings. For outdoor work, choose a product labeled "exterior" and check that it is made for wood siding, trim, fences, or similar surfaces. Interior wall paint is not built for this kind of movement or weather.
Coverage matters, but thick paint is not the answer. Two even coats bond better than one heavy coat, especially on rough grain, knots, cut ends, and fastener marks. Brush paint into end grain and seams first, then roll the broad faces so the coating does not bridge over gaps and split later.
Best Primer & Paint for Pressure-Treated Wood
For pressure-treated wood, use an exterior primer that bonds to wood and resists tannin bleed, then follow with exterior latex paint. The primer is not optional on bare treated lumber. It evens out porosity, gives the topcoat a better grip, and helps prevent blotchy color on boards that absorb paint unevenly.

For primers, I like Rust-Oleum ZINSSER Bulls Eye 1-2-3 because it is versatile and works indoors or out. It dries in about 35 minutes, and one coat is usually enough on clean, dry lumber. It can be applied in temperatures as low as 35°F, which helps on cool spring or fall projects. A quart covers roughly 100 square feet.
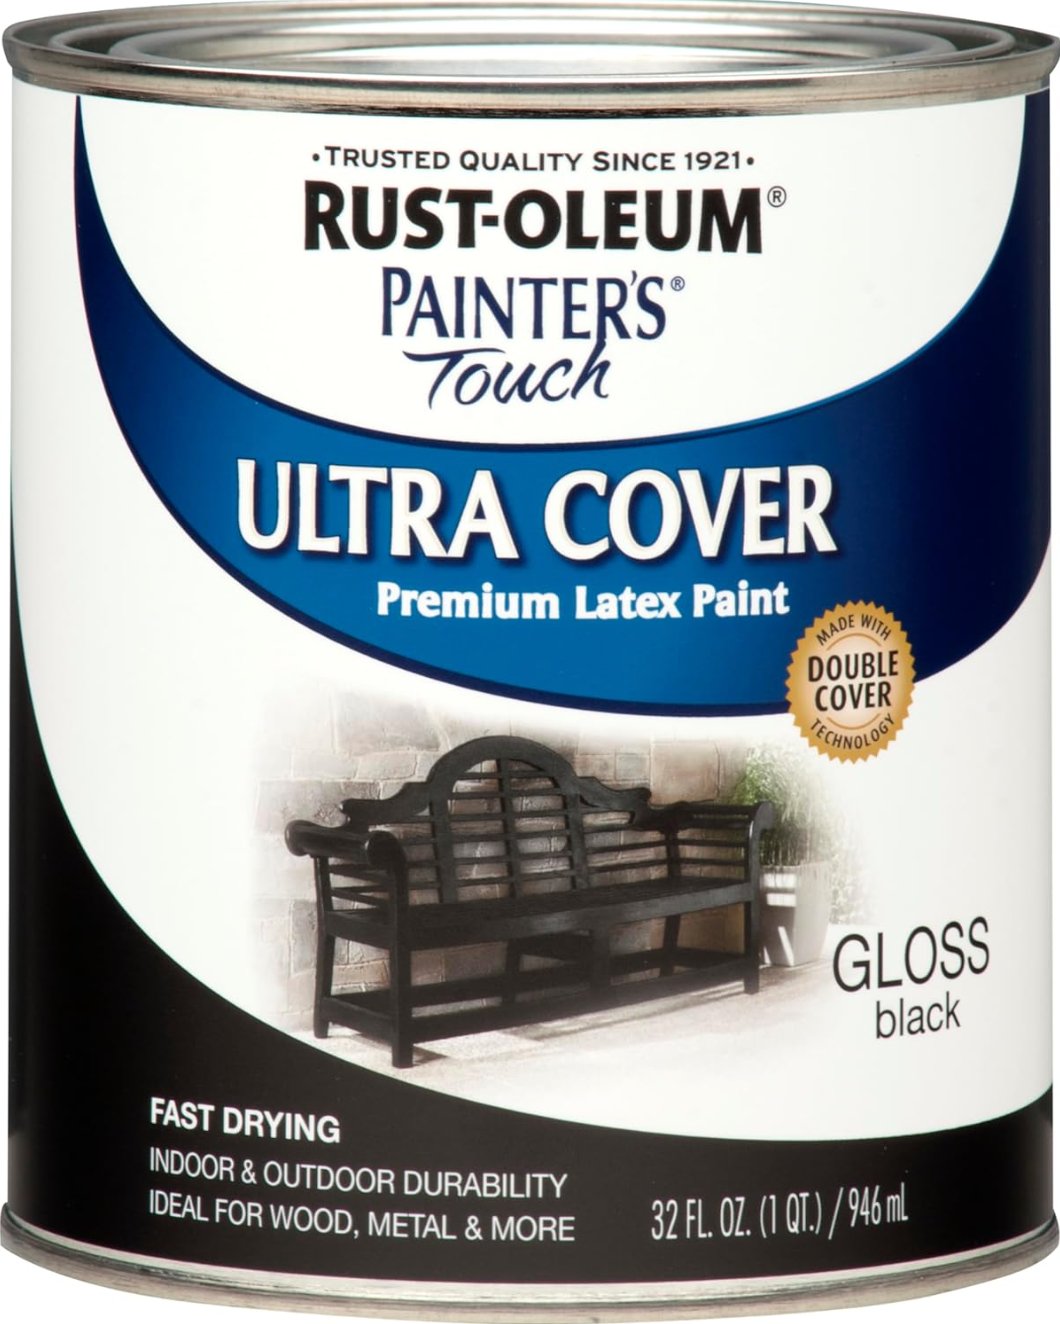
If you are watching your budget, Rust-Oleum Painter's Touch Latex Paint is a solid choice for smaller projects. It goes on smoothly, dries in 30 minutes, and covers about 120 square feet per can. I would use it on a gate, small bench, planter, or repair area before choosing it for a large fence line.

For a higher-end finish, Benjamin Moore is worth considering. Their Regal Select Exterior High Build is useful on rough or uneven surfaces because it can be applied up to 20 mils and helps hide small cracks. I still would not use thickness to cover poor prep. Loose fibers, dirt, and damp wood need to be dealt with first.
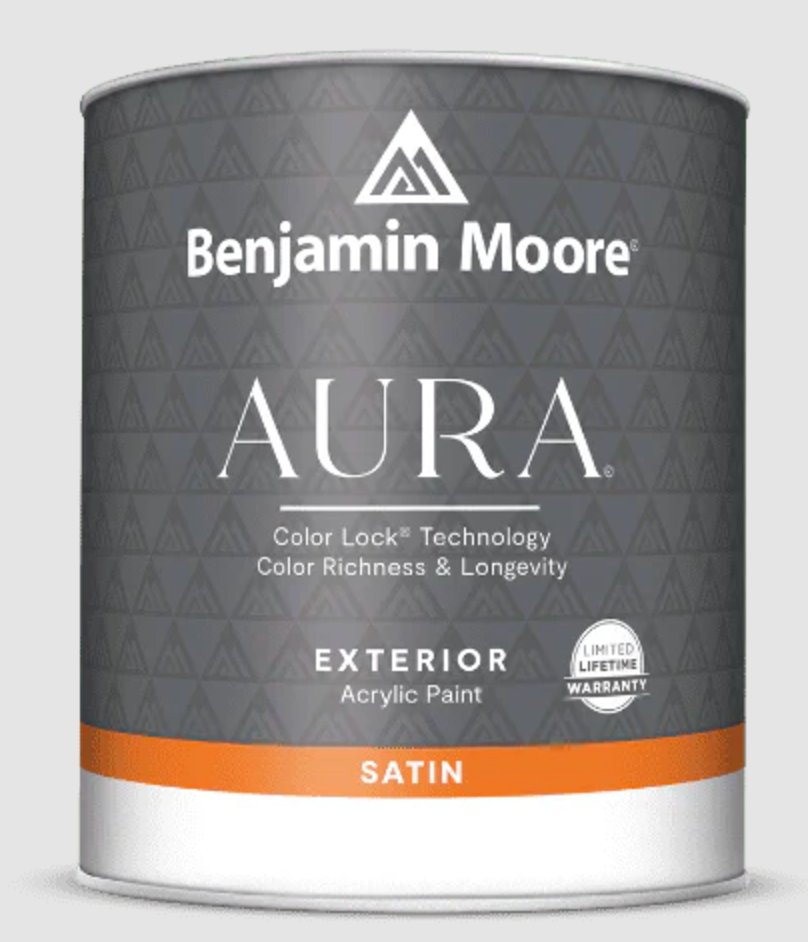
If color retention is the priority, Aura Exterior Paint with Color Lock® technology is the stronger pick. It costs more, so I reserve it for highly visible work like front porch railings, gates, trim, and painted fencing near the house.
How to Paint Pressure-Treated Wood
Painting pressure-treated wood is mostly a prep job. Do not start until the surface is clean, dry, and dull enough for primer to grab. Work on a mild, dry day and avoid painting in direct hot sun, because fast surface drying can leave a weak bond underneath.
Tools & Materials:
- Stiff-bristled brush
- Mild cleaner
- Paint roller (3/8-inch nap)
- 4-inch paintbrush
- Exterior primer
- Latex exterior paint
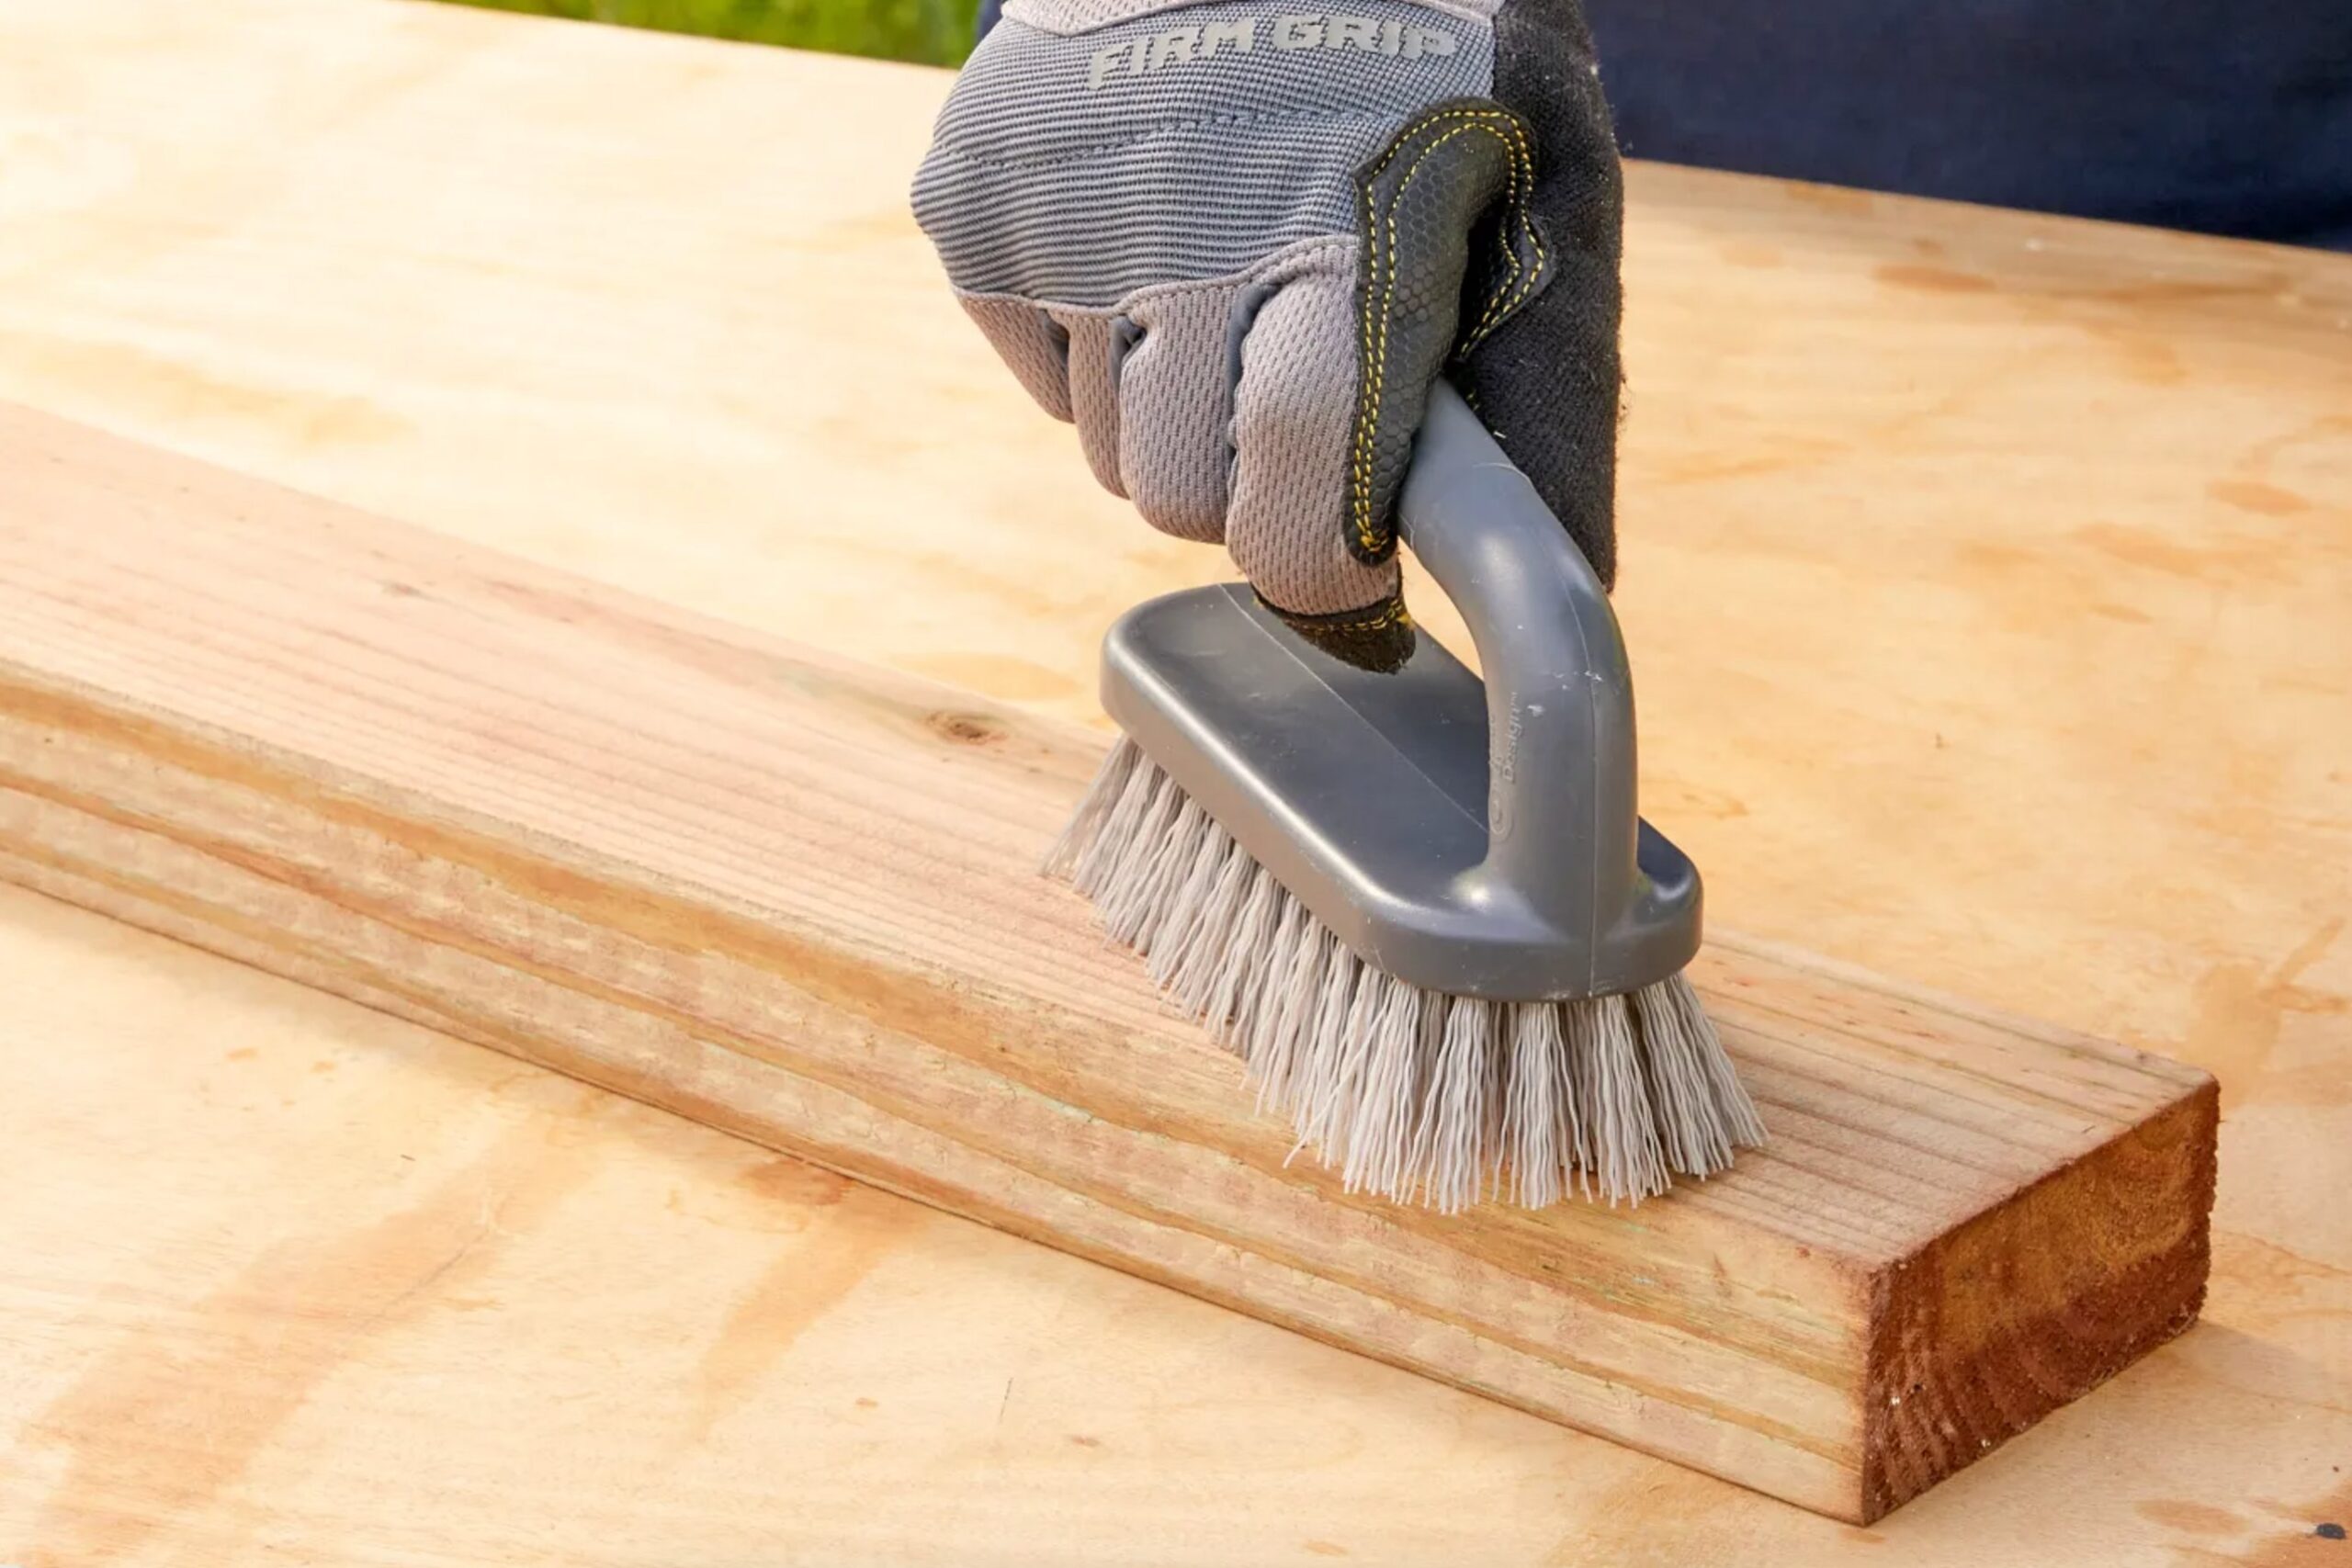
Step 1: Clean the Surface. Brush new wood to remove dust, saw residue, and loose fibers. Older wood needs water, a mild cleaner, and a stiff brush to lift dirt, mildew, pollen, and gray surface oxidation. Rinse well and let the wood dry before you test it.
Step 2: Check Moisture Level. The wood needs to be dry enough before primer goes on. A quick field test is to place a few drops of water on the surface. If the water soaks in quickly, the board is closer to ready. I prefer a moisture meter, especially on railings and fence posts. Aim for under 15% before painting.
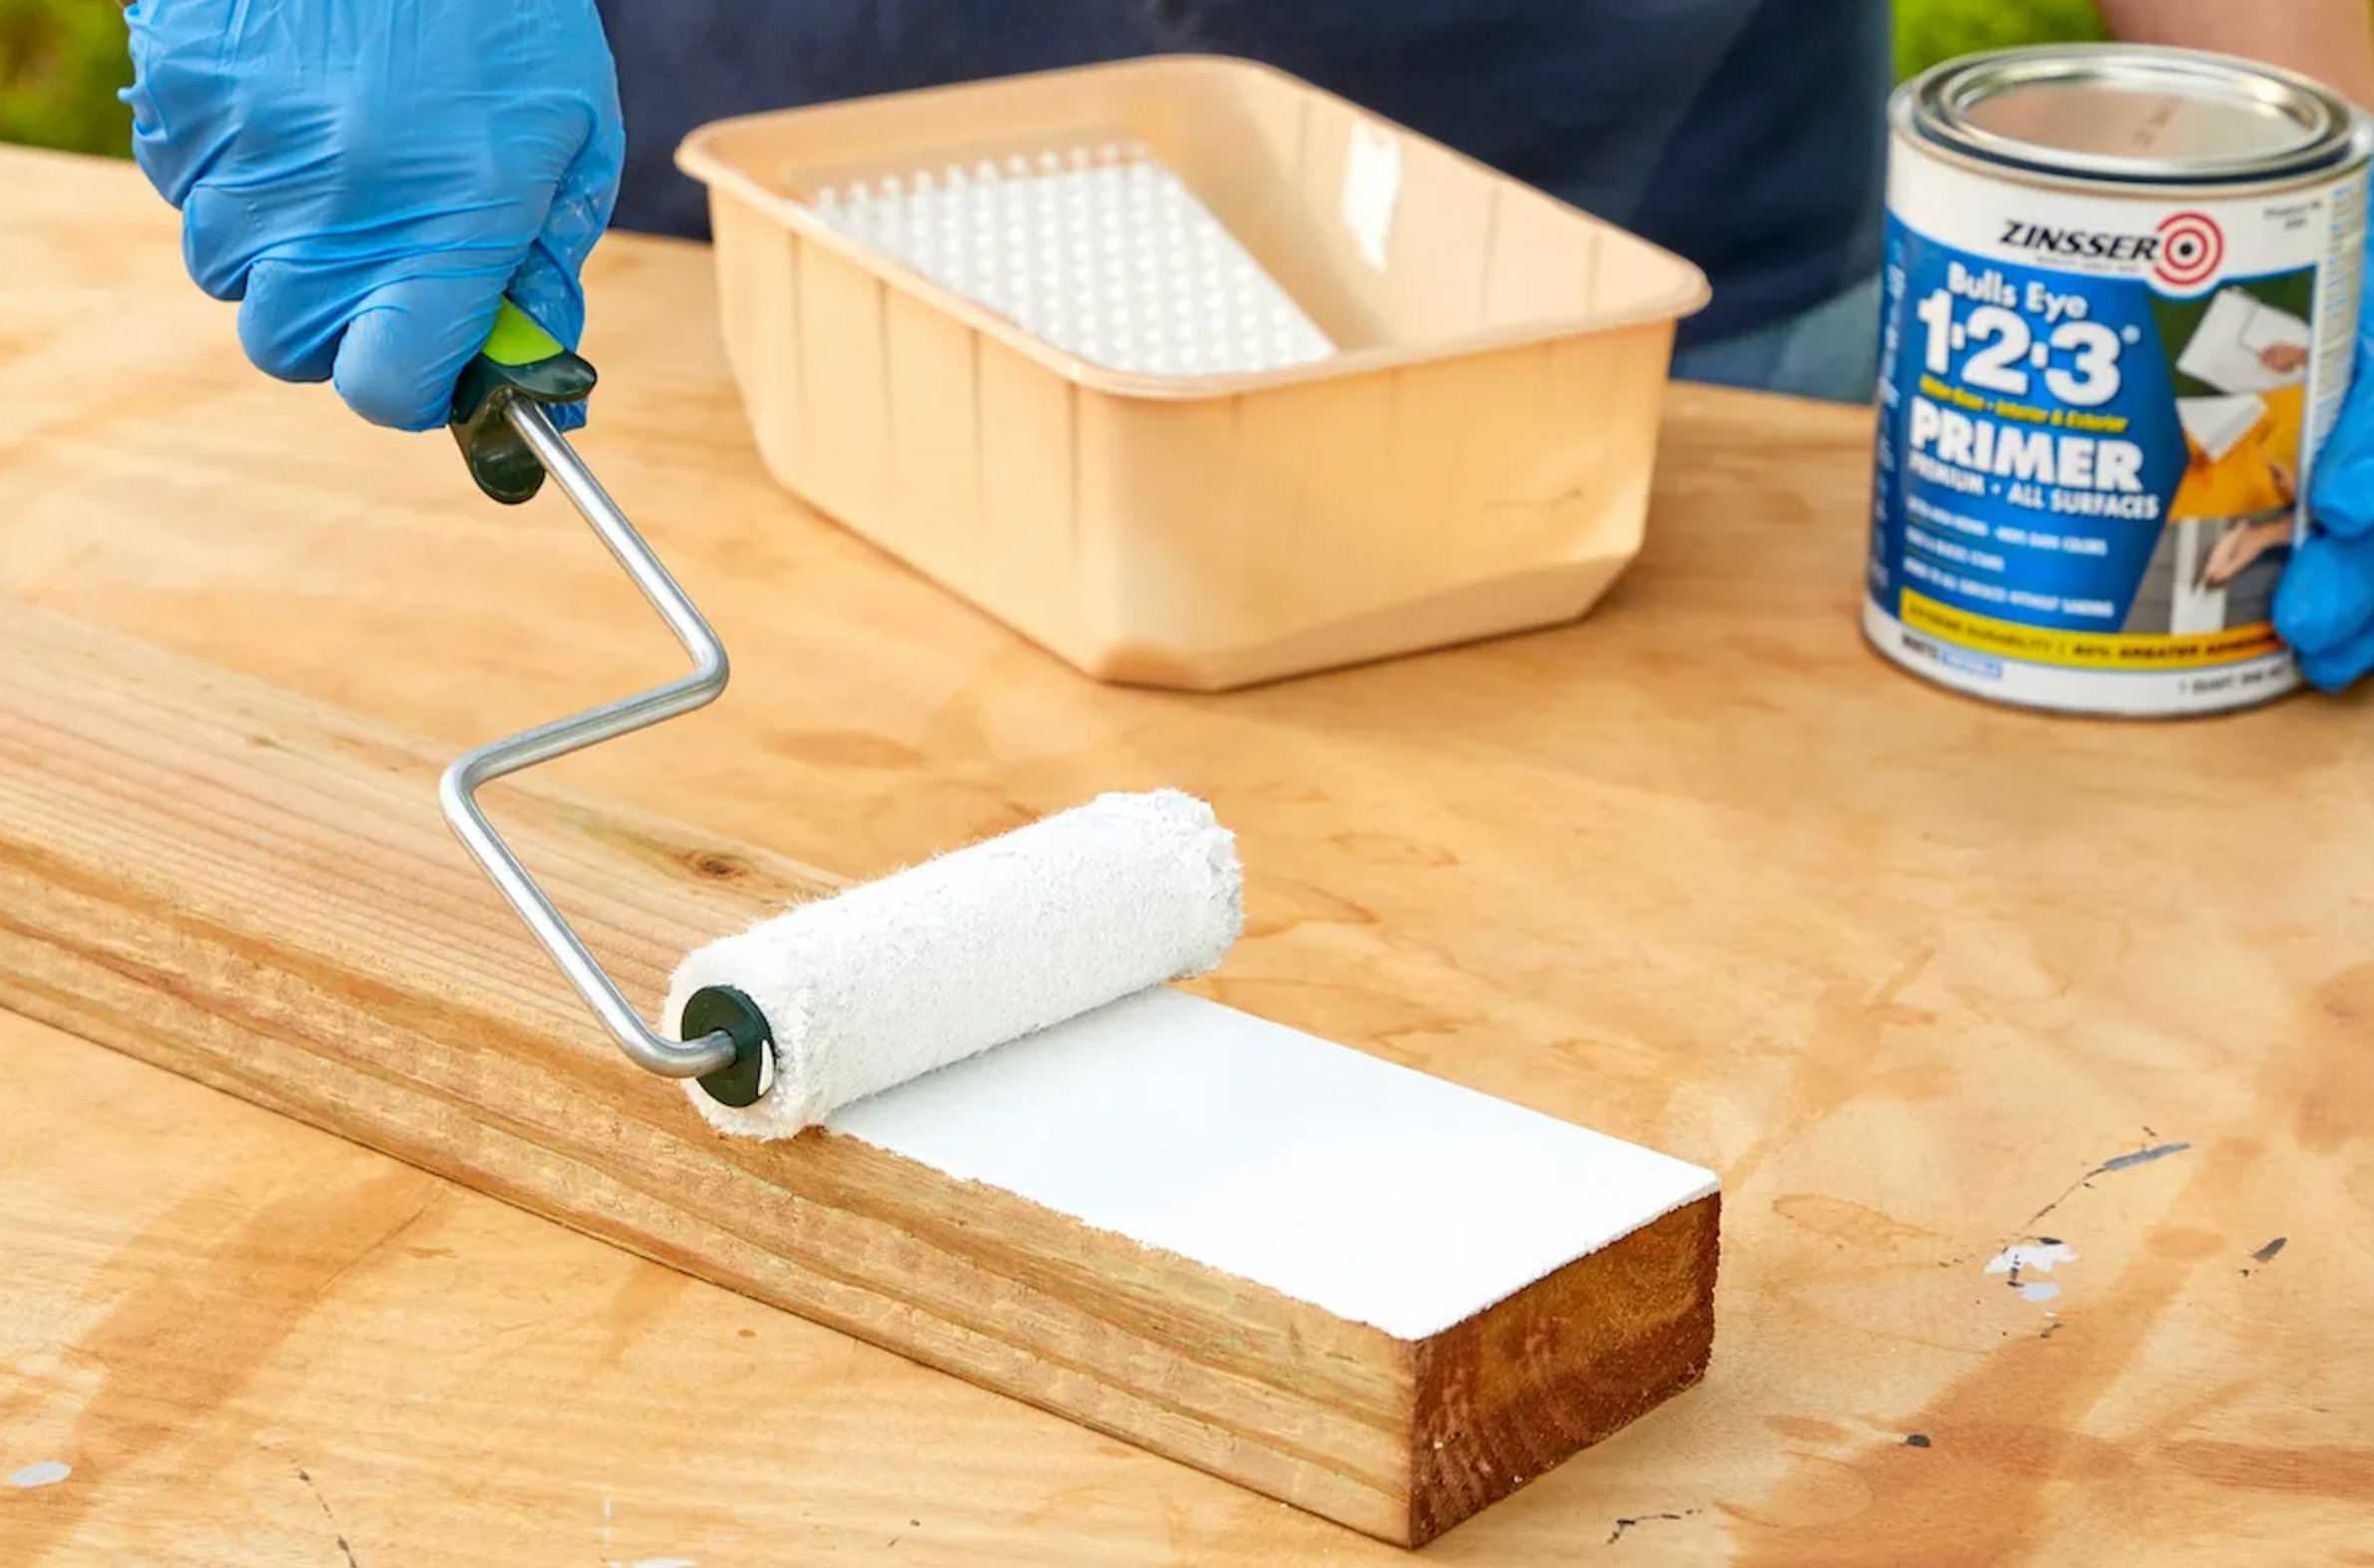
Step 3: Time for primer. Use an exterior primer meant for treated wood. Roll it on the open areas, then use a brush for edges, corners, screw heads, seams, and end grain. Give it a full day to dry before topcoating.
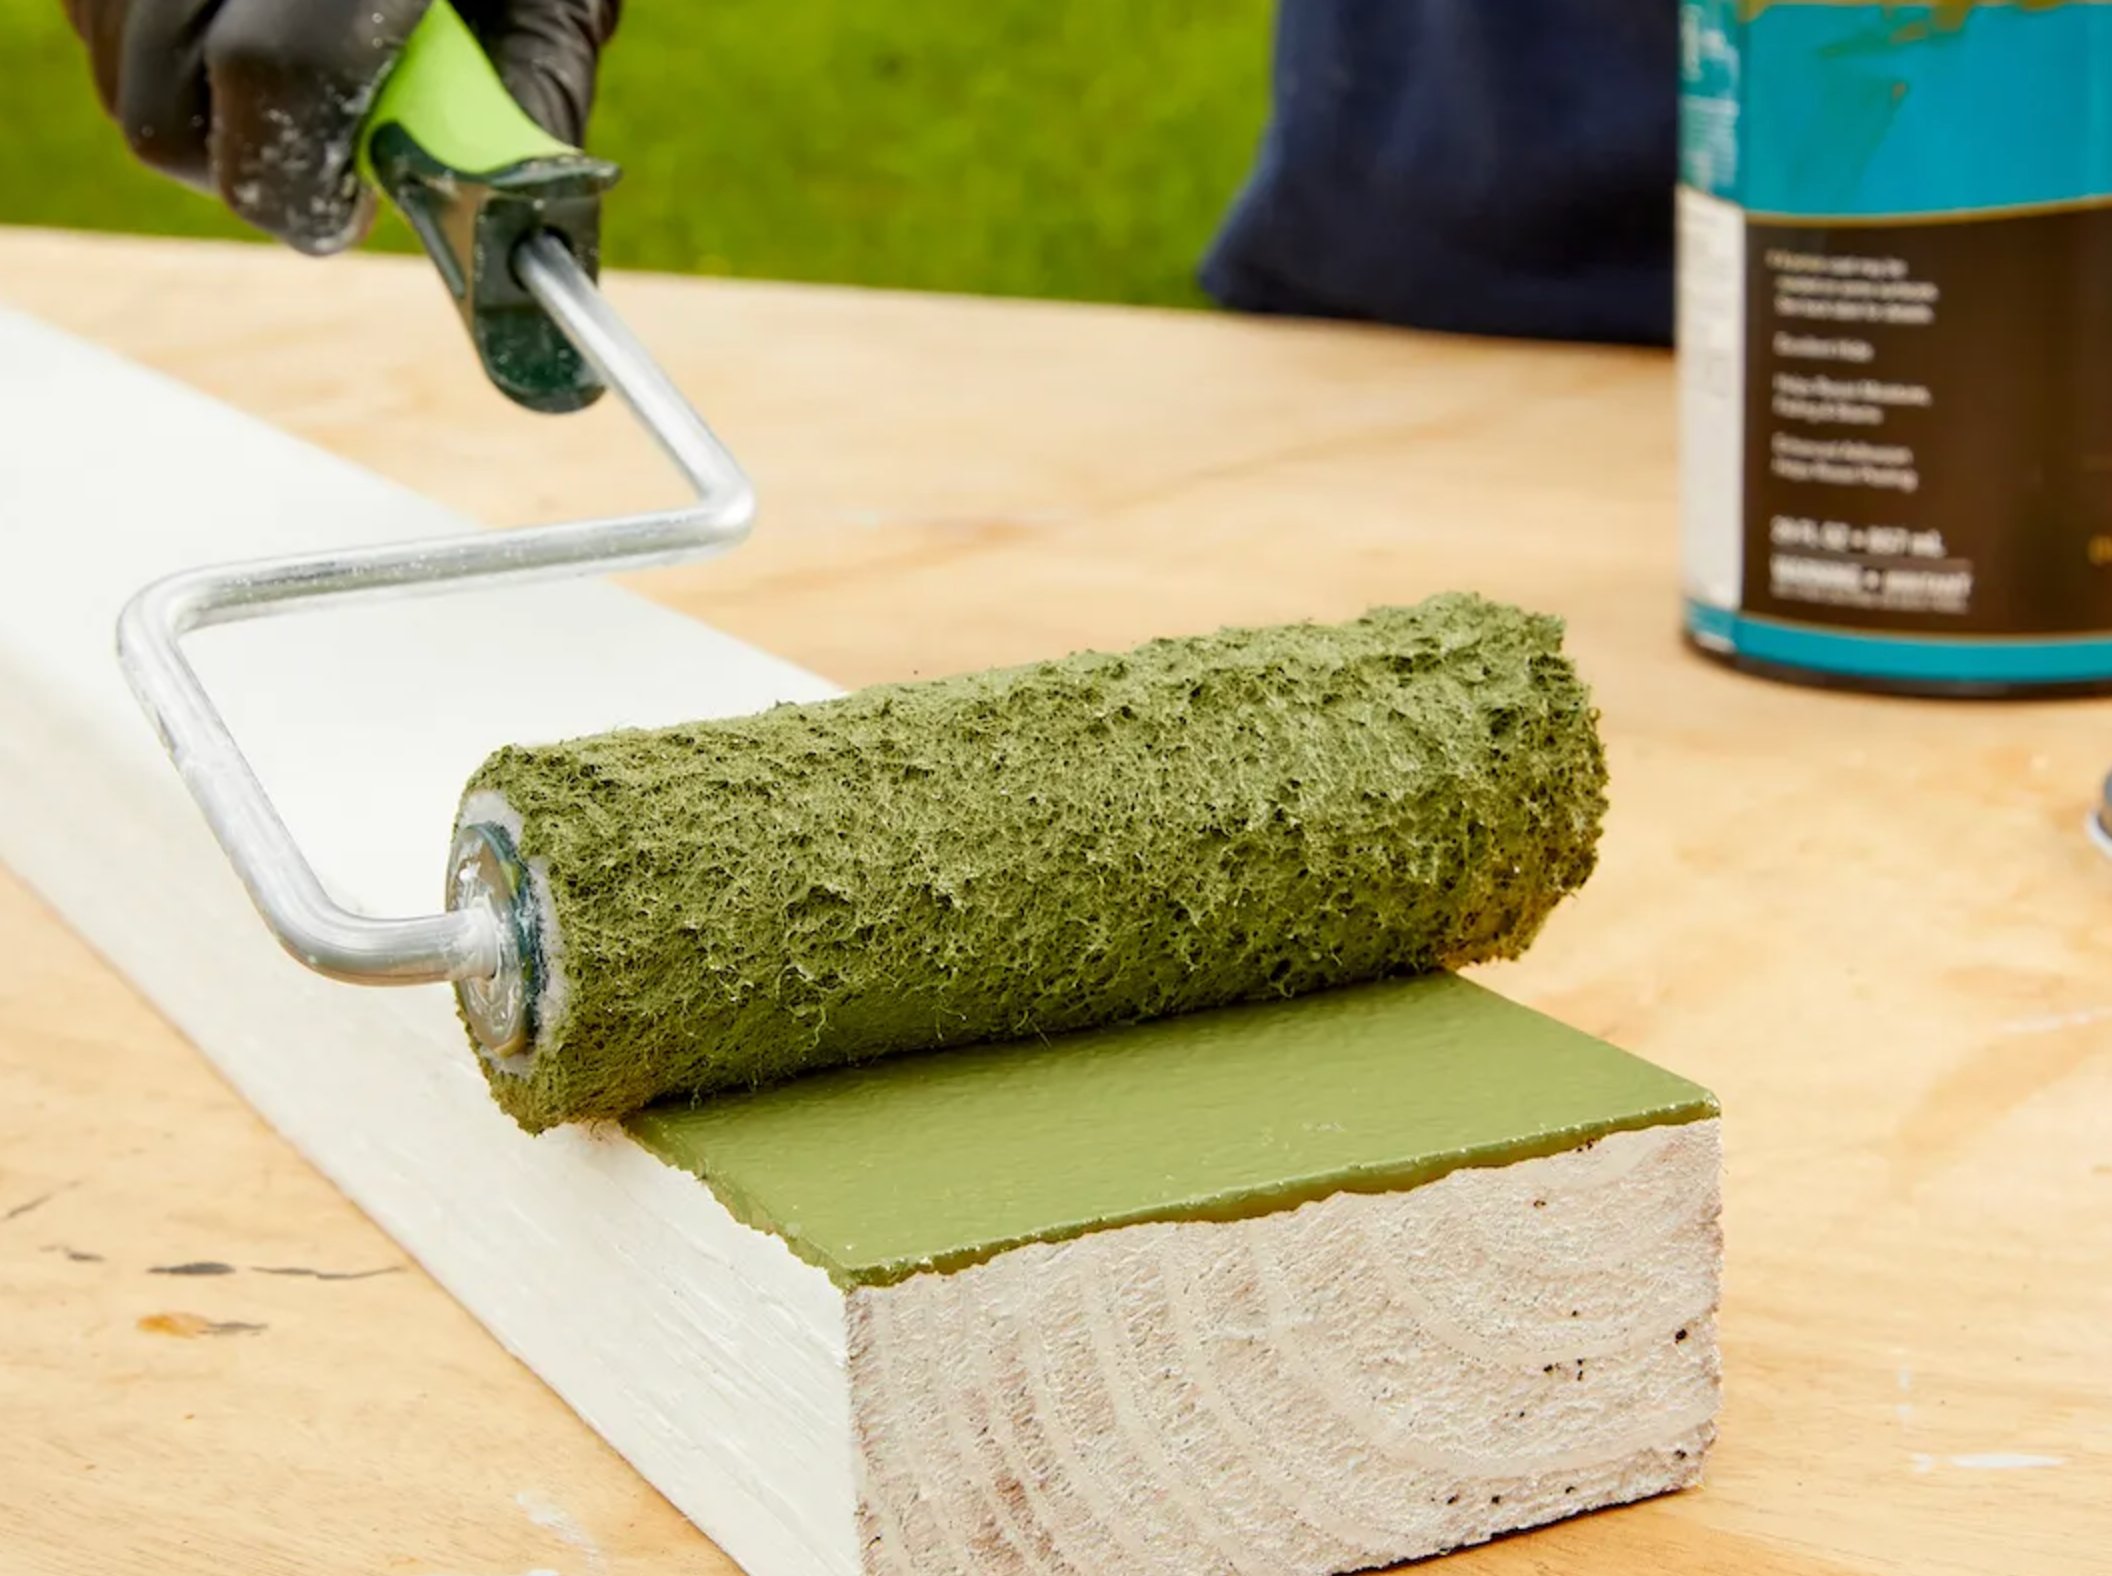
Step 4: Paint. Apply two coats of exterior latex paint. Wait 2-3 hours between coats, or follow the recoat time on the can if the product calls for longer. Skip oil-based paint for this job, especially on newer pressure-treated lumber.
Maintenance Note. Plan on touching up painted pressure-treated wood every 2-3 years. Watch the horizontal surfaces first, because rails, caps, and stair treads take more sun and standing water than vertical boards.
The main failure points are painting too soon, skipping primer, leaving end grain bare, and applying paint too thick. If you avoid those mistakes, pressure-treated wood can take paint well and stay good-looking for years.

I'm Elizabeth, your go-to guide for all things paint and design! My days are filled with color swatches and innovative room makeovers. When I'm not painting the town - literally - I'm soaking up inspiration from my travels. This blog is my way of sharing my passion and making the world a more vibrant place, one color palette at a time.