The Best Tile Paint & How to Use It
Growing up, I never pictured myself painting tile in an apartment. Tile felt permanent, the kind of finish you choose once and live with until demolition day. Then I started working with real budgets, rental bathrooms, dated backsplashes, and clients who needed a livable answer before they were ready to renovate.
Painting tile is a budget-friendly way to update a surface without tearing out perfectly sound material. The newer wear-resistant formulas are much better than the old craft-paint approach, especially when you pair them with the right bonding primer and give the coating time to cure.
I'll walk through the tile paints I trust, where I would and would not use them, and the prep steps that make the difference between a clean finish and peeling paint.
Can I Paint Tiles?
Yes, you can paint tiles. Treat it as a temporary finish, not a new ceramic surface. Paint will wear over time, especially on high-traffic floors, shower floors, and any spot that gets scrubbed often. If you're not ready for tile replacement, a careful paint job can buy you months or even years.
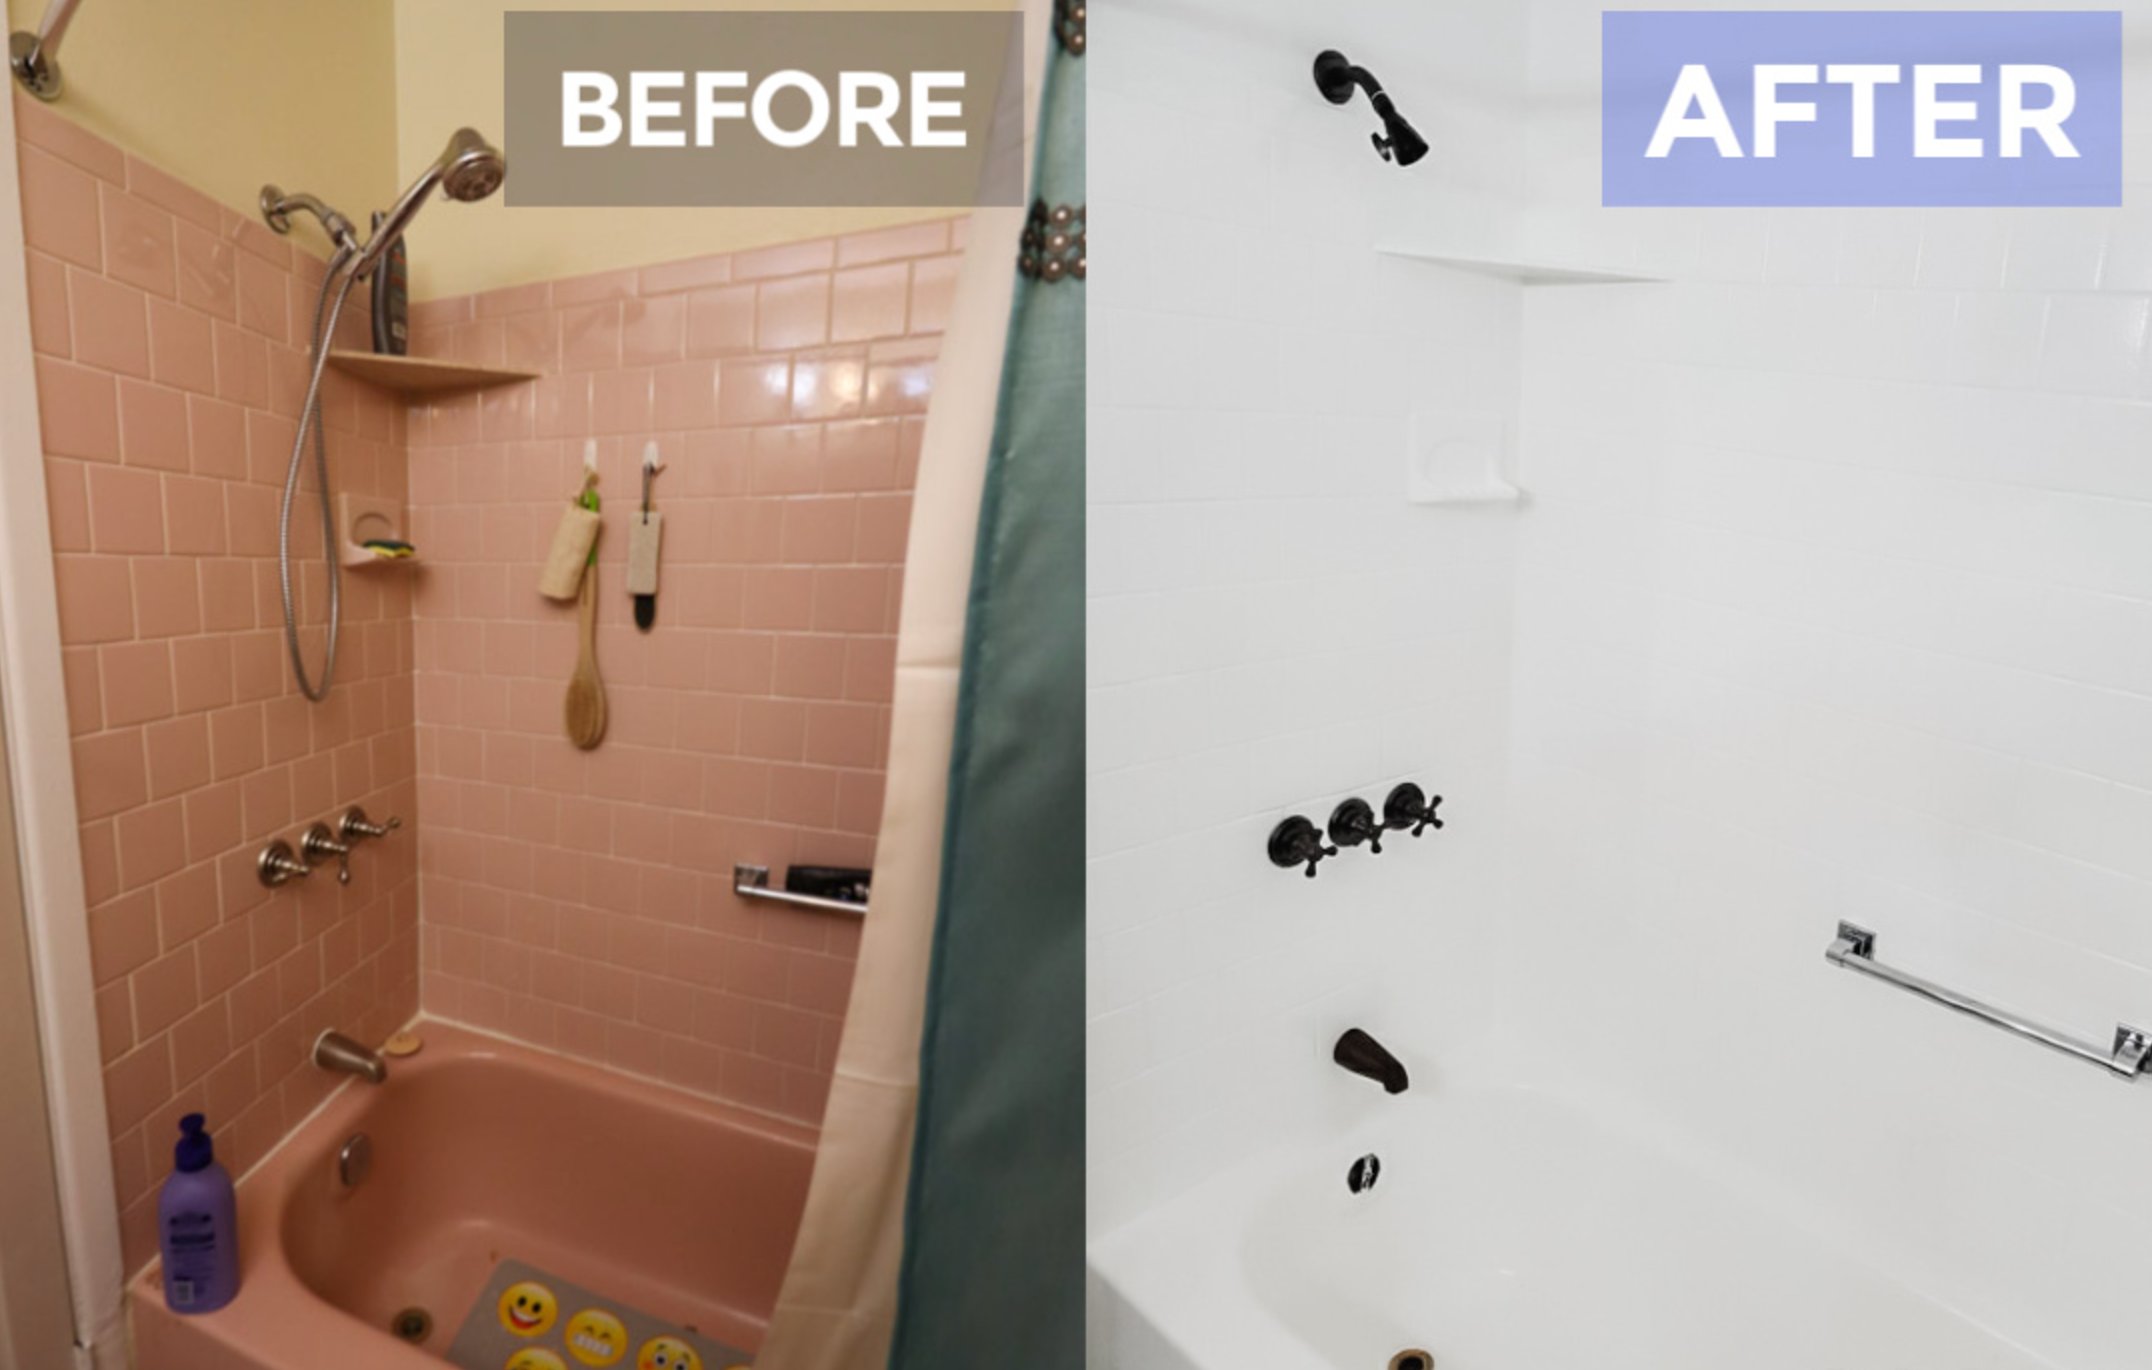
Ceramic and porcelain tiles are dense. They absorb less than 3% moisture, which is why water beads on them and why ordinary wall paint struggles to grip.
The adhesion problem is close to painting glass. The surface is slick, nonporous, and often contaminated with soap film or cooking grease. You need a bonding primer, a paint made for hard use, and prep that gives the coating a clean surface to bite into.
It also will not look exactly like factory-made tile. Fired glaze has a depth and brightness that paint cannot fully copy. What paint can do is quiet down an outdated color, cover a busy pattern, and make old tile feel intentional until a larger renovation makes sense.
Why Should I Paint Tiles?
Cost & Time
The biggest draw is cost. For about $100 and half a day's work, you can make dated tile look cleaner and more current. That estimate assumes the tile is in decent condition, you already have basic tools, and you're painting a small bathroom floor, backsplash, or accent area.
Temporary & Easy Fix
This method makes the most sense when you're planning a larger renovation later but want relief now. Living with a tile color you dislike affects how the whole room feels, especially in a small bathroom where the tile is always in view.
I often suggest it when someone is not ready to remove fixtures, rent tile tools, or hire a professional tiler. It is also useful for rental-friendly planning if you have permission and understand that painted tile may need touch-ups before move-out.
What to Expect
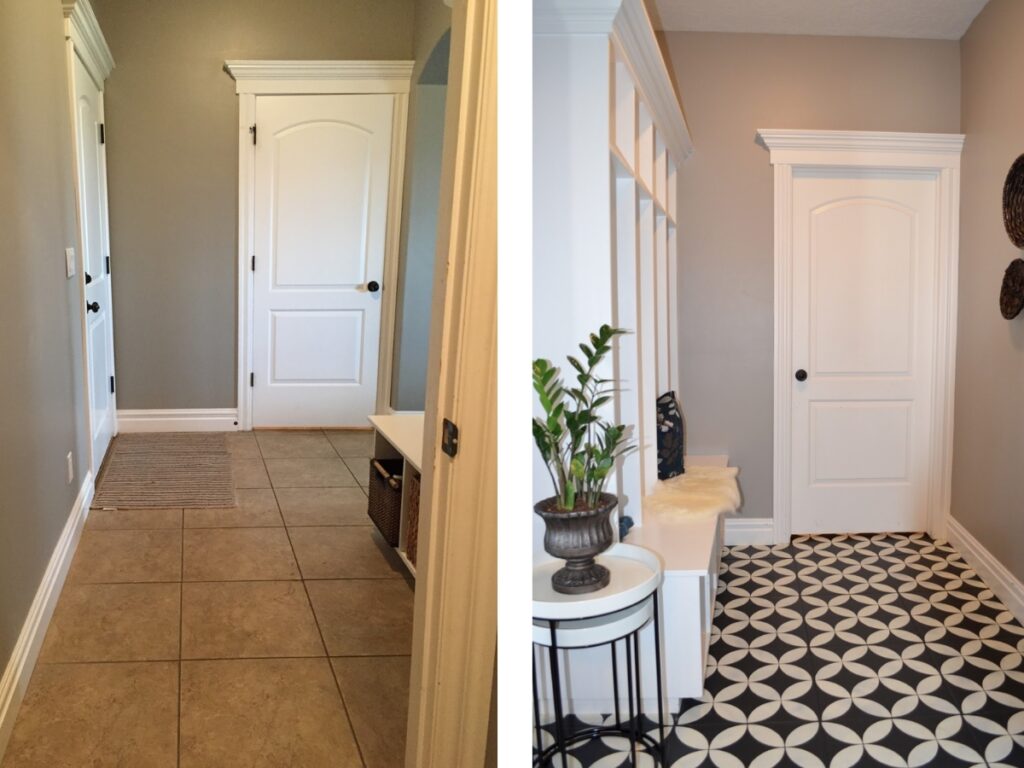
painted ceramic tiles in the mudroom using the pattern to mimic the look of cement tiles
source
If done right, painted tile can look good for several years. High-traffic areas may show fading or small chips sooner, and grout lines will look flatter because the paint bridges the tile and grout instead of leaving the original depth.
The useful part is that touch-ups are simple. Clean the worn spot, scuff it lightly, prime any exposed slick tile, and add a fresh coat from the same paint can if you still have it.
What's the Best Primer for Tiles?
Use a bonding primer on tile. Without it, the paint may look fine for a few days and then lift at corners, grout lines, or spots where water sits. Primer matters most in bathrooms, showers, laundry rooms, and backsplashes that get wiped often.

I use Zinsser Bulls Eye 1-2-3 often on DIY projects because it is a water-based primer with reliable adhesion on glossy surfaces. I still scuff glossy tile first, but I do not sand it aggressively enough to damage the glaze.
Bulls Eye also includes mold protection, which is helpful in bathrooms. It is touchable in 30 minutes and ready for paint in an hour, though I give it longer if the room is humid or cool. One coat usually creates a smooth base. You can find it on Amazon for a decent price.
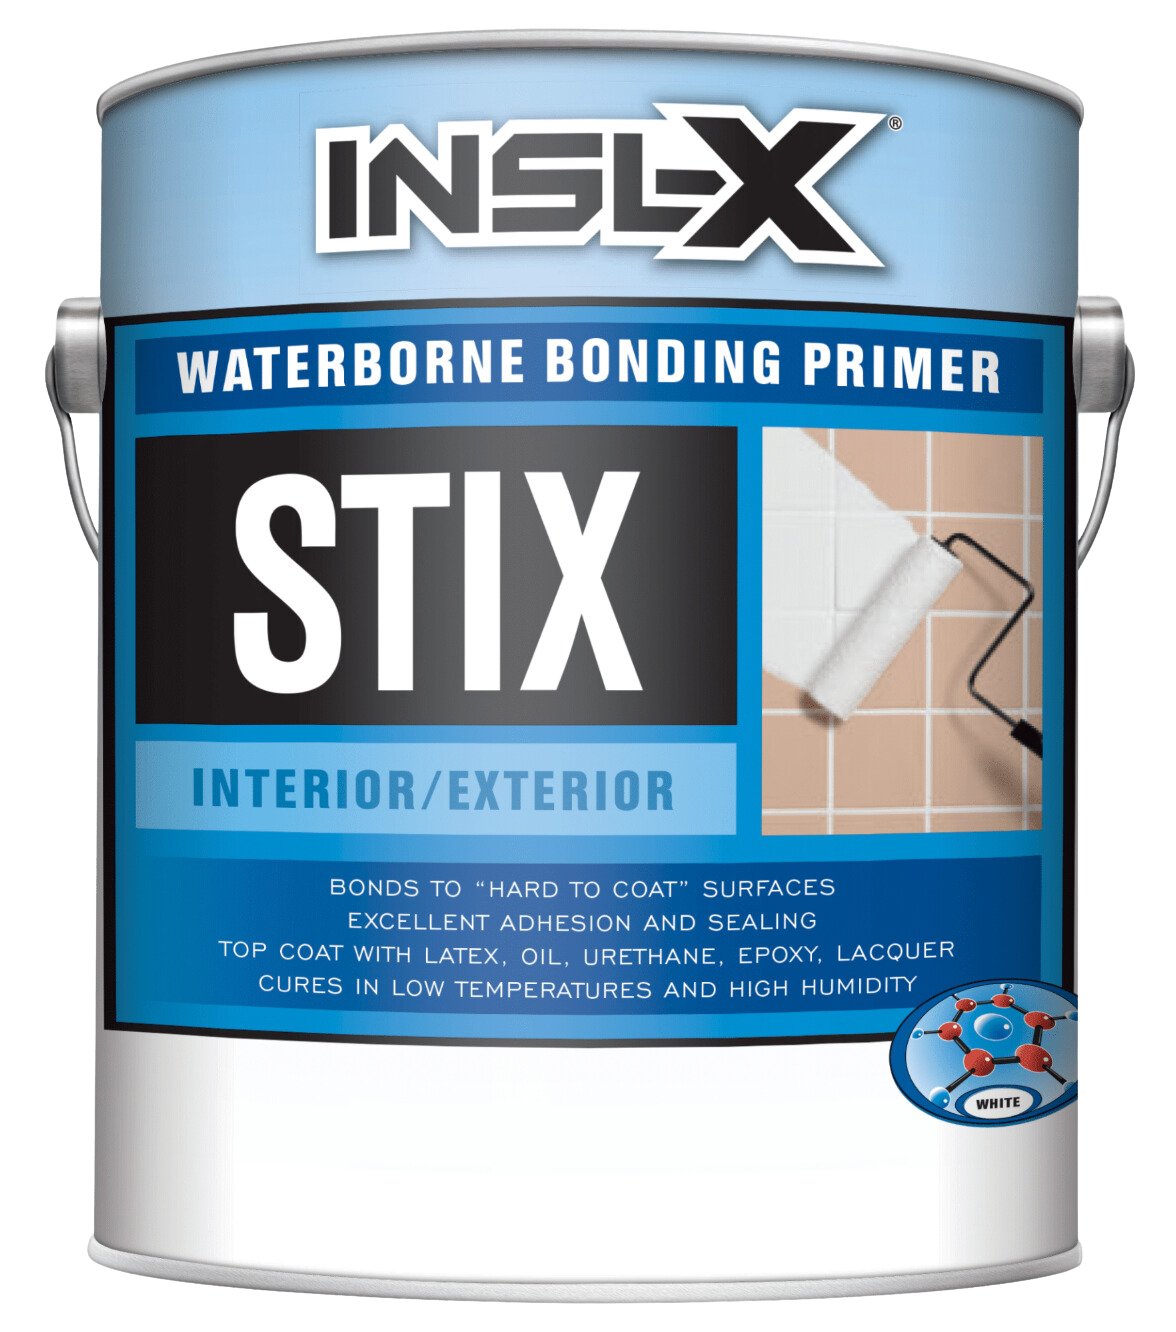
If you can spend a little more, Benjamin Moore INSL-X STIX is the stronger choice for tricky surfaces. It bonds to slick materials such as glass and plastic, costs more than basic primers, and works in cooler temperatures. I like it when the tile is very glossy or the project needs every bit of adhesion help it can get.
What's the Best Paint for Tiles?
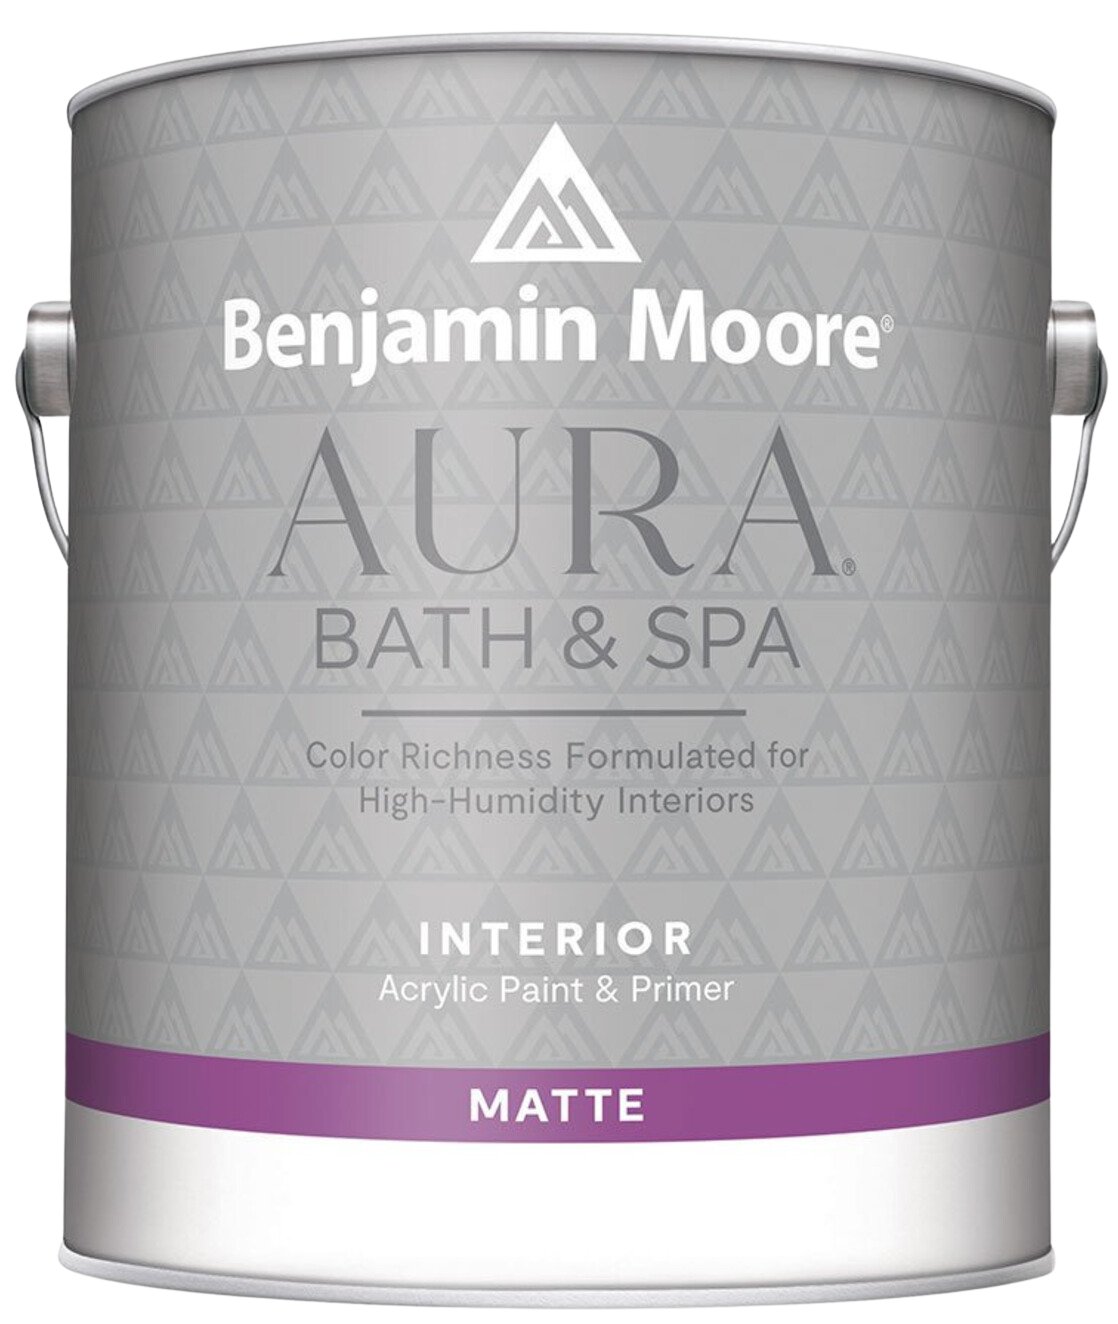
For bathroom walls and low-abuse floor areas, I usually point people toward Aura Bath & Spa by Benjamin Moore. The matte finish looks much softer than old glossy bathroom paint, so it is a good fit when you want the tile to recede instead of catching every reflection.
In bathrooms, moisture resistance matters more than almost anything else. Aura Bath & Spa is made for humid rooms, and its Color Lock technology helps the color hold up through repeated cleaning. It is also zero VOC, which I appreciate in small bathrooms with limited ventilation.
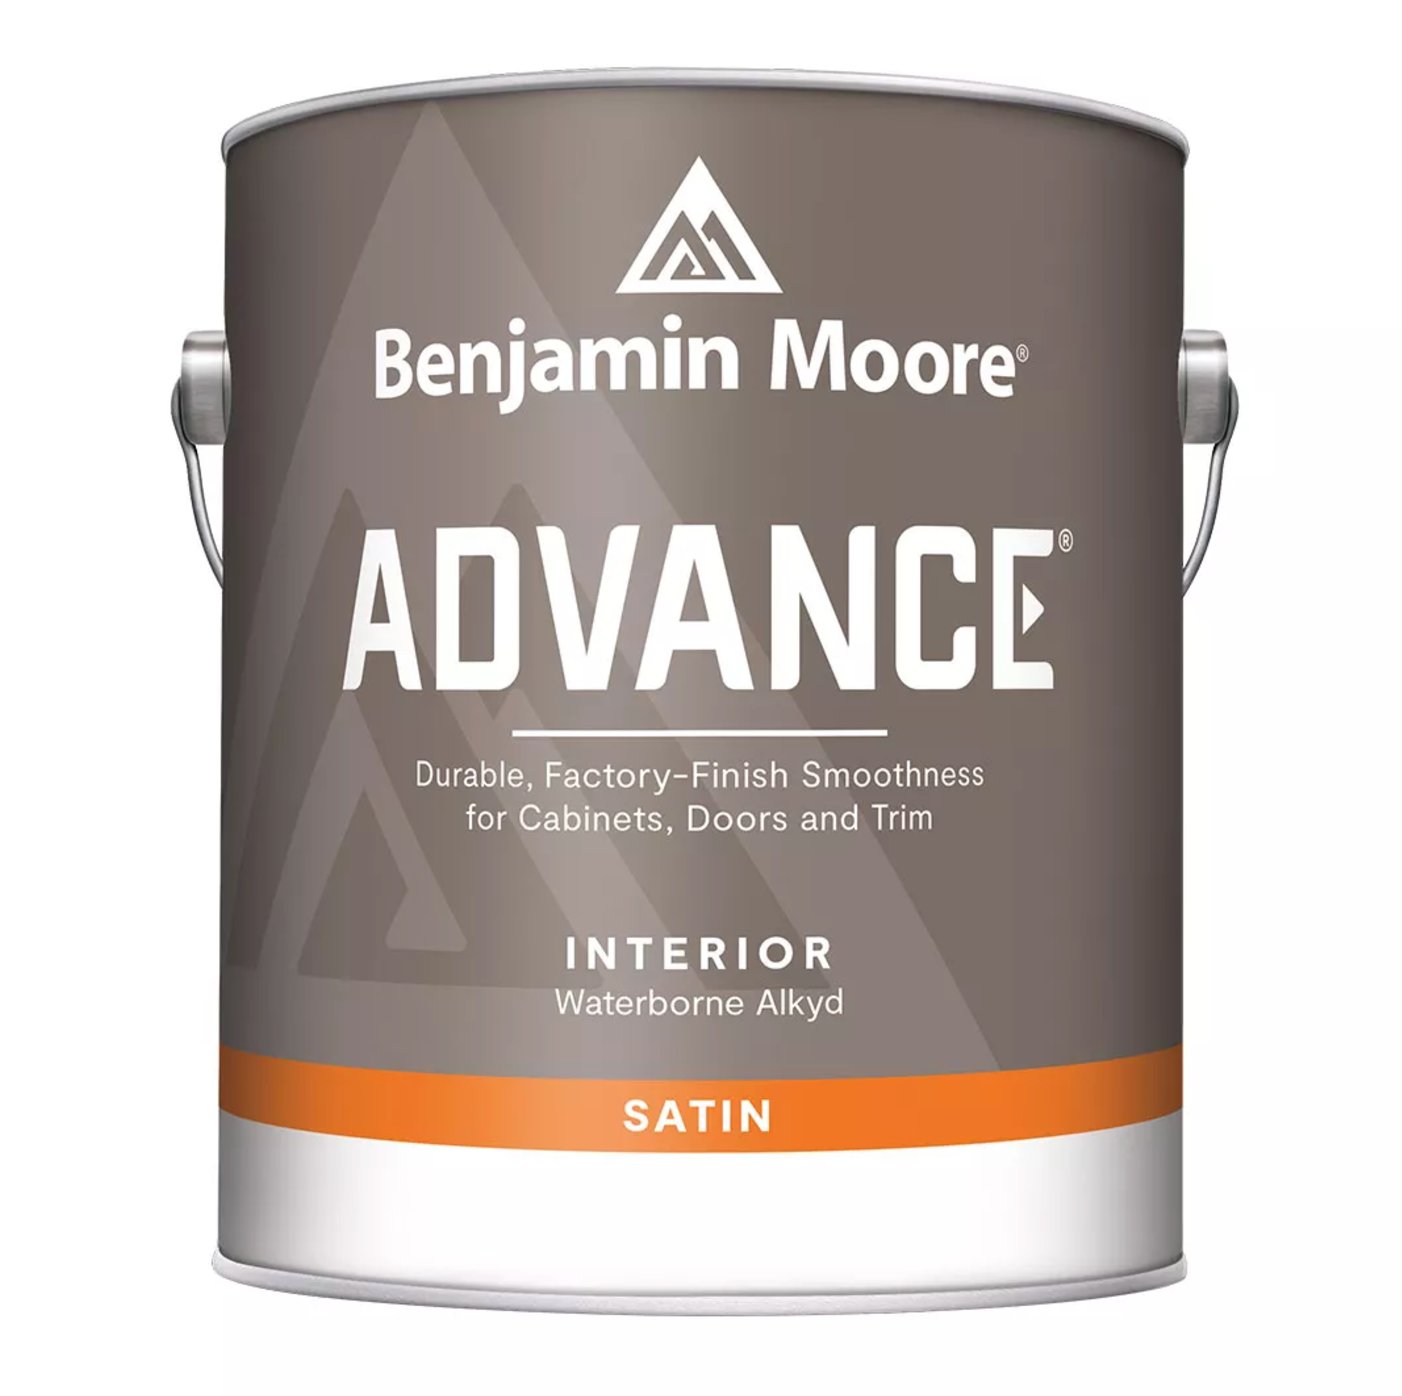
For other spaces, I go with Benjamin Moore's Advance. It is a good choice when the finish needs to look smooth up close. The paint levels well, which helps reduce roller texture and brush marks on flat tile.
Even though it is water-based, it cures to the harder finish people associate with alkyd paint. Like its sibling, it is low in VOCs, even after tinting.
Both paints use Benjamin Moore's Gennex tinting system, with over 3,500 colors available. The pigments are designed for the paint system, so deep colors do not weaken the coating the way some universal colorants can.
For tile, I usually sample colors more conservatively than I would on drywall. Sheen, grout lines, and reflections can make a color read cooler or busier than it looked on the chip, especially under bright bathroom lighting.
How to Paint Tiles
Success is mostly prep work. I would call it about 70% of the job, especially on glossy tile.
1) Start by giving everything a deep clean. Old tiles are not just dusty. Bathroom tile collects soap scum and mineral buildup, while kitchen tile often has a thin grease film. A heavy-duty degreaser is your best bet here.
Rinse well and let the tile dry before sanding. Then scuff the surface with fine-grit sandpaper (120 grit). You are not trying to remove the glaze. You are creating tiny scratches that help primer grip.
2) Take a good look at the grout between tiles. If you spot crumbling, cracks, mildew stains, or gaps near caulk lines, fix them before primer. Paint will not stabilize failing grout, and movement underneath the coating usually shows up as cracks later.
3) Next up is primer. It acts as a bridge between the tile and the paint. A small roller gives a smoother finish than a brush on the tile faces. Use a brush only where the roller cannot reach, then roll back over the edge while it is still wet. Primer usually takes about two hours to dry, though different brands vary.
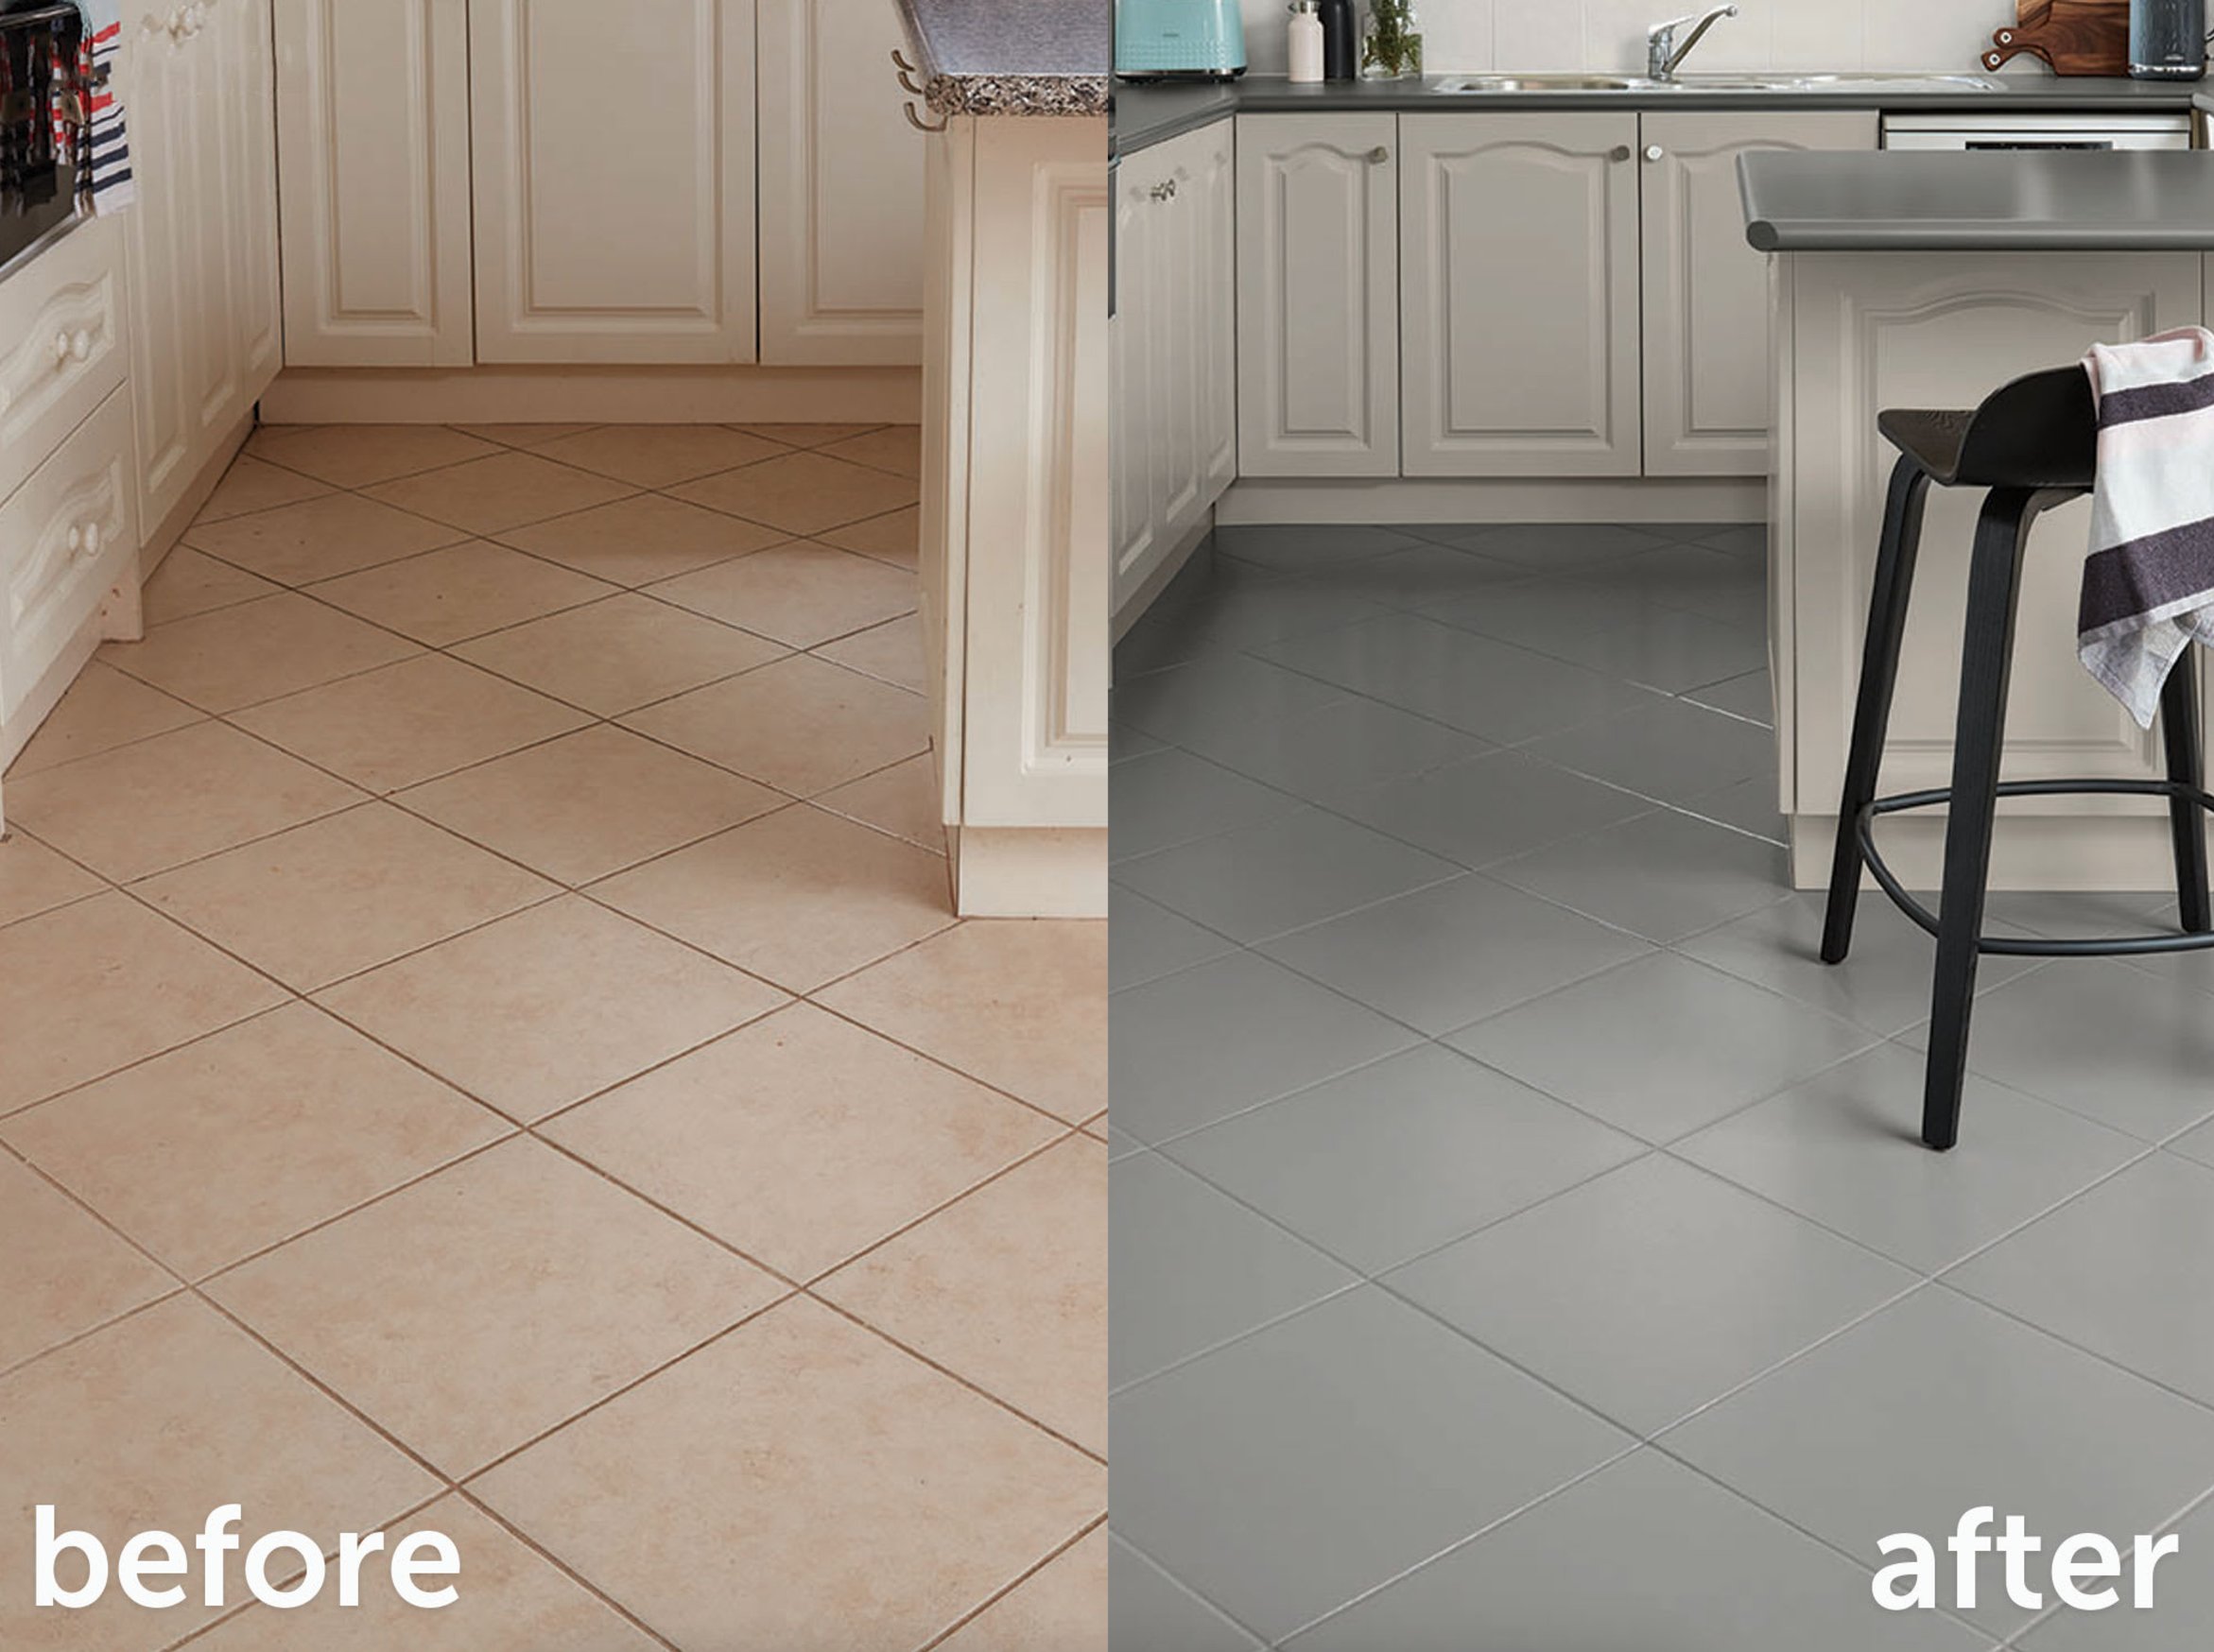
4) For the actual painting, plan on two coats. Keep the first coat thin because it is your foundation coat. You can apply the second coat a little fuller once the first has dried according to the label. Use a brush for edges and a roller for the main areas, then feather the brushed edges so you do not end up with a visible border.
I've used this tile painting technique in several renovations, and the results have held up best where the tile was cleaned hard, primed properly, and left alone long enough to cure. It is not a permanent fix. You might get a couple of years in good conditions, but high-traffic bathroom floors with lots of moisture will show wear sooner.
Think of it as a practical refresh for a bathroom or kitchen that is not ready for demolition. Prep carefully, use the right paint for tile, and save a little leftover paint for future touch-ups.

I'm Elizabeth, your go-to guide for all things paint and design! My days are filled with color swatches and innovative room makeovers. When I'm not painting the town - literally - I'm soaking up inspiration from my travels. This blog is my way of sharing my passion and making the world a more vibrant place, one color palette at a time.