The Best Paint for Plastic Surfaces
The best paint for plastic is a plastic-bonding spray paint, or a paint system with a bonding primer underneath. Regular wall paint usually peels because plastic is slick, slightly flexible, and often has release oils left from manufacturing.
For patio chairs, storage bins, planters, shutters, toys, and PVC trim, I look for paint that grips plastic instead of just sitting on top of it. A good coating can buy a faded piece several more seasons, but only if the surface is clean, scuffed, and painted in thin coats.
Plastic is not hard to paint, but it is unforgiving. Skip the prep, paint in humid weather, or lay on one heavy coat, and the finish will chip at the first scrape. Here is how I choose the paint, when I use primer, and the exact prep that keeps the finish from lifting.
What Makes a Great Paint for Plastic?
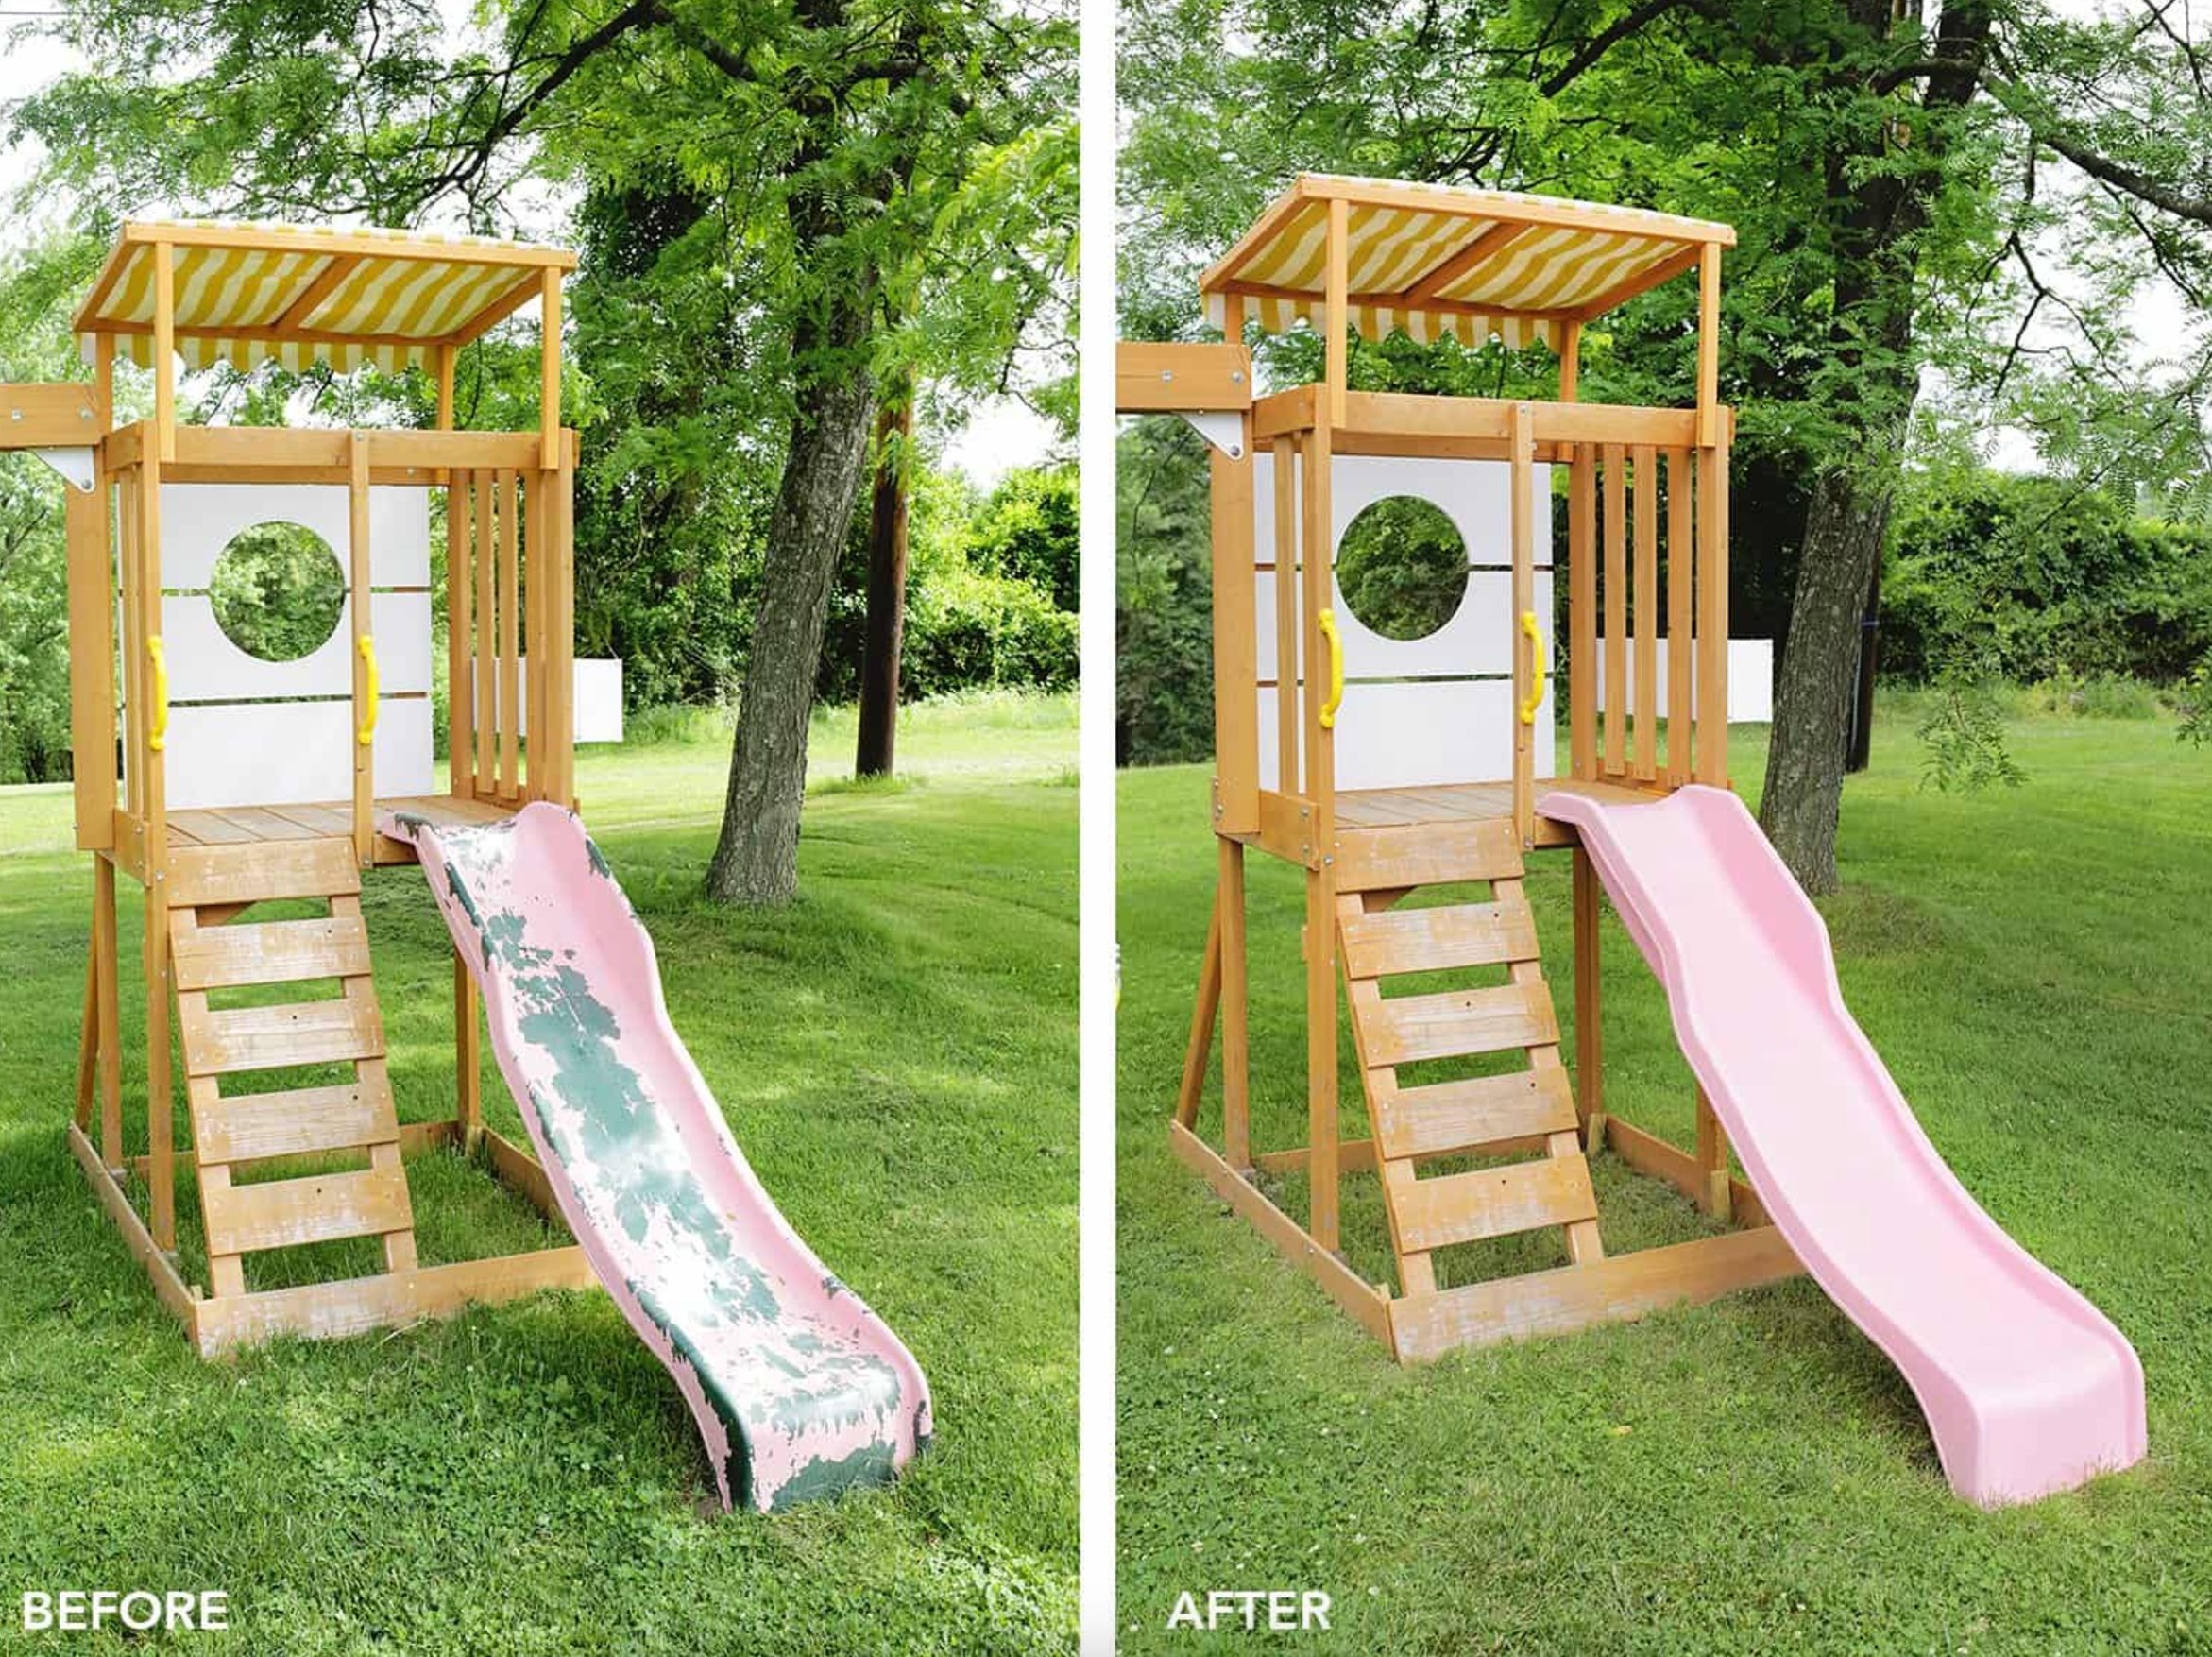
For plastic, the label matters more than the color chip. Look for these five things before you buy:
- First is a chemical formula with strong adhesion. Smooth PVC, resin, and polypropylene need a coating that can bite into the surface. Without that bond, the paint can peel within weeks, even if the piece looked good on day one.
- Second is UV resistance. For outdoor chairs, planters, shutters, and toys, paint without UV protection can fade in one season.
- Third is flexibility. Plastic expands and shrinks with temperature changes. Rigid paint cracks, while a more flexible coating moves with the surface. This matters most on window frames, doors, and anything that sits in direct sun.
- Fourth and fifth are coverage and finish type. Good paint should cover dark plastic in 2 to 3 coats. Matte finishes usually hide scuffs better and tend to last longer, while glossy finishes wipe clean more easily.
Many brands now include plasticizers and adhesion modifiers in their formulas. On a well-prepped surface, those paints typically last 2 to 3 years longer than standard all-purpose options.
The Best Plastic Paints and Why
The two plastic paints I reach for most often are Rust-Oleum American Accents Ultra Cover 2X and Krylon Fusion All-In-One. They perform similarly, cost about the same, and are easy to find, so I usually choose whichever one has the color and sheen I need in stock.

Both paints are made for hard-to-coat surfaces: plastic, wood, metal, and even wicker furniture. They bond about 5 times stronger than regular paints, which is the difference between a finish that scuffs and a finish that actually survives use.
The double coverage helps on dark plastic, and the any-angle spray tip makes legs, curved backs, handles, and undersides easier to coat. Both lines come in plenty of colors and several finishes. They dry in about 20 minutes, but I still avoid handling the piece hard until the coating has had time to cure.
They work for indoor and outdoor projects, including pieces that see rain and sun. For the smoothest spray pattern, I like to paint when the temperature is 55°F to 75°F and humidity is under 60%. If the plastic feels hot to the touch, move it into shade and let it cool first.
Do You Need a Special Primer for Plastic?
You can sometimes skip primer if the spray paint is labeled for plastic, but I still use a separate primer on slick, shiny, flexible, or outdoor pieces. My usual choice is Zinsser Bulls Eye 1-2-3.

It is a water-based primer for interior and exterior use. It grips slick plastic better than standard primer, has very little odor, and dries in about 30 minutes. The mold-fighting properties are useful on outdoor pieces, especially planters, bins, and trim that sit near damp soil or shaded walls.
Bulls Eye 1-2-3 is also useful if the project has mixed materials, since it works on wood and metal too. One coat usually gives you an even white base, which helps the topcoat cover more predictably. If you are painting a dark plastic piece a pale color, that white base can save you an extra finish coat.
How to Paint Plastic Surfaces
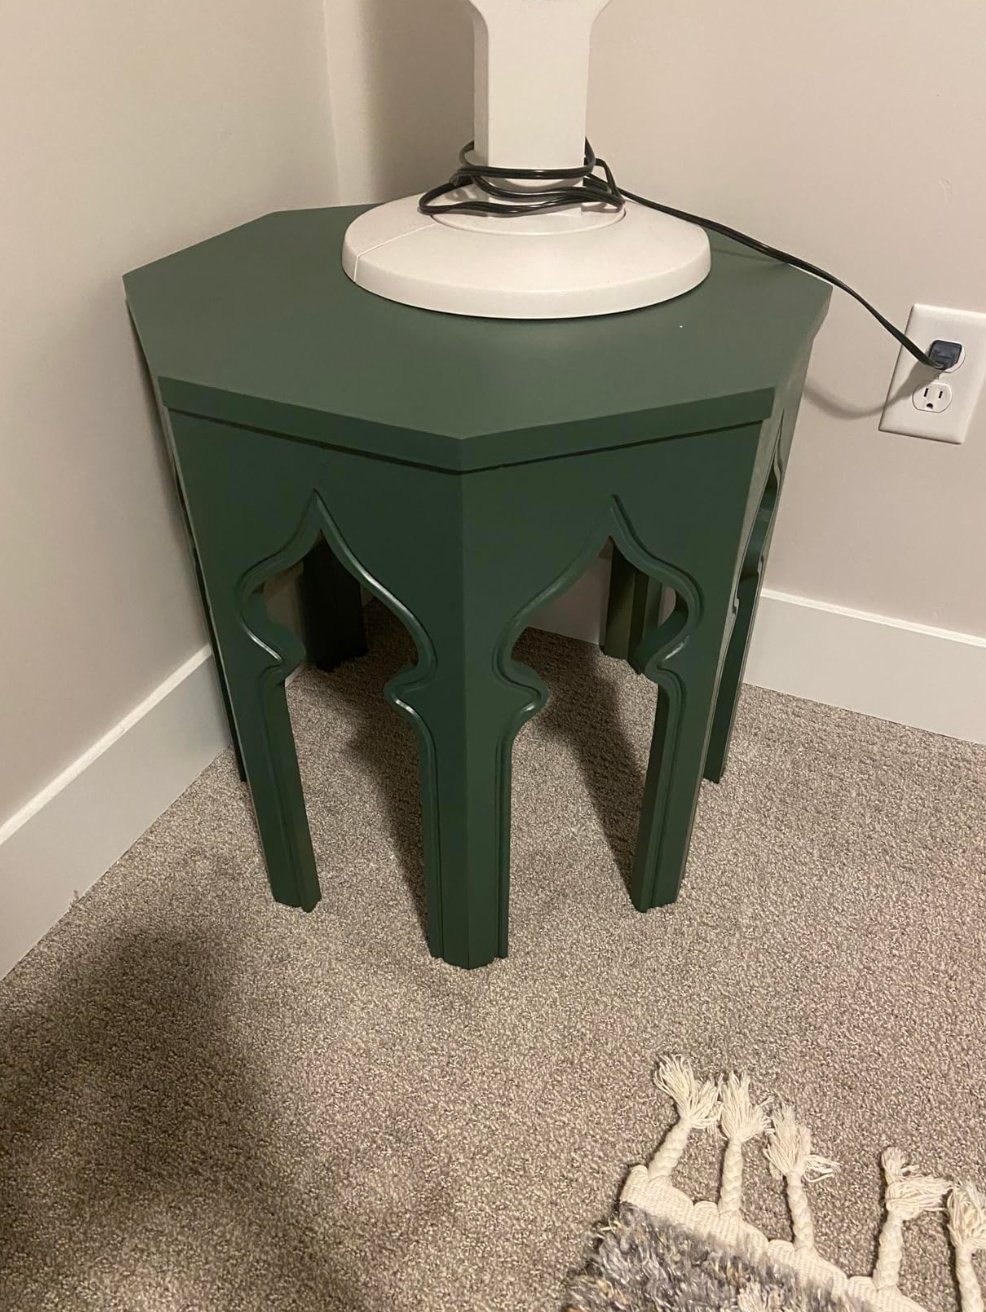
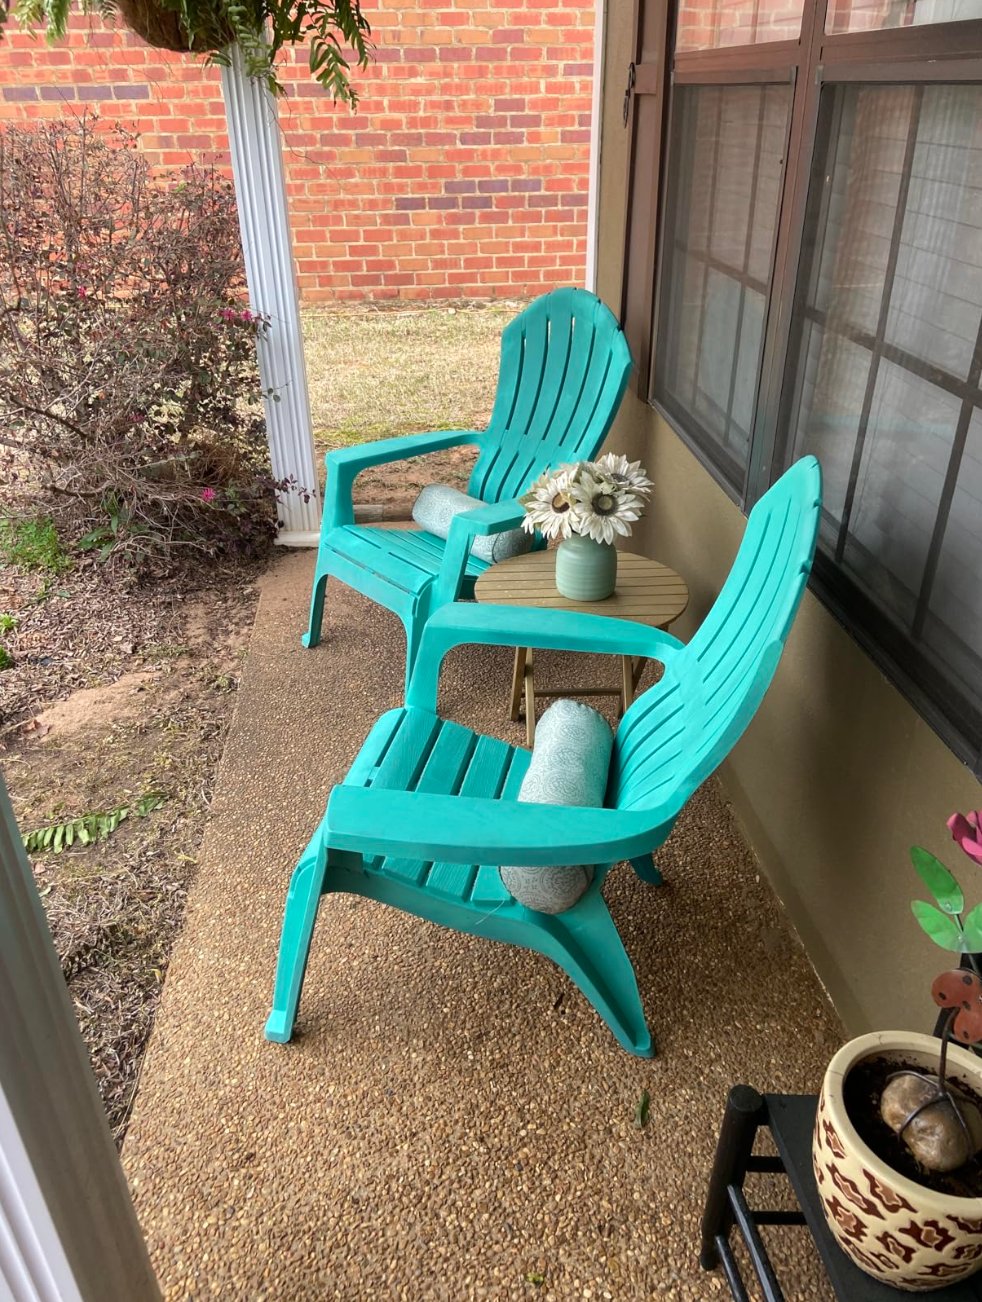
What you'll need:
- Fine-grit sandpaper (120 grit)
- Degreaser or isopropyl alcohol
- Clean rags or microfiber cloths
- Plastic-specific primer
- Paint suitable for plastic surfaces
- Paint brushes and/or rollers
- Masking tape
- Drop cloth or newspaper
- Protective gear (gloves, mask)
Step 1: Surface Prep. Start by cleaning the plastic. This is the step that decides whether the paint bonds or peels. Use a degreaser for outdoor grime, sunscreen, cooking grease, or hand oils. Use isopropyl alcohol as a final wipe before sanding. Then wipe with a clean cloth and let the surface dry completely, including seams and screw holes.
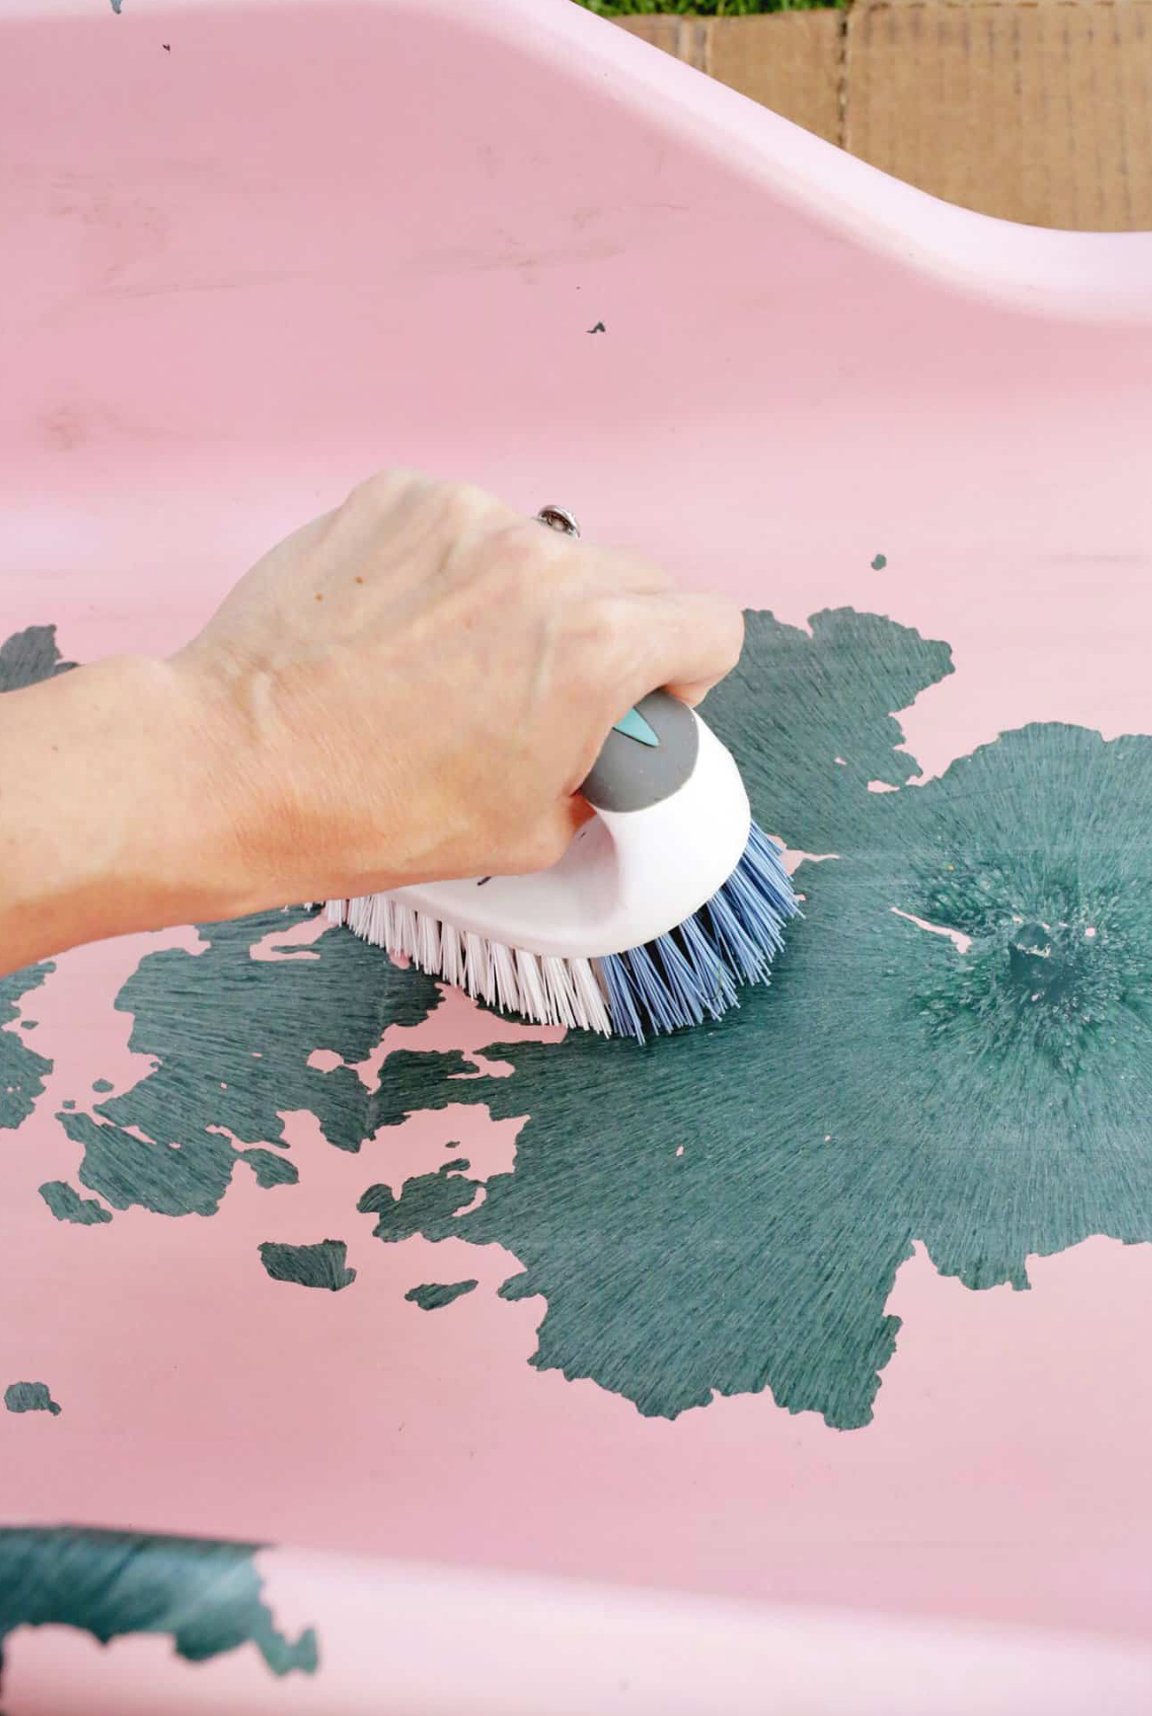
Step 2: Sanding. Smooth plastic needs a light scuff so the primer has something to grip. Use 120-grit sandpaper and sand until the shine turns slightly matte. Do not gouge the surface or round over molded details. Wipe away every bit of dust with a damp cloth afterward, then let it dry again.
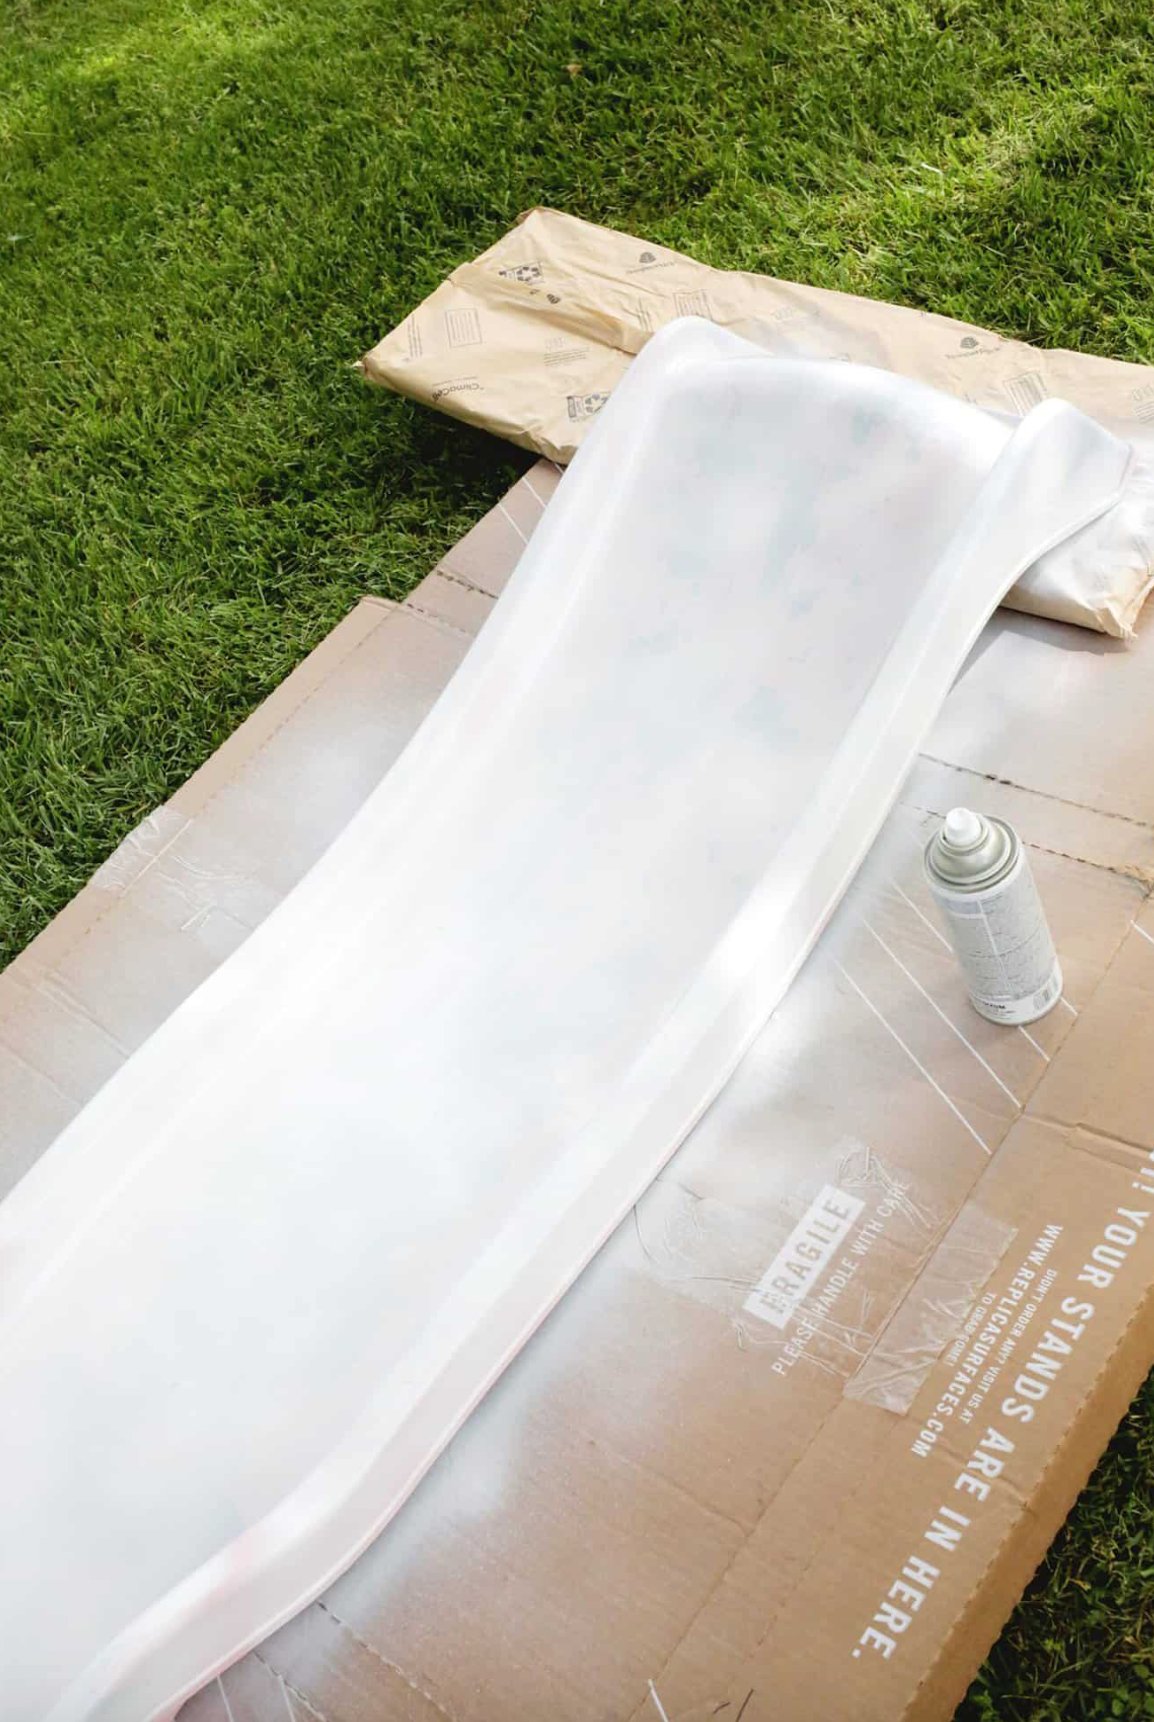
Step 3: Priming. Apply one thin, even layer of plastic primer. Start around edges, grooves, and raised details with a fine brush, then cover flat areas with a roller. Tape off labels, hinges, rubber feet, glass, or metal hardware before primer goes on because primer is difficult to remove cleanly once it dries.
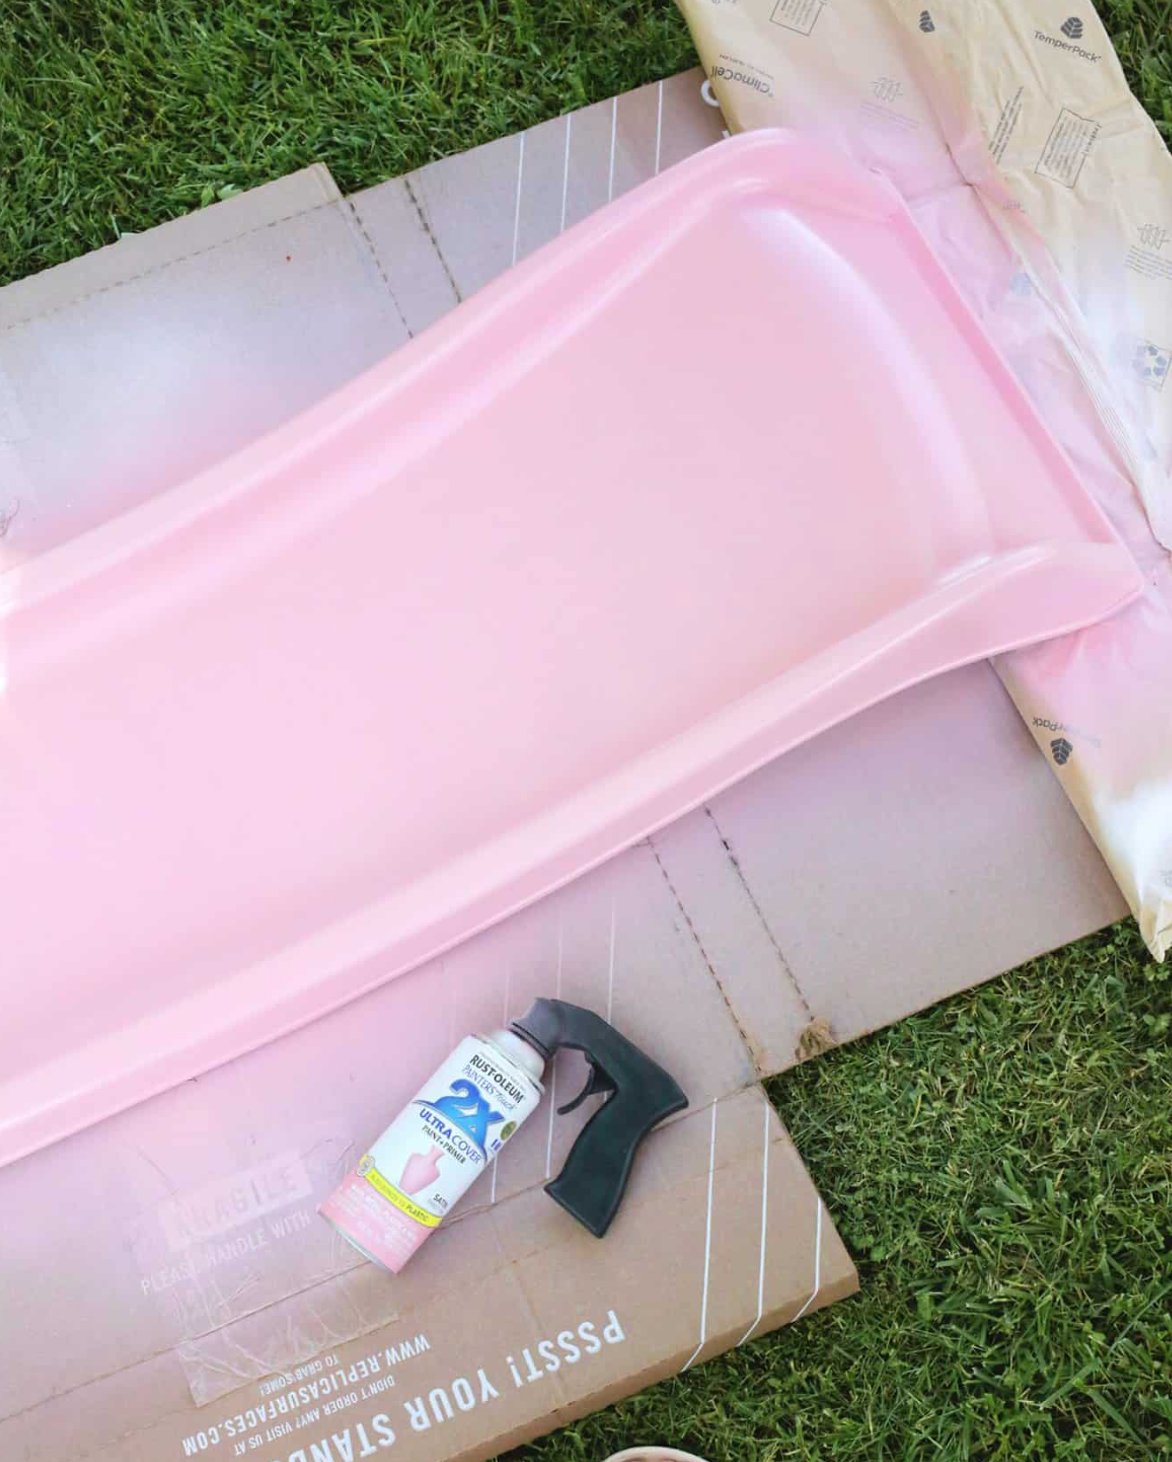
Step 4: Painting. Temperature matters. Aim for 40°F to 70°F unless the paint label gives a narrower range, and avoid wind, direct sun, and damp mornings. Start with a thin first coat, working from the edges in. If you are using both brush and roller, smooth brush marks with the roller while the paint is still wet. Give the first coat a full hour to dry, then apply a slightly fuller second coat.
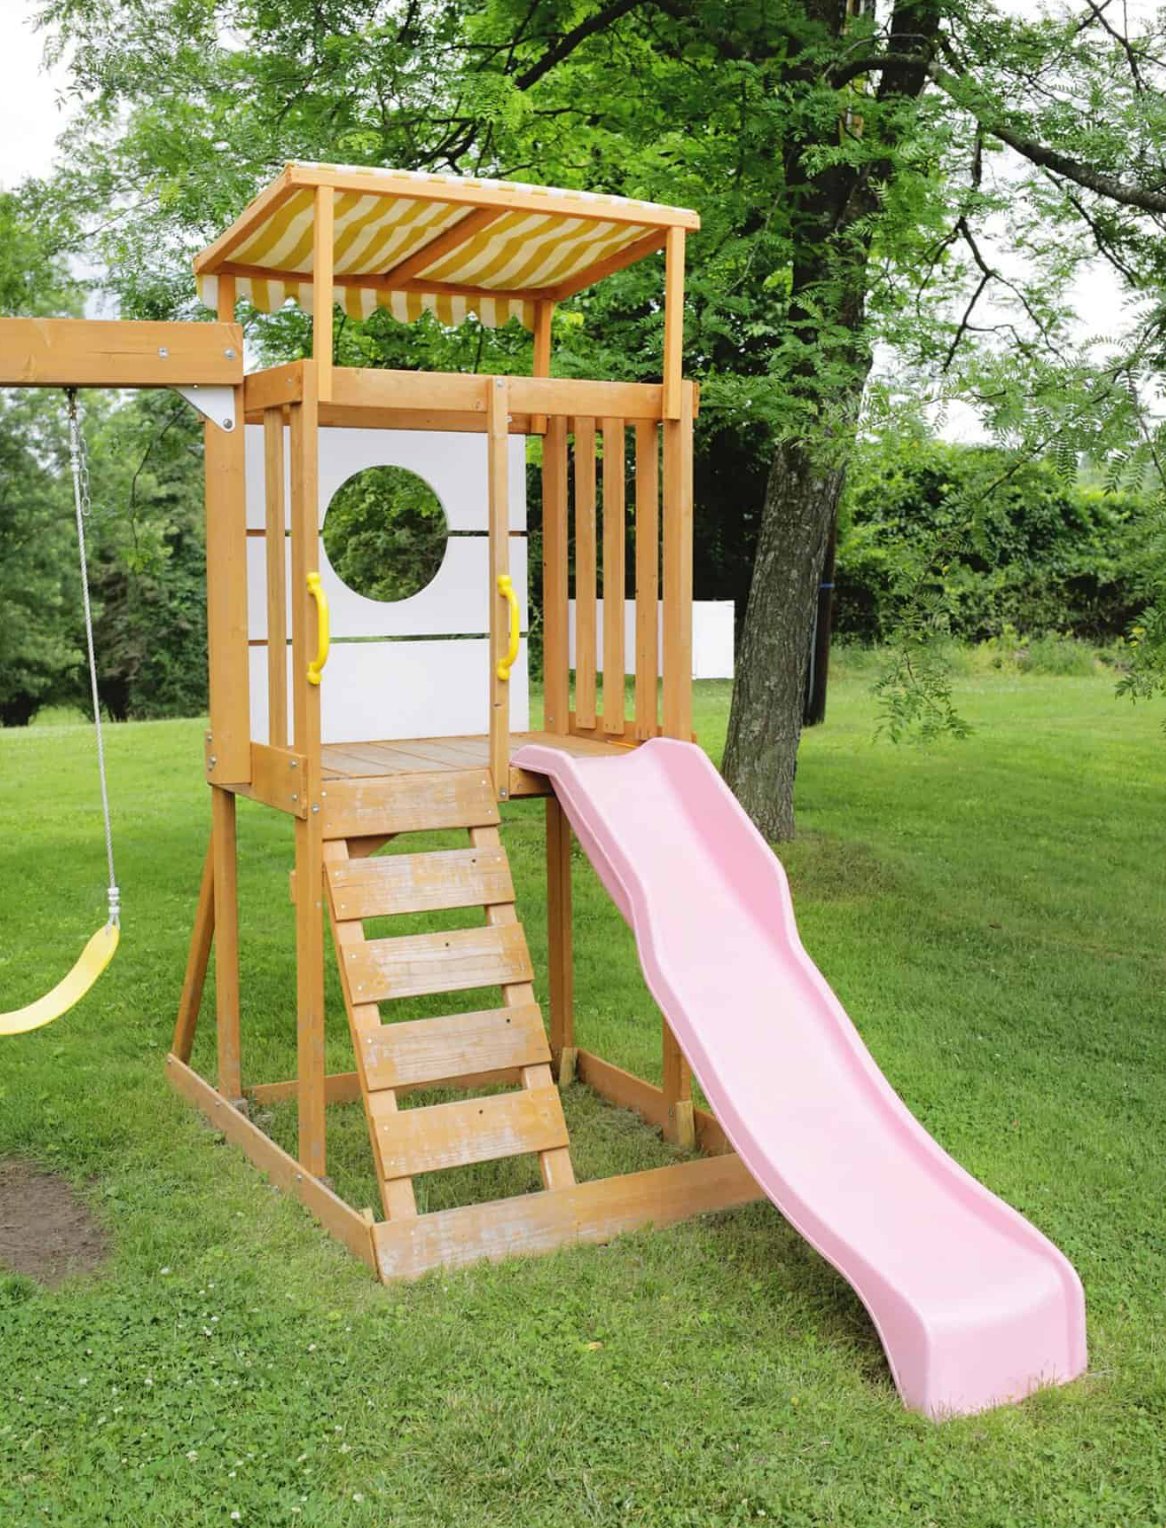
Step 5: Finishing Up. Once the second coat is completely dry, check the surface from a low angle. If you see thin spots, missed edges, or darker plastic showing through, add a third thin coat. Thin layers last longer than heavy ones because they dry harder, drip less, and are less likely to wrinkle.
Let the piece cure before you put it back into hard use. A surface can feel dry in 20 minutes and still be soft underneath, especially on flexible plastic. I try to give outdoor furniture, bins, and planters at least a day before handling and longer before dragging, stacking, or washing.
If the paint fails, it usually fails at one of three points: grease left on the plastic, not enough scuff sanding, or coats applied too thick. Fix those, and even basic plastic pieces can look clean and intentional instead of painted in a hurry.

I'm Elizabeth, your go-to guide for all things paint and design! My days are filled with color swatches and innovative room makeovers. When I'm not painting the town - literally - I'm soaking up inspiration from my travels. This blog is my way of sharing my passion and making the world a more vibrant place, one color palette at a time.