Best Paint Sprayers for DIYers
The first time I used a paint sprayer on kitchen cabinets, I understood why pros bother with all the masking. The doors dried with a flat, even finish, no brush ridges in the rails and no roller texture on the panels. Since then, I've used sprayers on walls, doors, trim pieces, outdoor furniture, and garden projects.
A paint sprayer is not less prep. It is less application time. Once the room or work area is masked, you can apply an even coat of paint in just minutes, and the finish is usually cleaner than hand painting on carved, paneled, or textured surfaces.
These are the three paint sprayers I reach for most often on real projects. One is a cheap cordless sprayer for small work, one is a serious DIY airless machine, and one makes sense only if you spray often enough to justify the cost.
What Can You Actually Paint With a Paint Sprayer?
A paint sprayer can handle anything from tiny figurines to full house exteriors, but the right sprayer depends on the size of the surface, the coating, and how much overspray you can control.
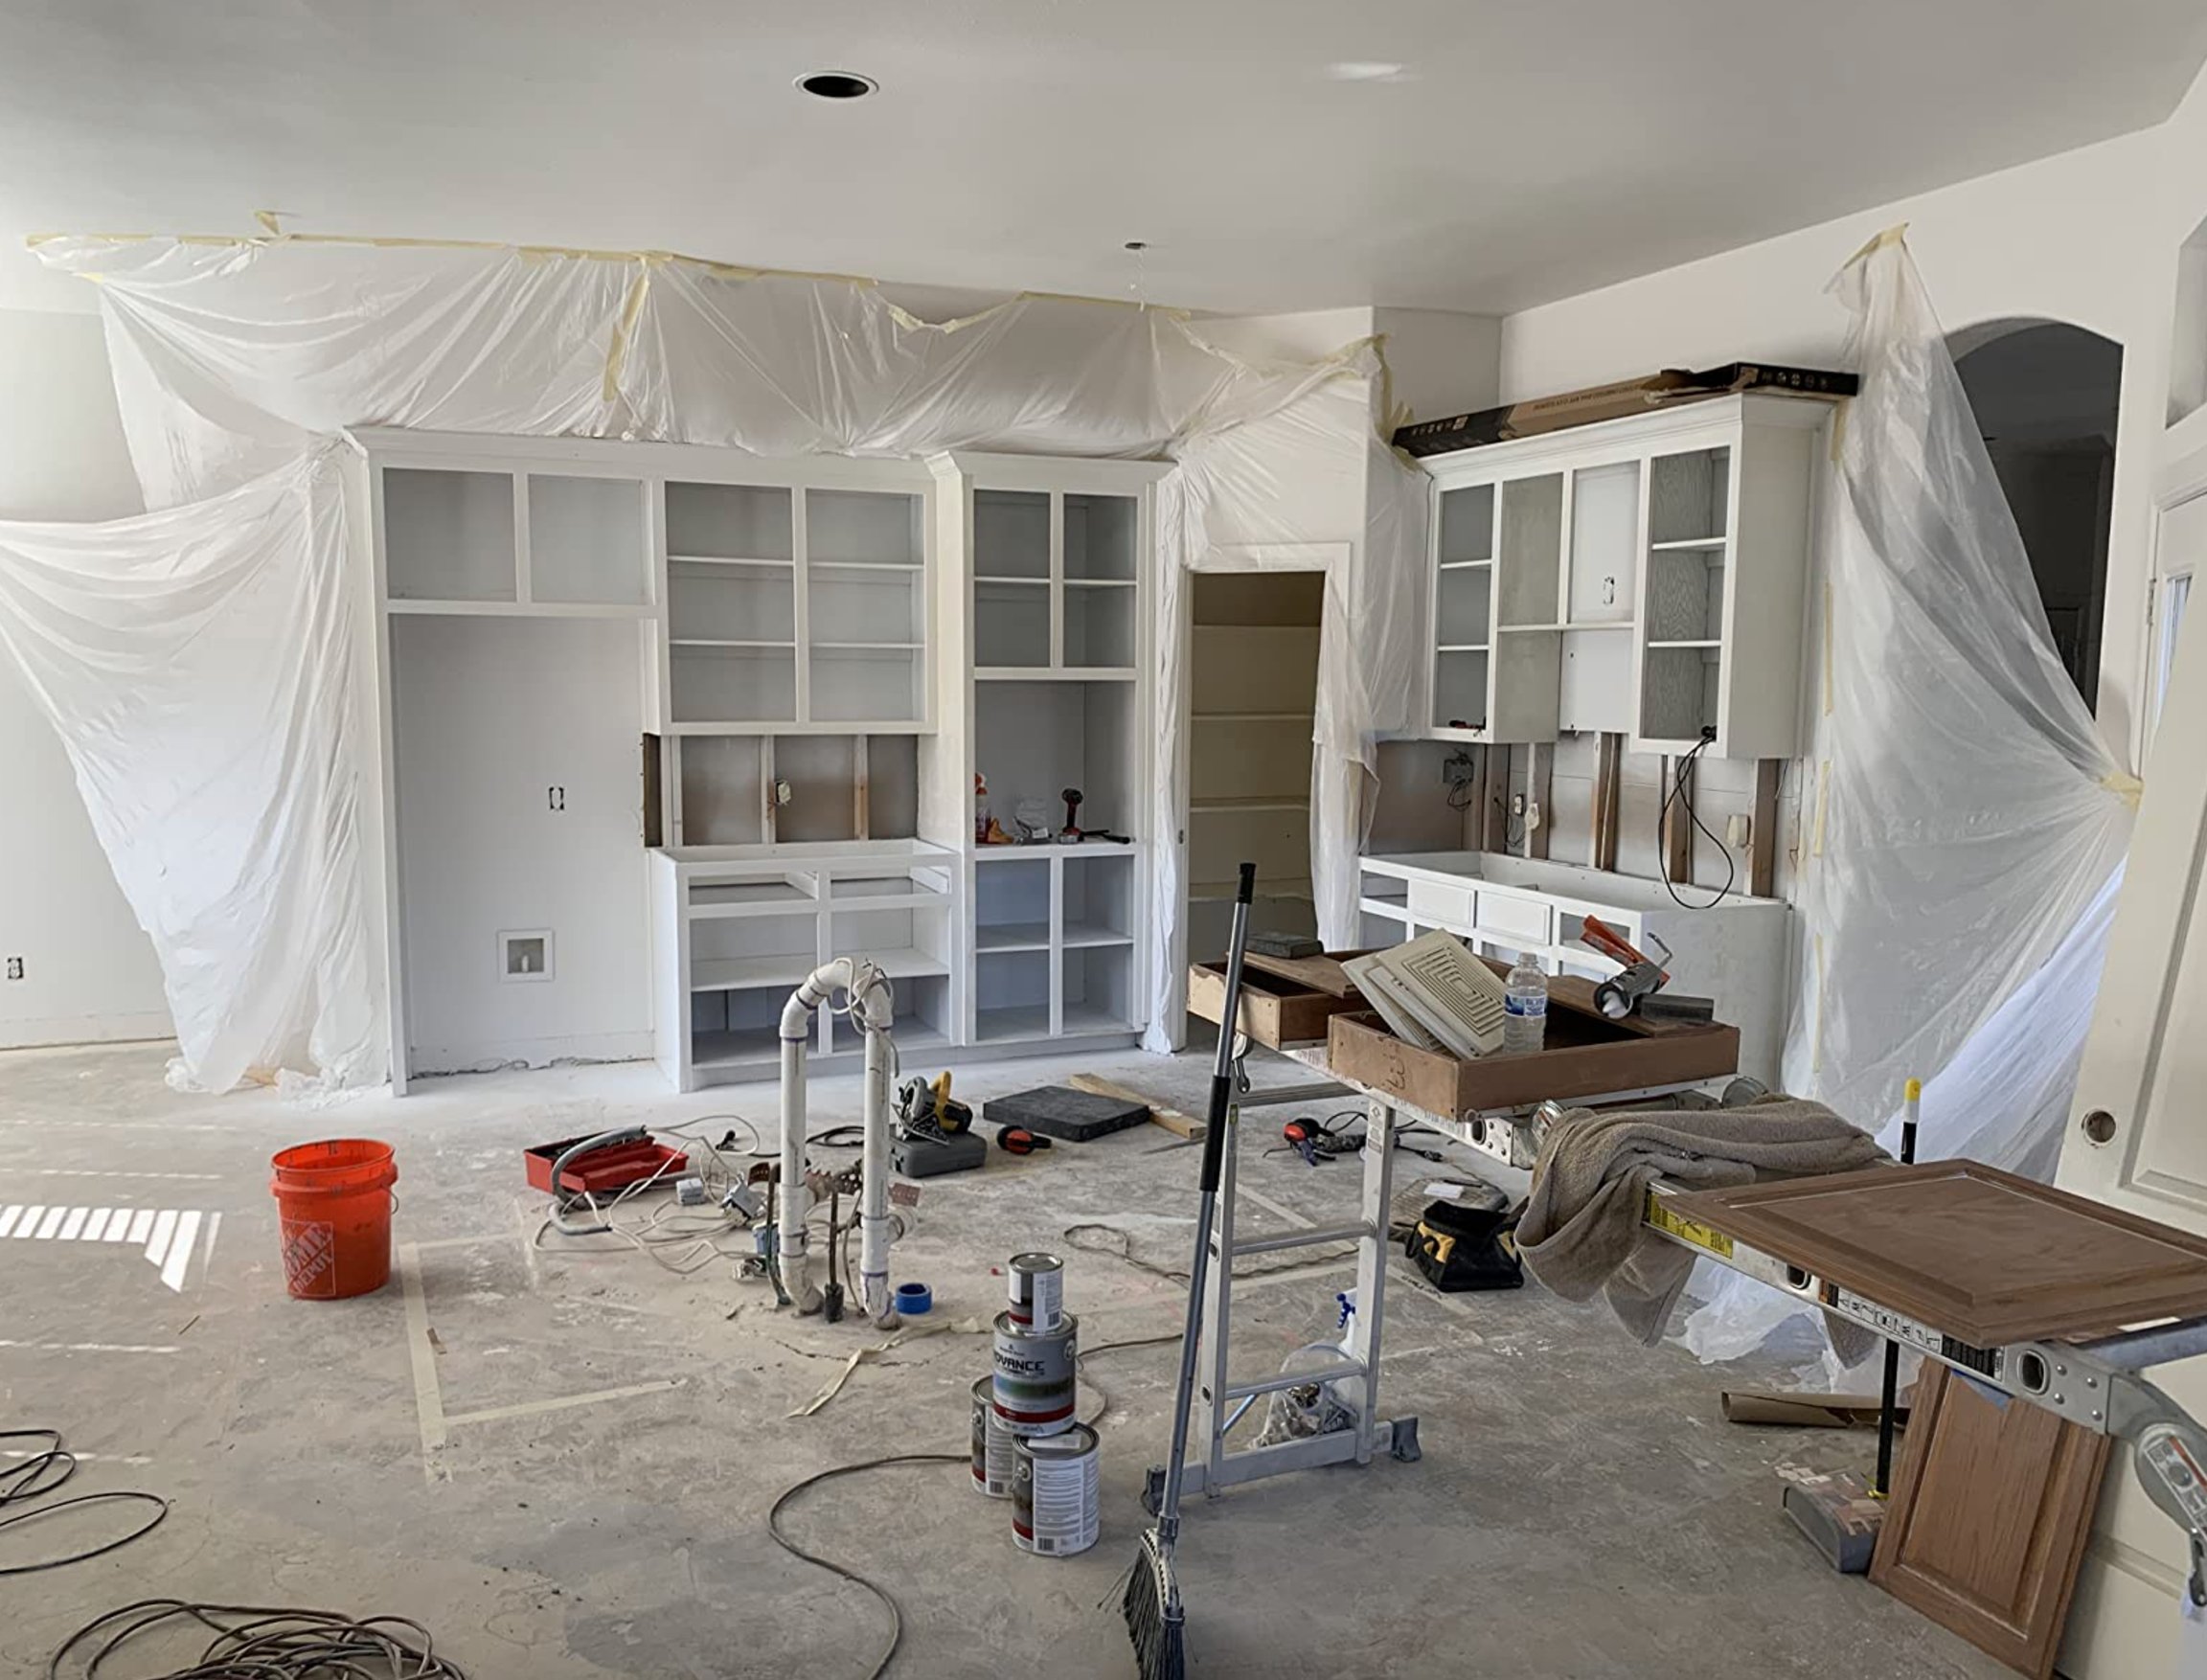
Sprayers earn their keep on surfaces that punish a brush: turned chair legs, recessed cabinet doors, louvered closet doors, wicker, rough fencing, and heavy wall texture. A brush leaves buildup in corners, while a sprayer can put down a thinner coat if you keep your distance and passes consistent.
Here is where I would actually choose spraying over brushing or rolling:
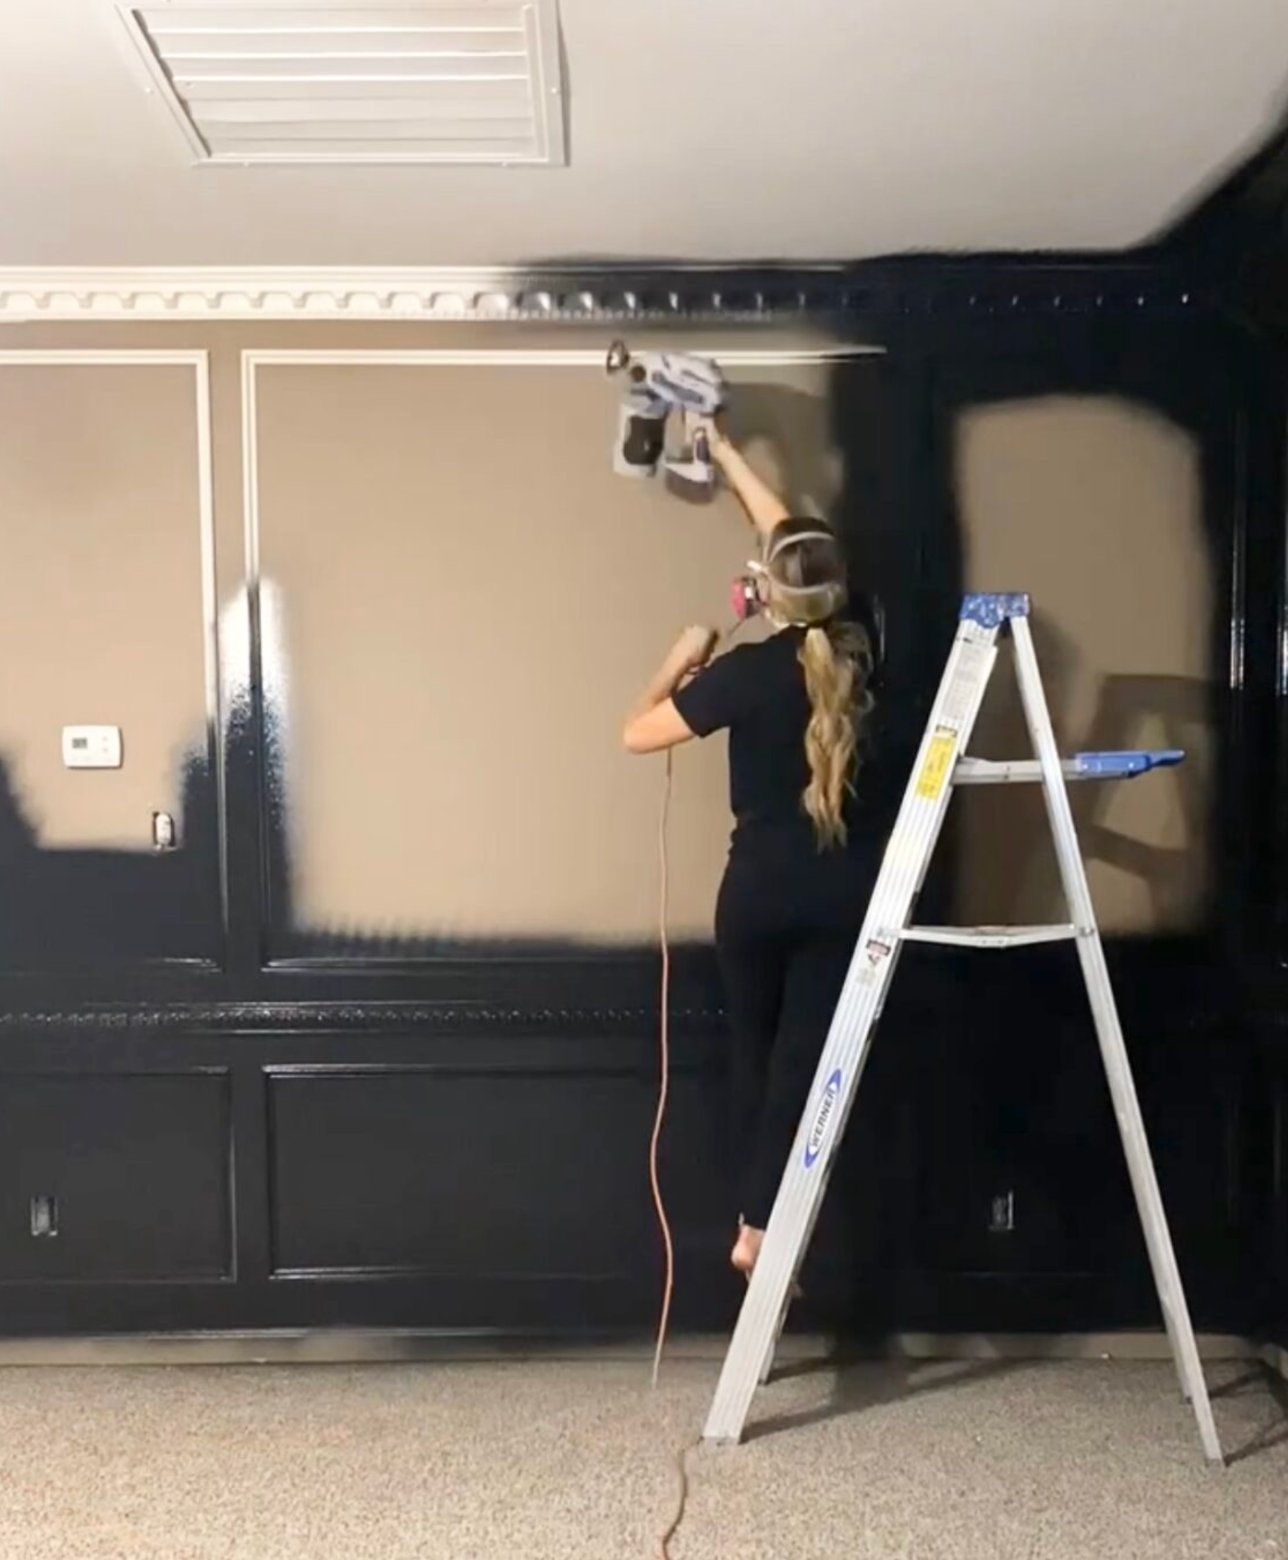
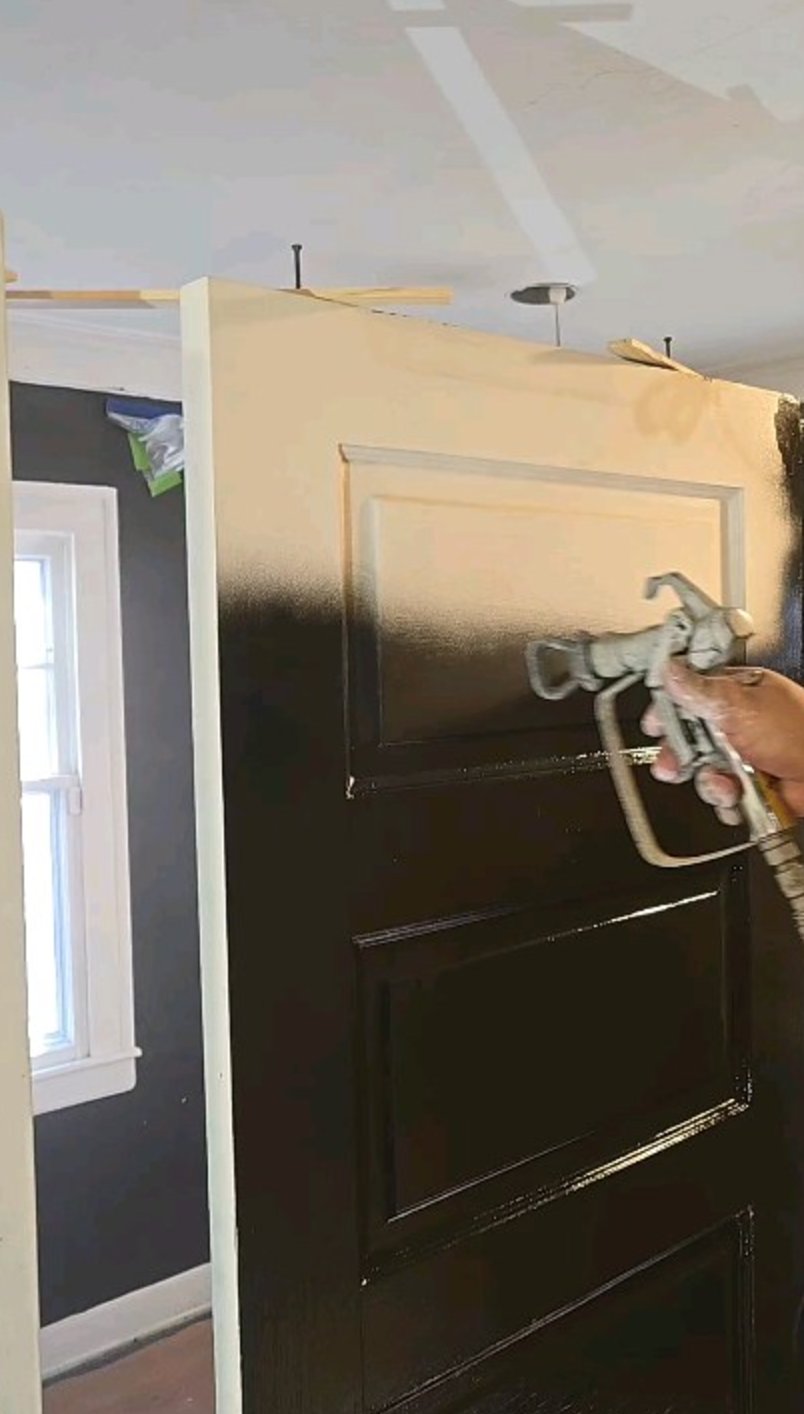
Inside your home, I like sprayers for empty rooms, new drywall, ceilings, doors, and especially kitchen cabinets. Cabinets are where the difference is easiest to see because sprayed enamel levels across the flat center panels instead of showing brush starts and stops.
For an empty room, the actual spraying can take a couple of hours instead of a full day with a roller. The tradeoff is masking. Floors, windows, outlets, lighting, vents, and anything with a finished surface need protection before you pull the trigger.
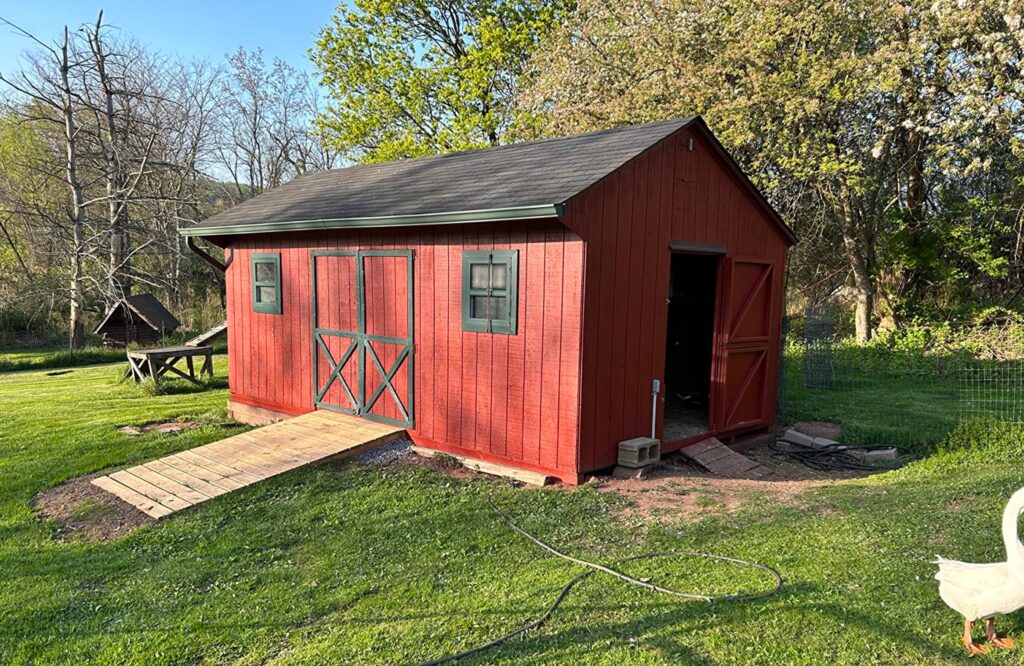
Outside, sprayers make the most sense on fences, decks, sheds, siding, and house exteriors. A fence that would take days by brush can become a single-morning spray job, but wind matters. I do not spray exterior paint on a gusty day, near cars, or near a neighbor's property line without serious containment.
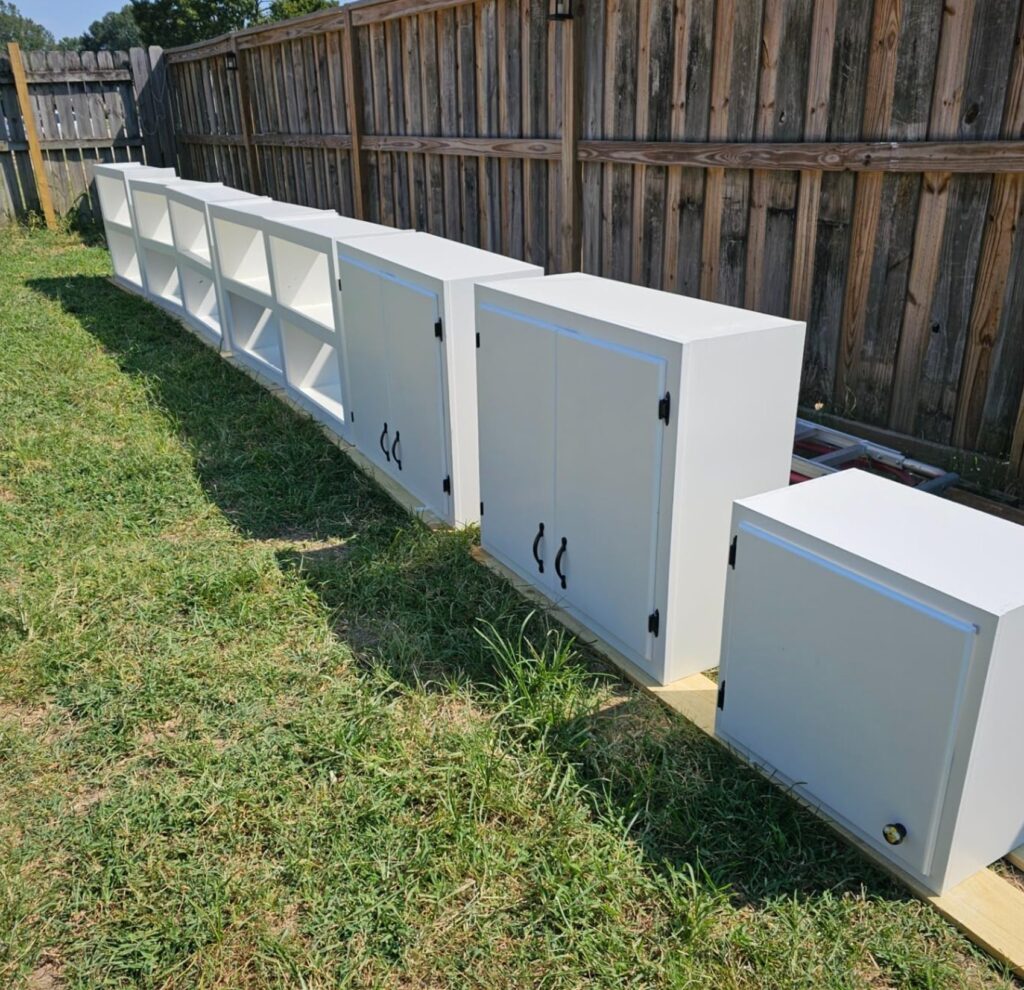
As for furniture, sprayers are best on pieces with detail: carved chairs, decorative dressers, caned fronts, and wicker. The goal is a thin coat that settles into the detail without filling it in, which is why several light passes beat one heavy pass every time.
Prep decides the result. Mask wider than you think, clean the surface well, and test the spray pattern before touching the real piece. The painting goes fast only after that work is done.
My Favorite Paint Sprayer Gun for DIY Projects
For small DIY projects, I usually grab the cordless IEBUDA. Full disclosure, it is a typical Amazon no-name sprayer and looks almost identical to LESONJOY. I treat these as light-duty tools, so I buy whichever one is on the better sale.
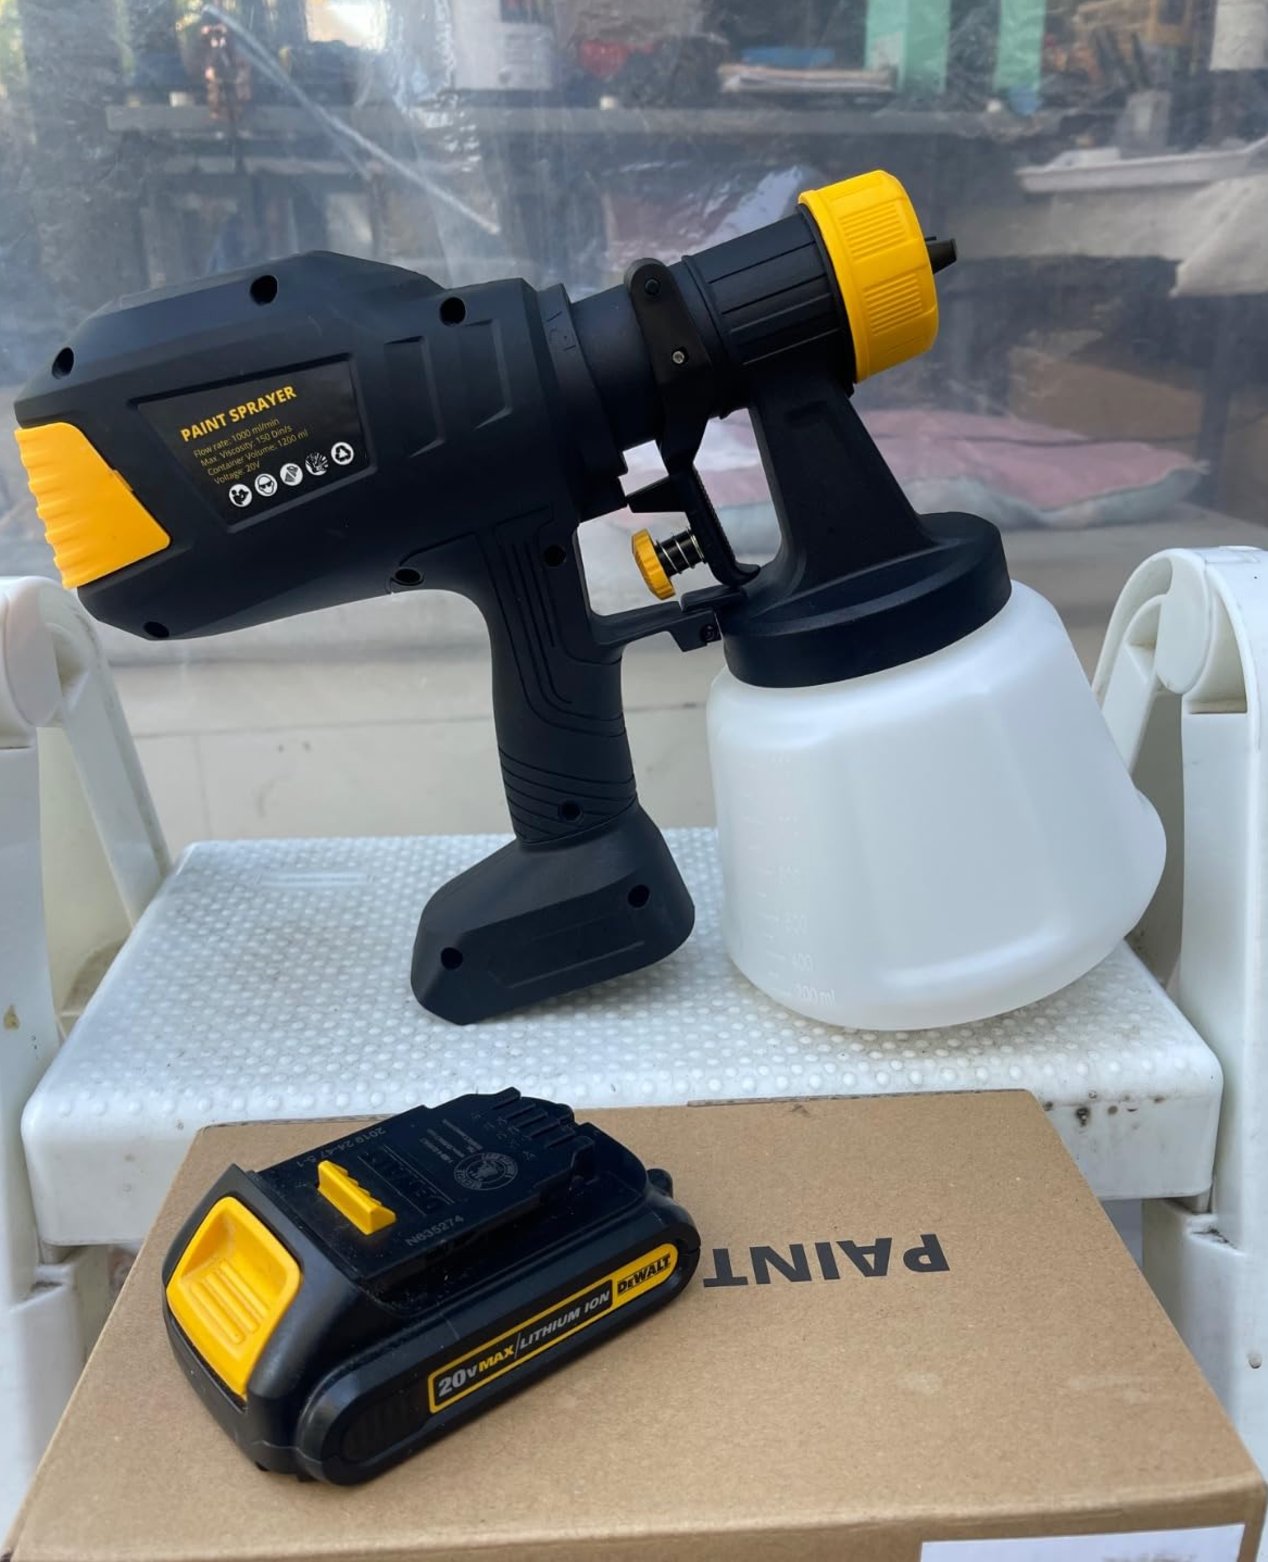
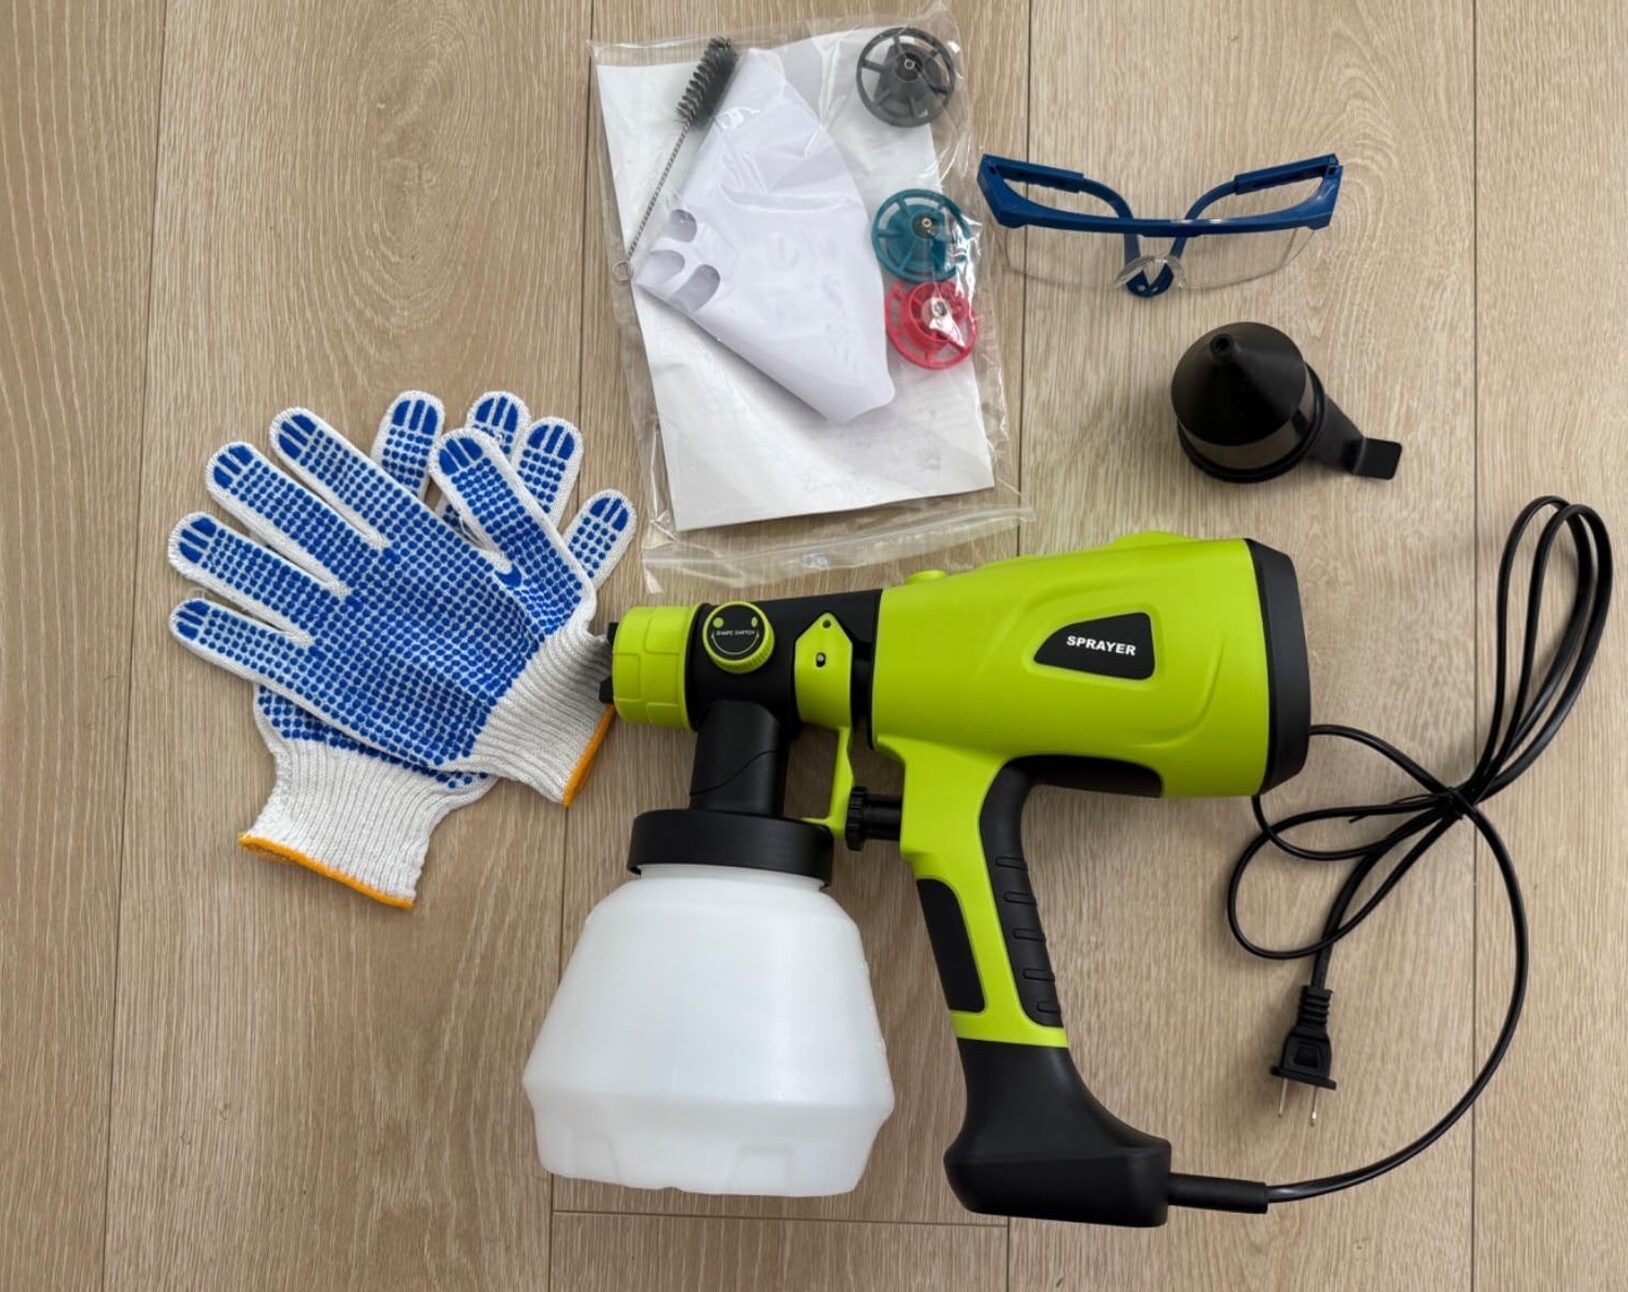
The best part? It works with DeWalt 20V batteries. Since I already have those batteries from other tools, I do not have to keep another charger around. The brushless motor is quiet enough for garage work and puts out enough paint for chairs, small cabinet batches, doors, and touch-up projects.
It comes with 4 different nozzle sizes, and you can switch between horizontal, vertical, and circular spray patterns. The cup is large enough for a small furniture piece or several cabinet doors before you have to refill.
The coating range is the main reason I keep it around. Latex paint, polyurethane, and stain can usually go in straight from the can. Oil-based enamels and primers often need thinning, and I would rather thin in small amounts than flood a piece with a heavy first coat.
The downside? The plastic body feels like a budget tool. I would not buy it for weekly cabinet jobs or a full exterior. At this price point, though, it makes sense for occasional DIY work because a drop, clog, or worn seal is not a disaster.
Best Paint Sprayer for Serious DIYers
For big projects or a whole-house repaint, I would move up to the Graco Magnum X5. It costs quite a bit more than a budget handheld sprayer, around $350 compared to $50, but it is built for a different kind of job.
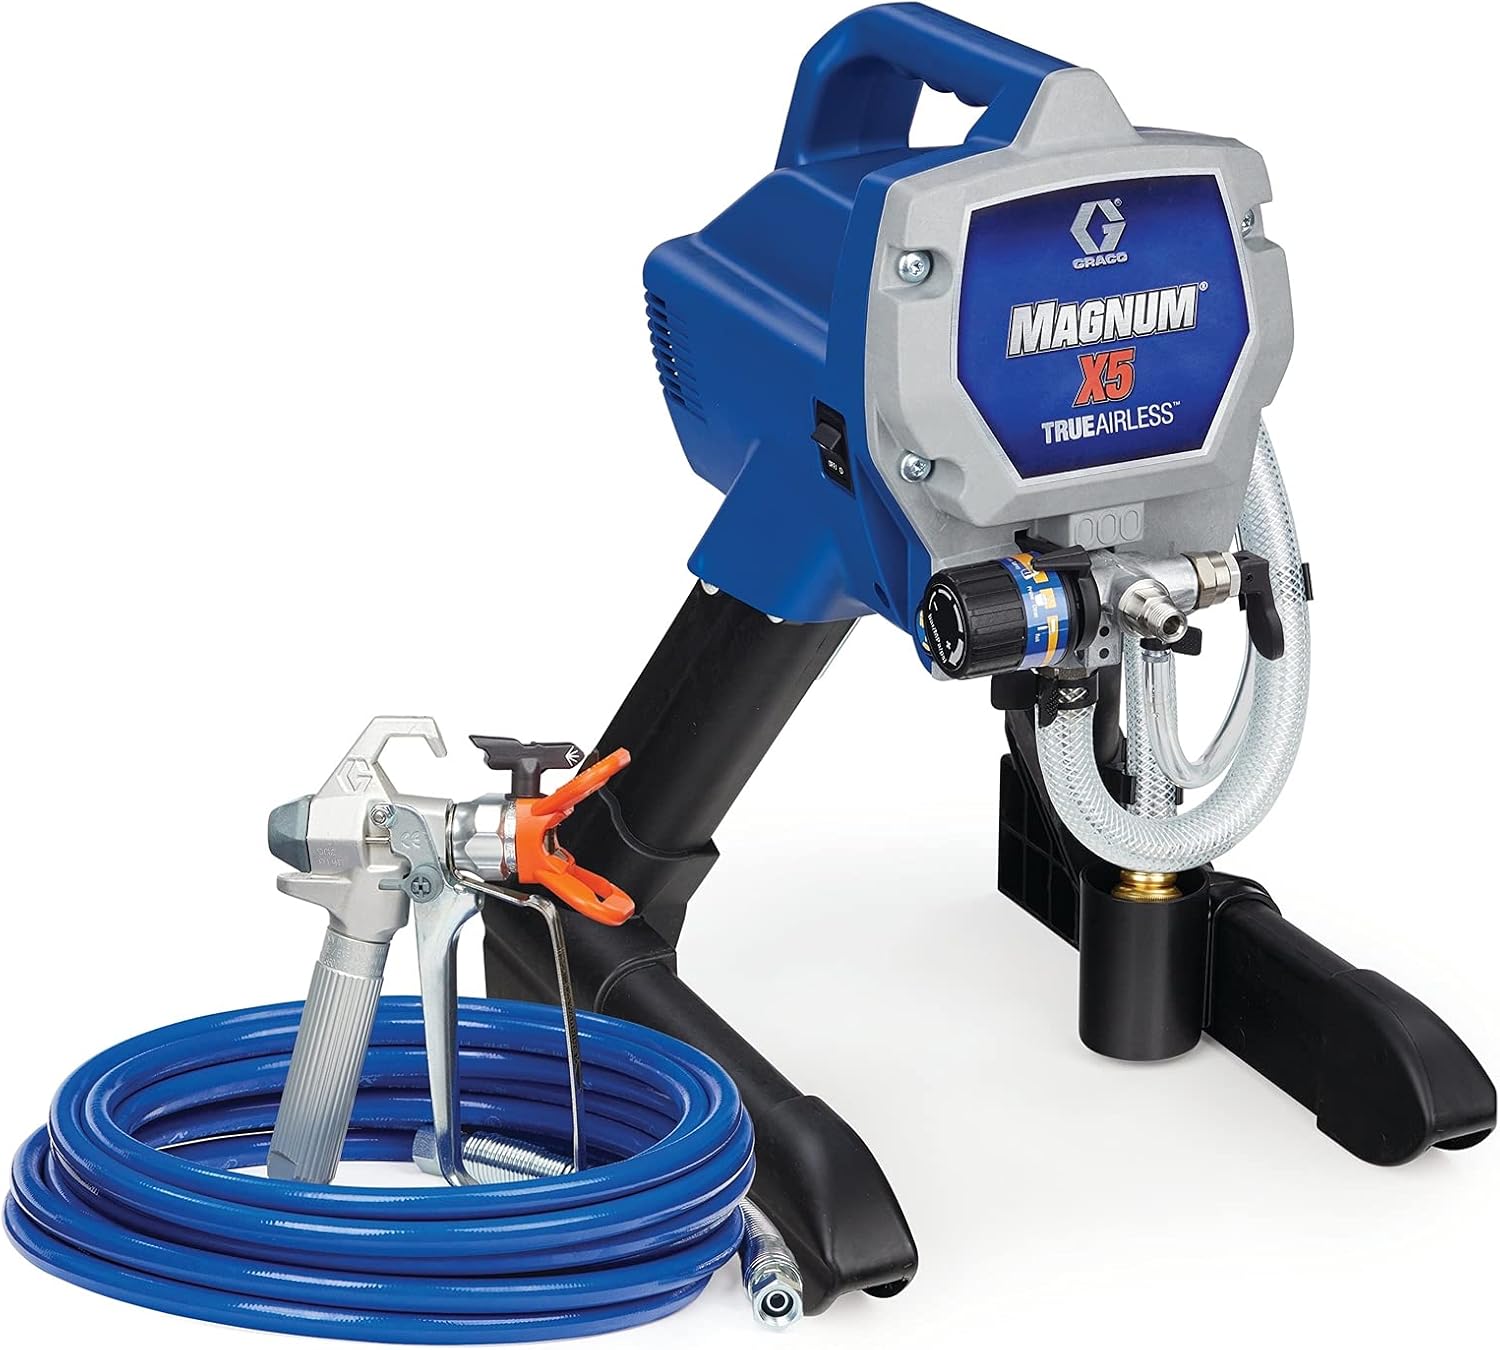
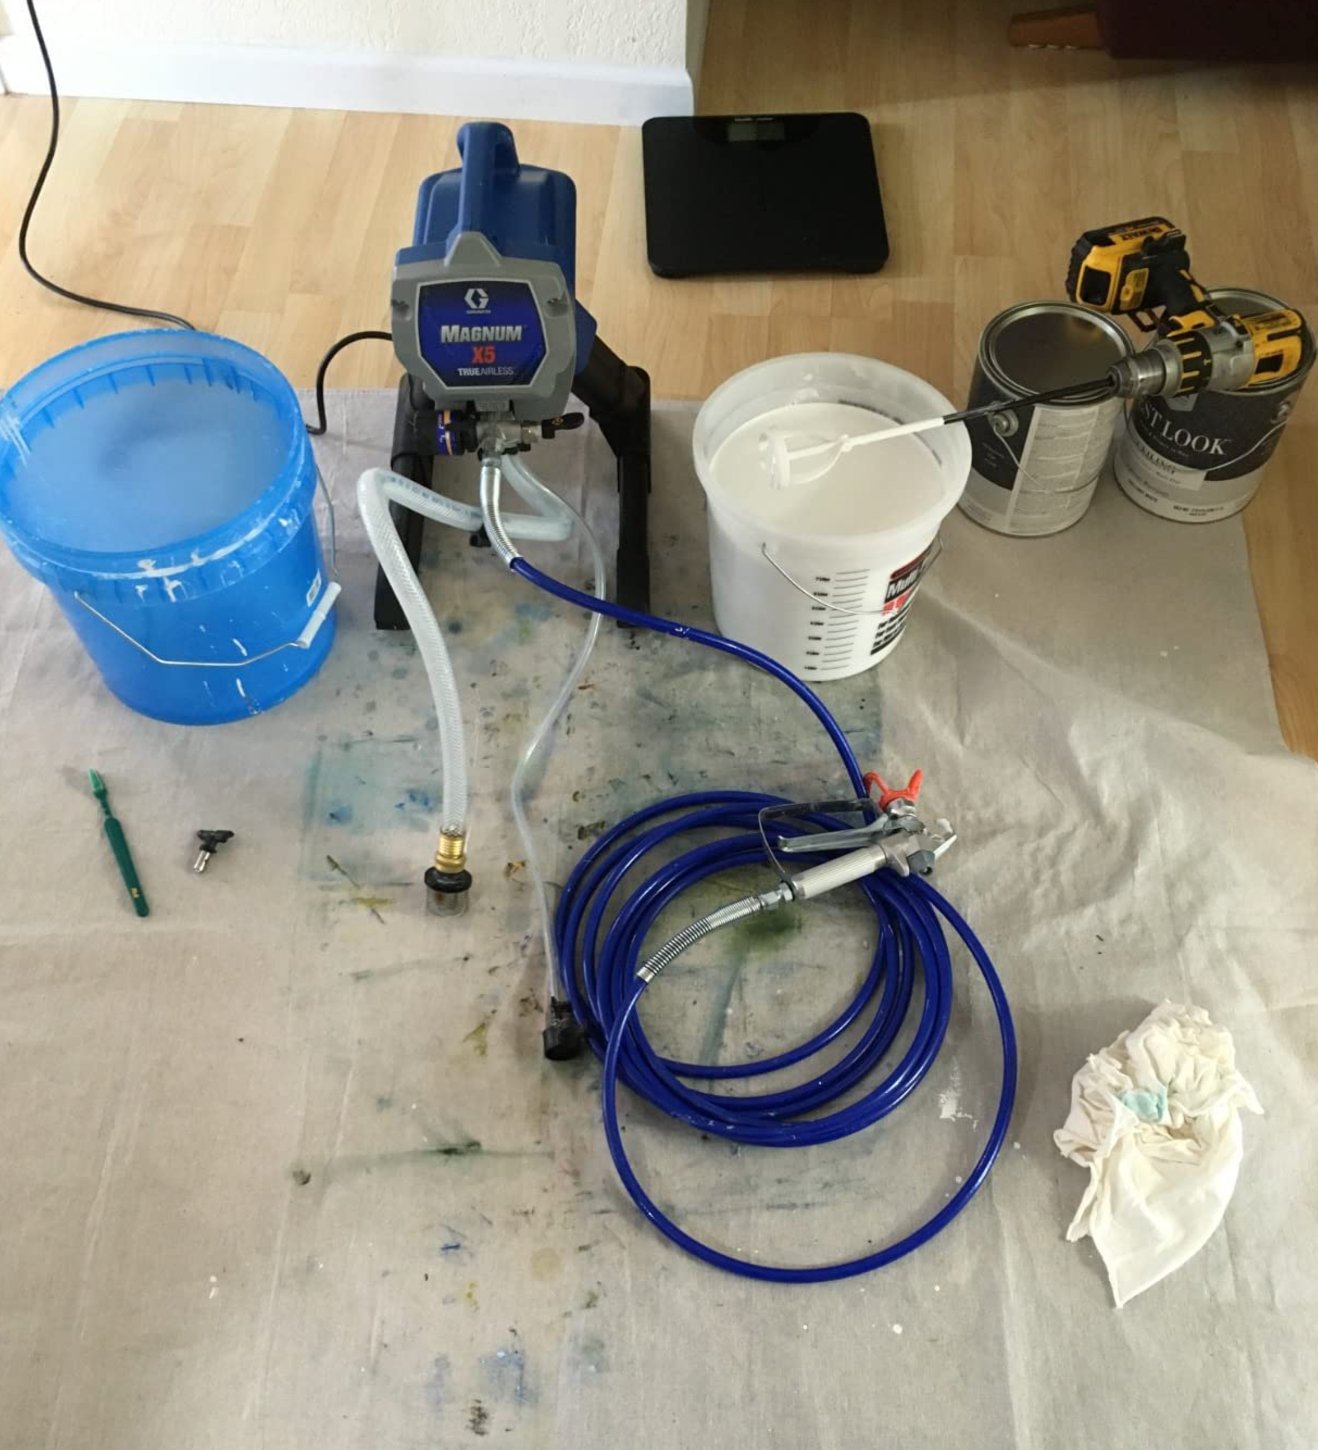
The X5 is the sprayer I would choose for walls, ceilings, fences, and exterior siding. It can handle cabinets too, although I would be careful with pressure and tip choice because an airless sprayer can put down more paint than a cabinet door needs.
On the technical side, 3000 PSI means it can spray paint straight from the can. The 75-foot hose gives you room to work around tall walls or the side of a house without dragging the pump every few feet.
The spray gun weighs less than a pound, so the hose becomes more tiring than the gun itself. You can also paint straight from a 5-gallon bucket, which saves constant refills on walls, fences, and exterior jobs.
Know the tradeoffs before you buy it: You will use about 50% more paint than with a roller. When the paint level drops to about 2 inches in the bucket, the pump starts losing suction, so you will need to pour the leftovers into a smaller container.
Read the manual before the paint is open. Priming, pressure adjustment, tip clearing, and flushing all matter, and they are much easier to learn when you are not standing next to a half-masked room.
Best Professional-Grade
The Graco ProX19 is semi-pro territory. For $750, you get a stainless steel piston pump that can handle undiluted paint at high pressure, which is useful if you spray often, take on small commercial jobs, or have rental properties, exterior siding, or repeated cabinet work lined up.
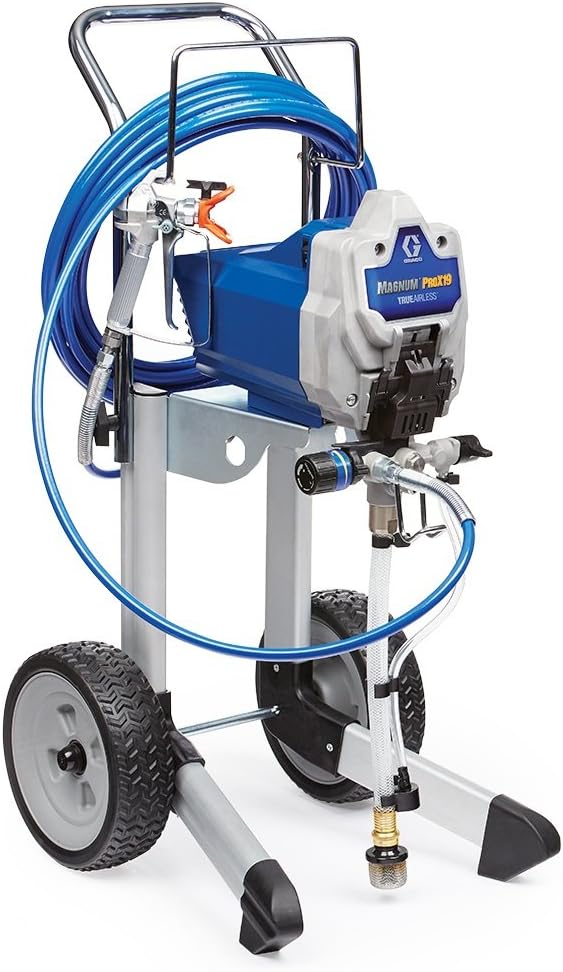
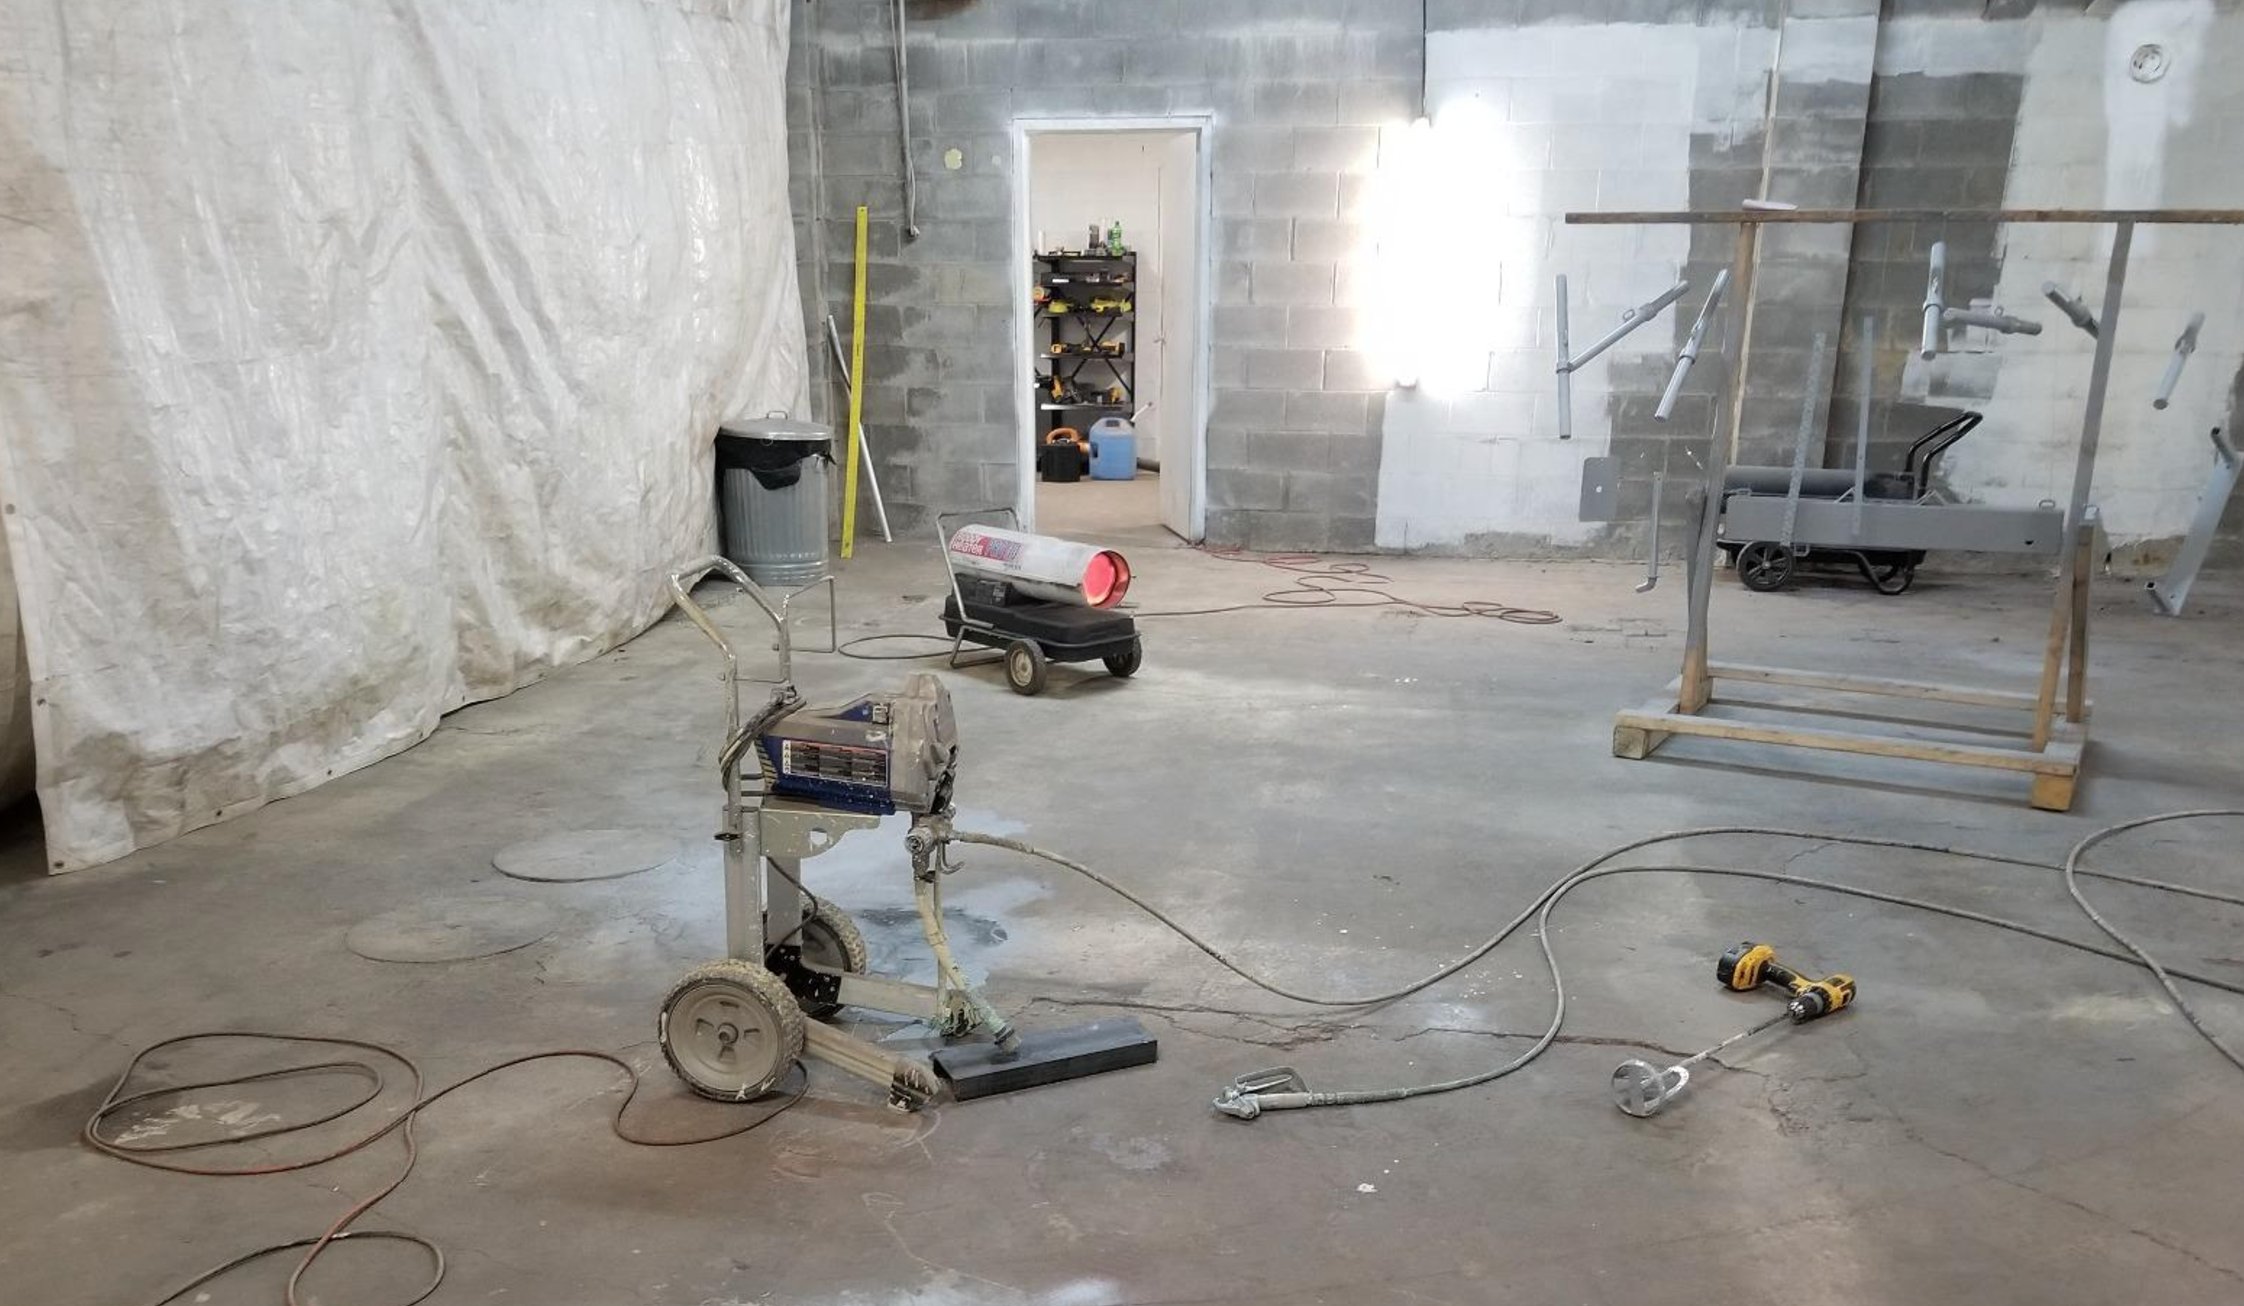
It can handle up to 500 gallons per year, which is more than most homeowners will ever run through a machine. The ProXChange system lets you swap out the pump on site without tools, a real advantage if downtime would cost you a day.
It is worth the investment if you have multiple large projects lined up and the budget for it. For one room, one dresser, or a single fence, it is more machine than you need.
Essential Accessories for Paint Spraying
Even a good sprayer gives poor results without the right prep and safety gear. I keep these supplies nearby before I mix or strain paint:
Protection:
- A good respirator with organic vapor filters and safety goggles for overspray mist, primer odor, and solvent-based coatings
- Coveralls or old clothes with long sleeves because fine overspray settles on cuffs, hair, and shoes
- Several pairs of nitrile gloves so you can change gloves after thinning paint, clearing a tip, or handling tape
Prep work:
- ScotchBlue painter's tape for trim edges, plastic sheeting, and labeling cabinet doors
- Drop cloths for floors and furniture, plus plastic sheeting if you are spraying near windows or built-ins
- Surface degreaser for cabinet doors, handrails, old trim, and anything touched often
- 120 and 220 grit sandpaper, 120 for roughing glossy surfaces and 220 between finish coats
Cleanup:
- The right solvent for your paint type, water for latex and the listed solvent for oil-based products
- Tip cleaning brushes for the nozzle, pickup tube, cup threads, and tiny dried-paint edges
- Lint-free rags so fibers do not end up in your finish or inside the sprayer
What to Look for in a Paint Sprayer
Most sprayer specs sound more complicated than they are. These are the ones that actually change the finish, the mess, or how tired you are by the end of the job.
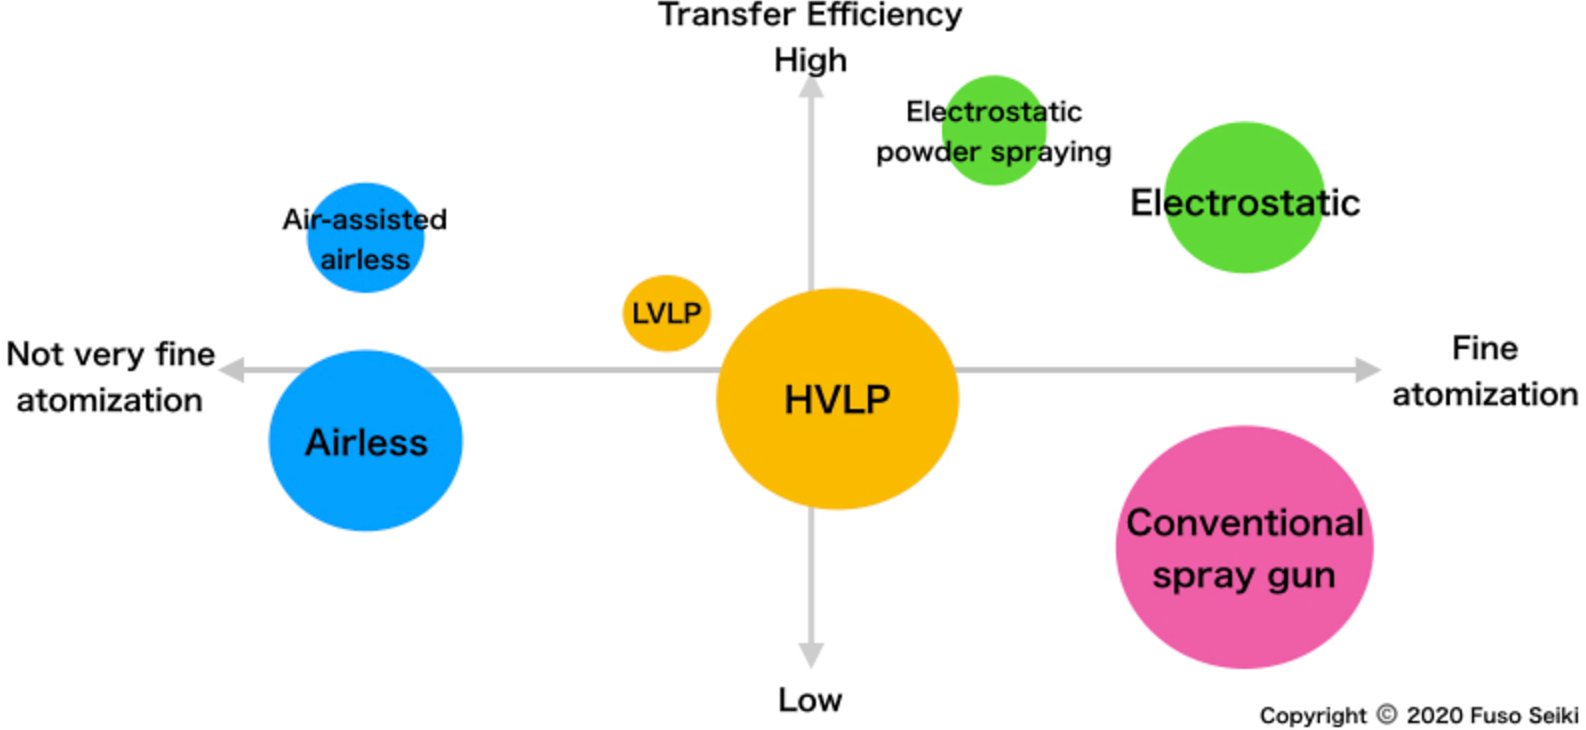
1) First up is spray type. Airless sprayers are workhorses for thick paints and big surfaces, which is why I use them for walls and ceilings. HVLP systems are slower, more controlled, and waste less paint, so they make more sense for furniture and detailed work.
If you are choosing between the two, start with the project size. A bedroom, fence, or exterior points toward airless. A dresser, chair, small door batch, or stain project points toward HVLP.
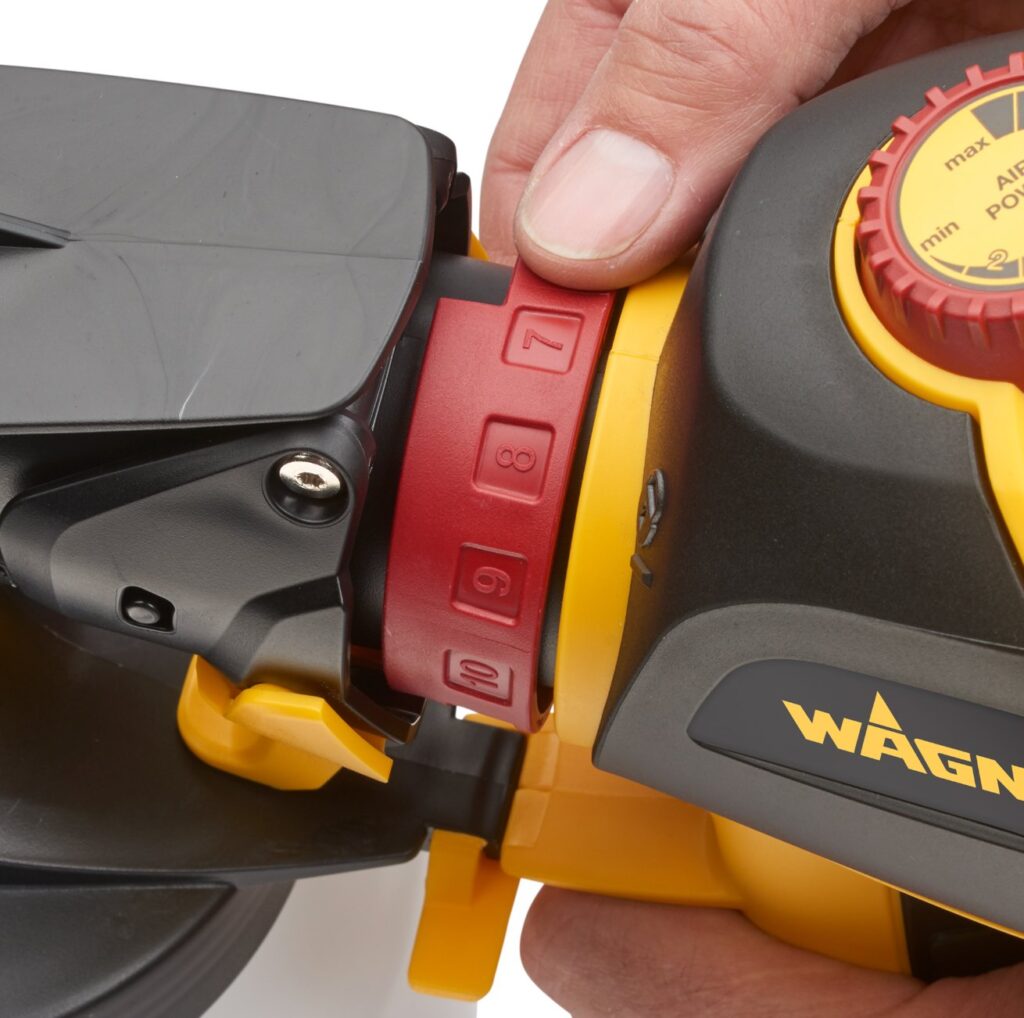
2) Power and pressure make a big difference in your results. Too little pressure gives you spitting, tails at the edge of the fan, and uneven coverage. Too much pressure creates bounce-back, airborne overspray, and wasted material.
Look for a sprayer that lets you adjust pressure for the coating and surface. I usually start lower than I think I need, test on cardboard, then raise pressure only until the fan pattern looks even.
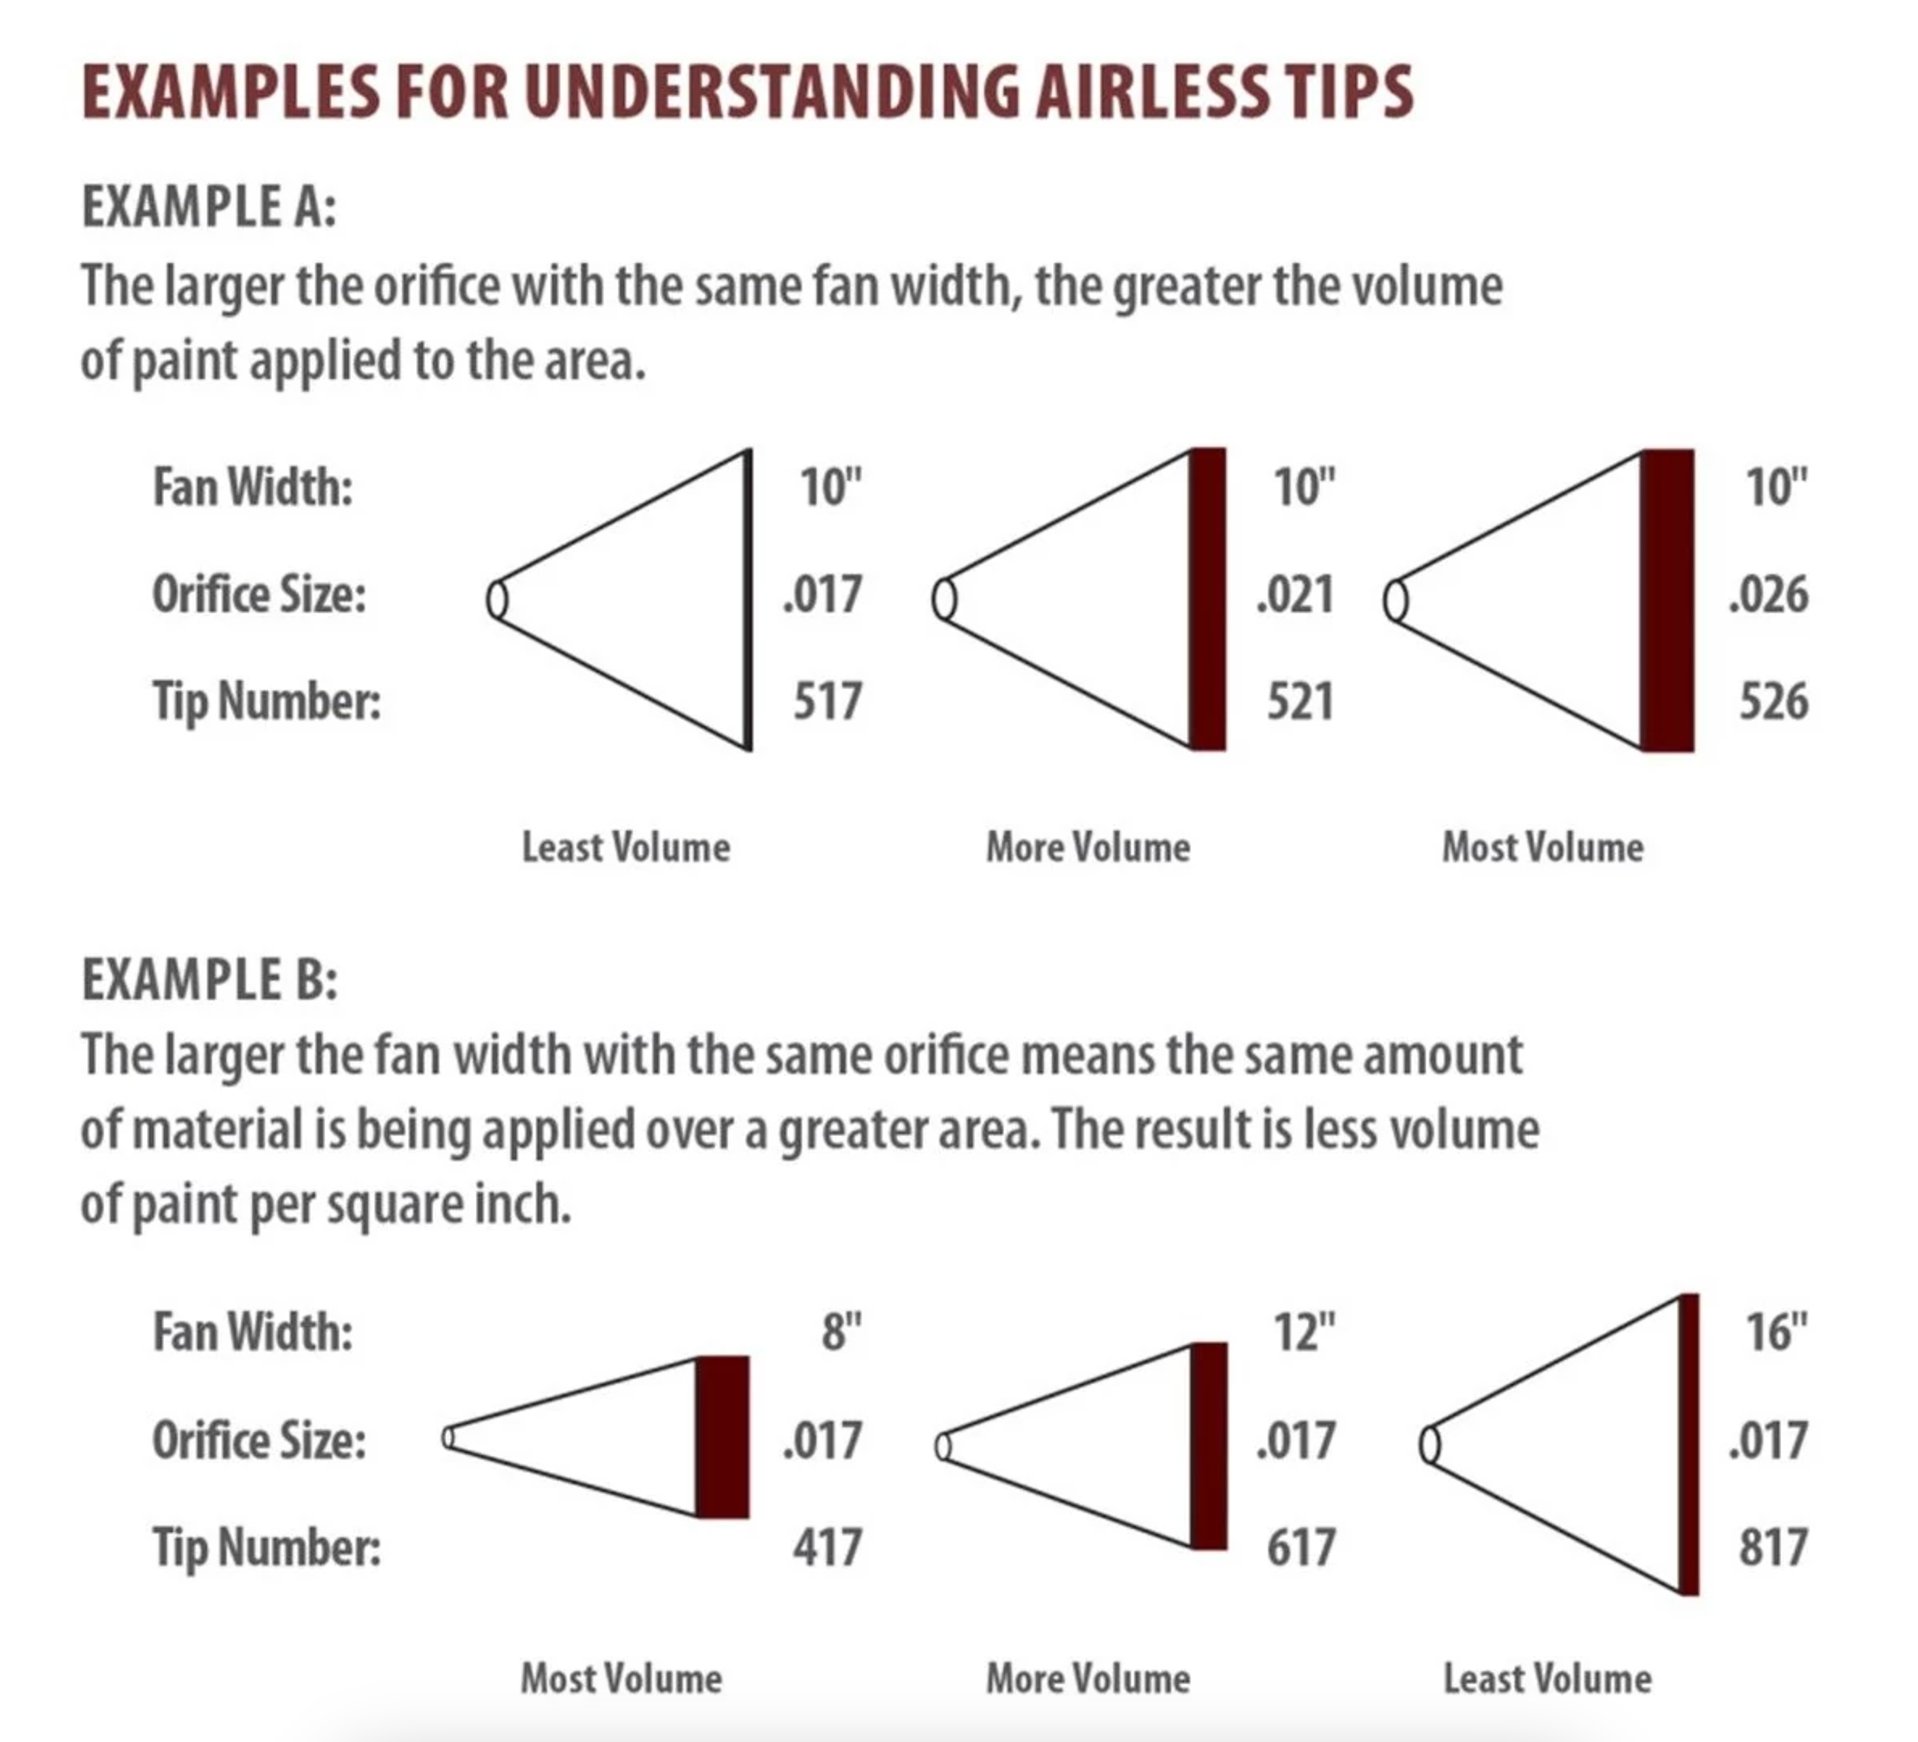
3) Tip size really matters: latex paints need at least 0.015 inches, while stains work fine with 0.011. Swappable tips are useful if you move between wall paint, enamel, stain, and clear finish because each coating atomizes differently.
4) Don't overlook the filters. A good filter catches dried bits from the rim of the can and tiny debris from old paint. Straining paint before it goes into the cup or hose is still worth doing, especially for cabinet enamel.
5) Pay attention to how the sprayer feels when used. Weight, hose length, trigger feel, and easy pressure adjustment matter after the first hour. For big jobs, choose a unit with wheels so you are not carrying the pump while managing a hose and wet paint.
Best Paint for Airless Sprayers
Most modern airless sprayers can handle the paints you will find at a paint store or home center. The bigger question is whether the coating is the right one for the surface you are spraying.
Water-based latex paints are the easiest option. They dry fast and cover evenly, especially on big surfaces like walls and fences.
For furniture and cabinets, I lean toward acrylic enamels because they cure harder and tend to sag less when sprayed in thin coats. Oil-based paints need more attention, and you will usually need to thin them to get the right consistency.
Paint consistency matters. Too thick, and it can clog the tip or leave a rough spray pattern. Too thin, and it runs down vertical surfaces.
Here is a quick test: dip a stir stick in the paint. It should flow like heavy cream.
For indoor work, low-VOC paint makes the room easier to live with after cleanup, but you still need ventilation and a respirator. For exterior work, look for UV protection and built-in mold resistance, especially on shaded siding, fences, and damp climates.
Clean the sprayer right after you finish. Dried paint in the tip, cup, hose, or pump is the fastest way to turn a useful tool into a frustrating one.
Tips for Using a Paint Sprayer
These are the habits that prevent most beginner sprayer problems: uneven coverage, runs, clogs, and overspray where you did not want it.
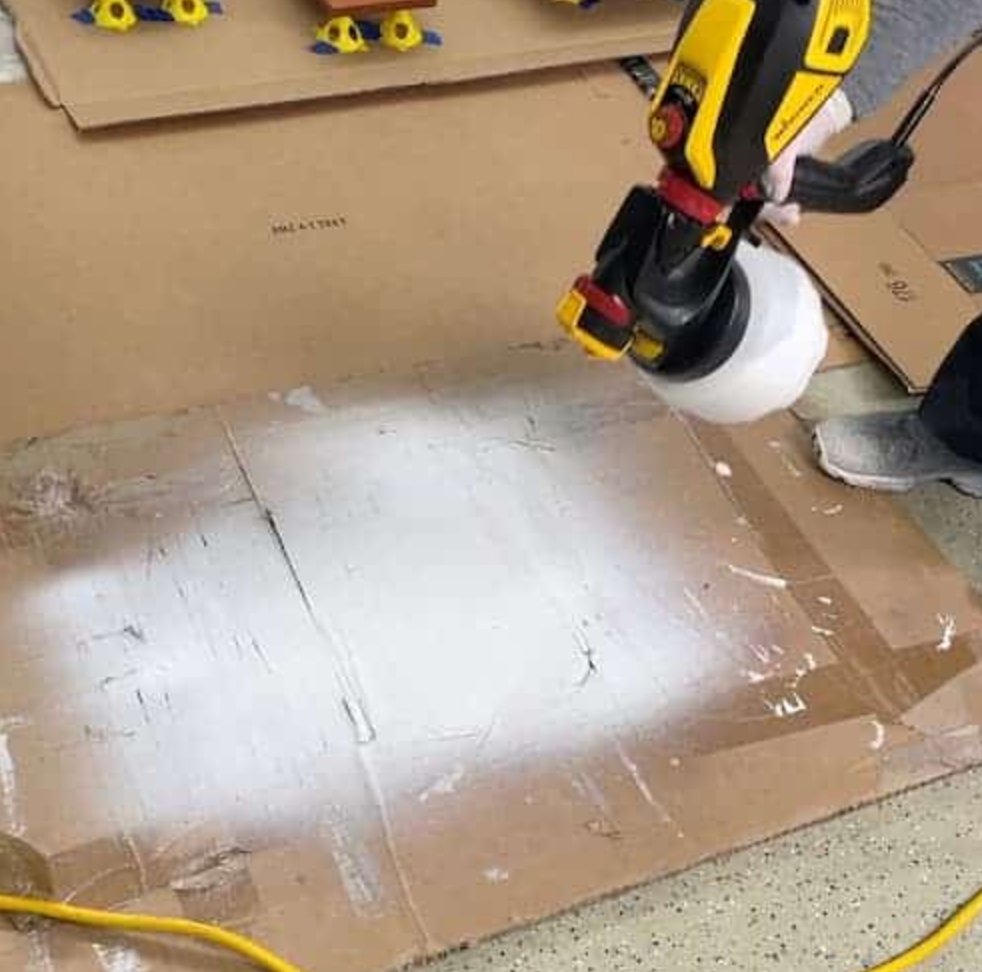
Test Run on Cardboard
Always start on cardboard before you spray the real surface. You are checking fan shape, distance, speed, and whether the paint is coming out smooth or spitting.
Try the vertical, horizontal, and round patterns before you commit. Use the pattern that lets you keep the gun square to the surface while covering the least awkward angle.
Spraying Technique
The rule is simple: keep the gun moving before you pull the trigger, and release the trigger before you stop the pass. If you pause while paint is flowing, you will get a run.
Use steady passes and overlap each stroke by about half. Keep your wrist straight, move your whole arm, and hold the sprayer the same distance from the surface from start to finish.
Paint Prep
There is no universal thinning formula. Start with the paint can directions, strain the paint, then adjust in small amounts based on the test pattern.
Safety First
Do not skip the safety gear. Wear a respirator even with water-based paint, protect your eyes, and ventilate indoor work. Put up more masking than you think you need because fine overspray travels farther than a brush drip.
Cleanup
Clean everything right away. Flush the cup, hose, pickup tube, gun, tip, and filters until the rinse runs clear. It is tedious after a long painting day, but it prevents clogs and keeps the spray pattern even on the next project.

I'm Elizabeth, your go-to guide for all things paint and design! My days are filled with color swatches and innovative room makeovers. When I'm not painting the town - literally - I'm soaking up inspiration from my travels. This blog is my way of sharing my passion and making the world a more vibrant place, one color palette at a time.