Best Paint for Kitchen Cabinets
The best paint for kitchen cabinets is a cabinet-grade enamel, not regular wall paint. Wall paint can look fine for a week, then start showing scratches around handles, greasy dull spots near the stove, and soft edges where doors rub.
I learned that the slow way, on real cabinet doors and sample boards. This guide covers the paint types, brands, finishes, prep steps, and failure points I look at before I tell a client to start painting.
Oil vs Water-based Paint
Oil-based paint used to be the standard for kitchen cabinets because it dried hard and handled repeated cleaning. I still respect that durability, but I rarely recommend old-school oil paint for a kitchen now. Modern cabinet enamels give you a tough film without the same odor, cleanup, and yellowing problems.
Oil-based paints take a long time to dry, smell strong for days, and need mineral spirits for cleanup. On white and pale cabinets, they can also yellow as they age, especially in areas that do not get much natural light.
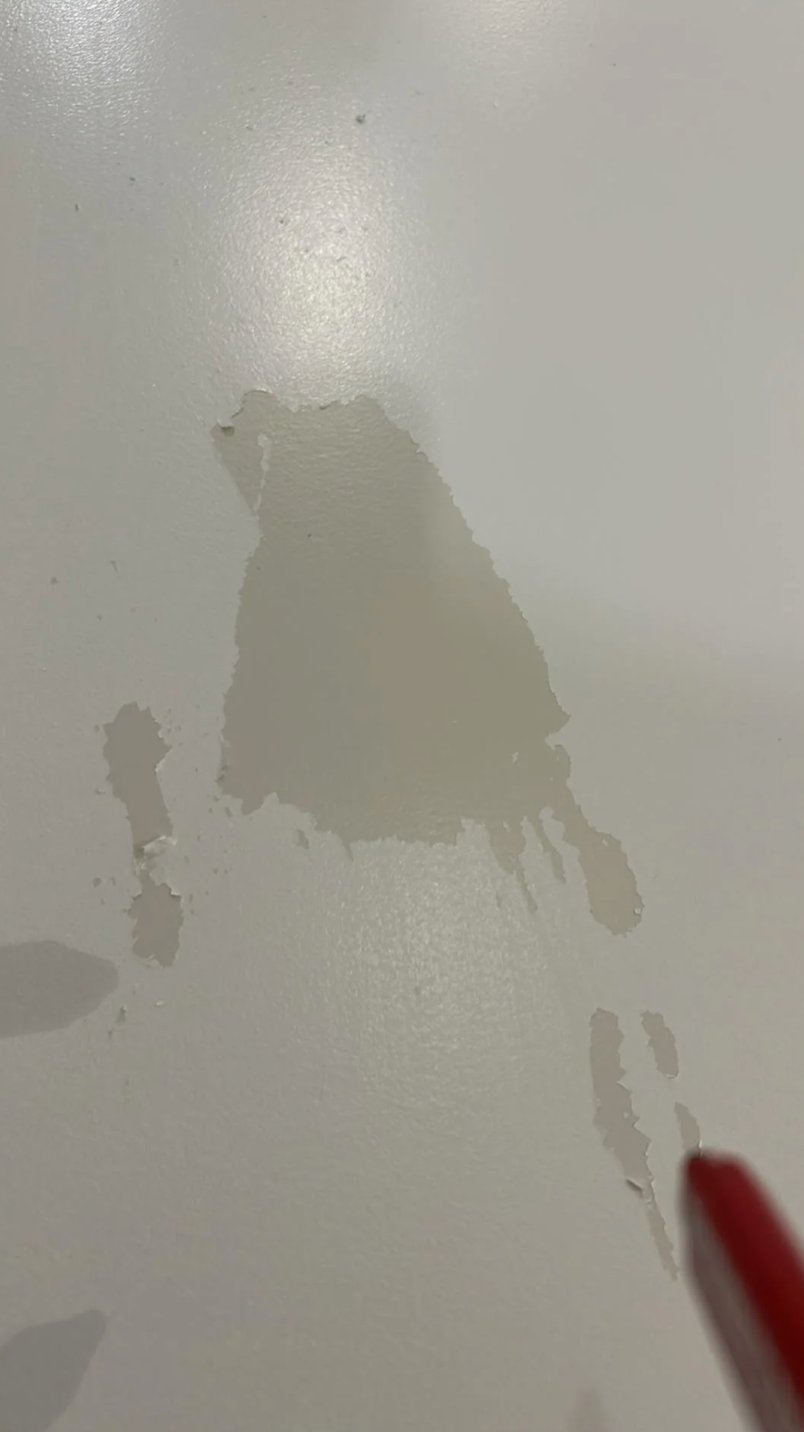
Water-based paint peeling from oil-based surface
If you need to touch up an old oil-based paint job, test before you paint over it. Water-based paint can peel from an oil-based surface unless that surface is cleaned, dulled, and primed with a bonding primer made for the job.
Regular latex wall paint has the opposite problem. It is easy to brush on and dries quickly, but it usually stays too soft for cabinet doors, drawer fronts, and handle areas. Bare wood can also drink it in, which means extra coats and a finish that still scratches too easily.
For most kitchens, I look for a waterborne alkyd, urethane enamel, or cabinet and trim enamel. These paints level better than wall paint, cure harder, and clean up more easily than traditional oil-based paint.
Best Cabinet Paints and Why
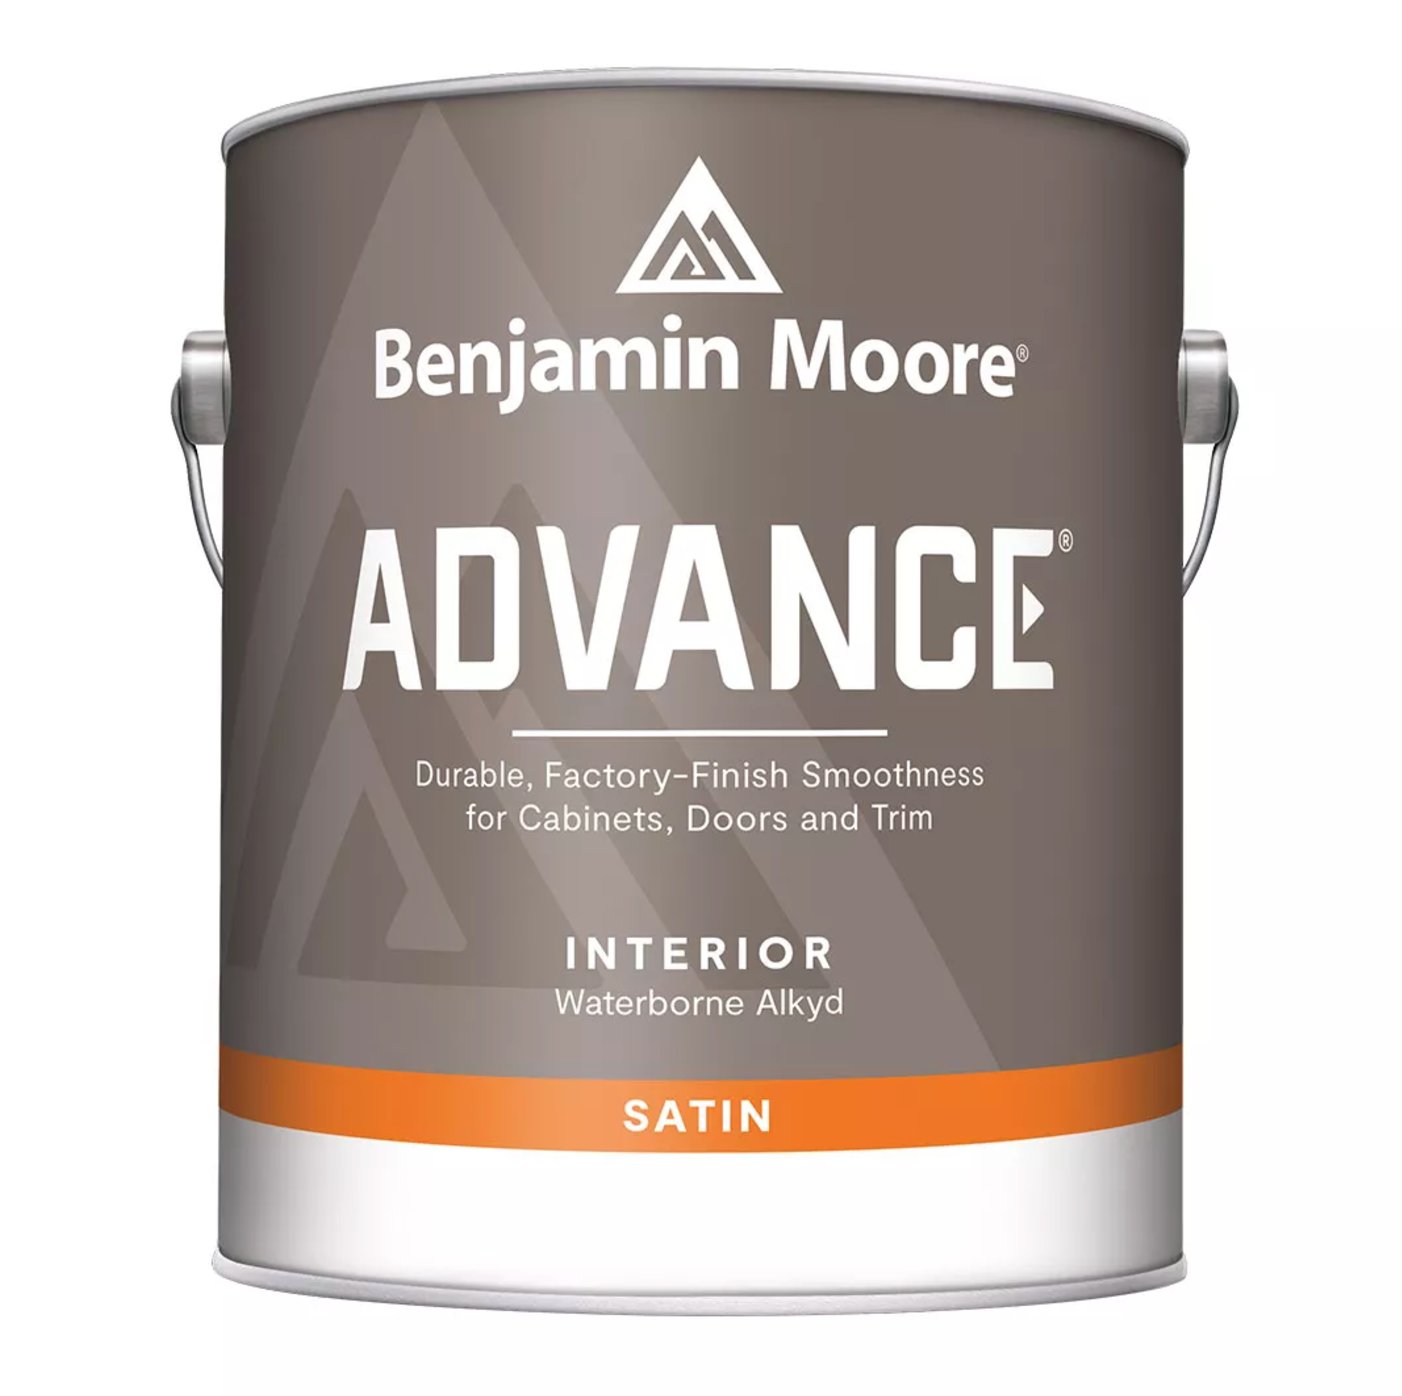

Benjamin Moore Advance is one of the cabinet paints I reach for most often. It is a waterborne alkyd, so it behaves more like an oil-based enamel than a standard latex wall paint.
This hybrid alkyd-acrylic paint levels into a smooth finish, cleans up with soap and water, and does not yellow the way traditional oil-based paint can. The tradeoff is dry time. Do not rush the recoat window, or the next coat can drag and leave texture.
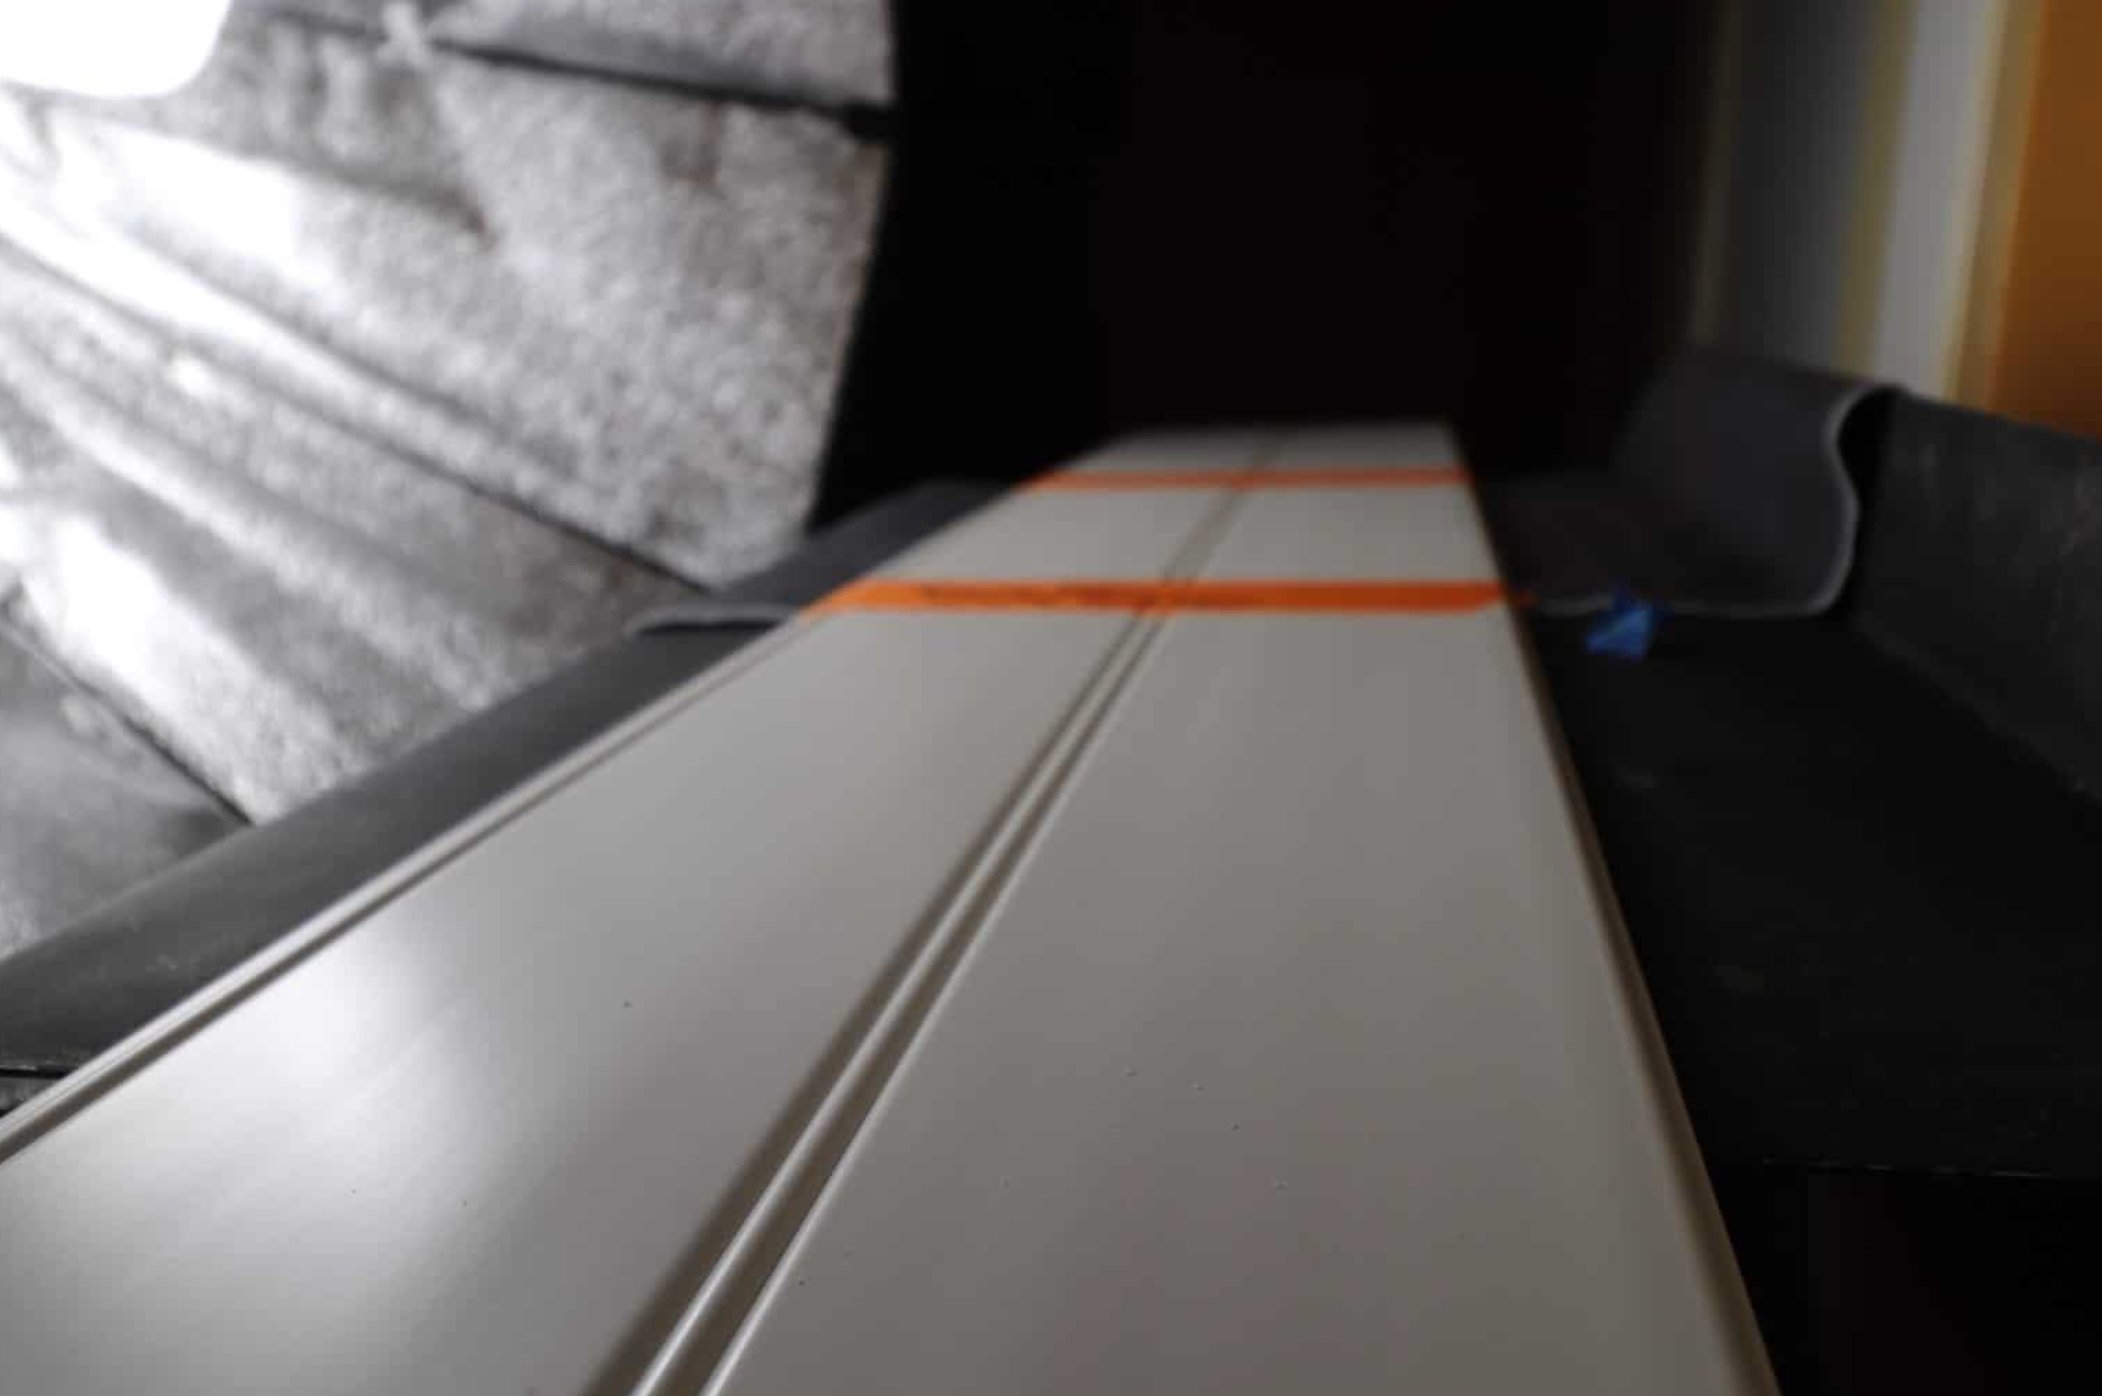
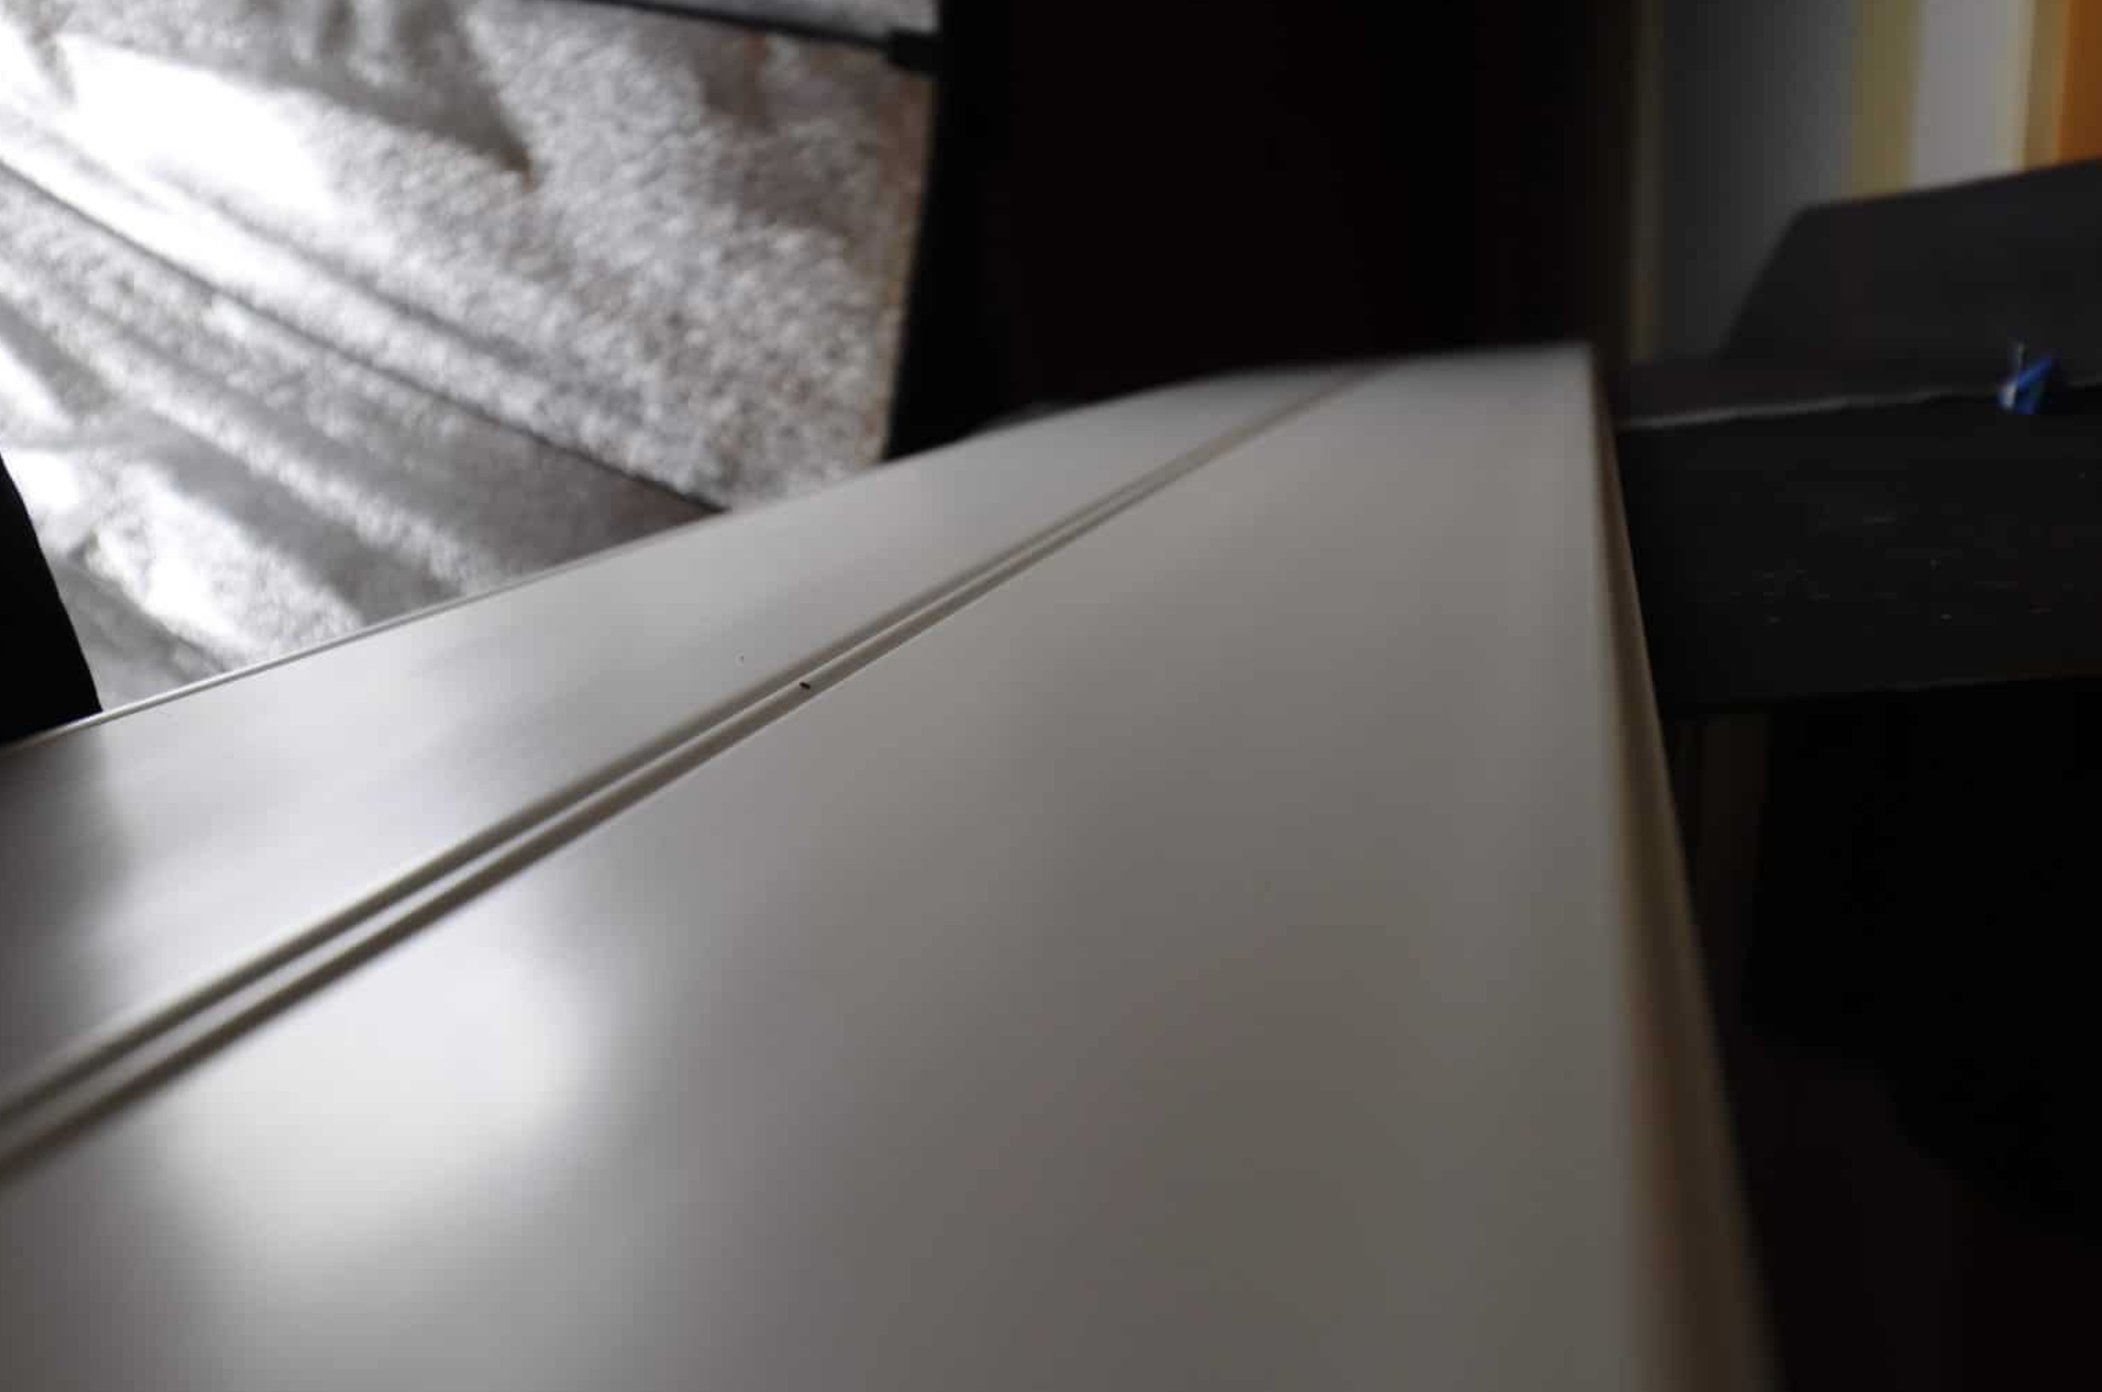
Advance is strong at leveling. Brush marks settle down better than they do with regular latex, which helps a hand-painted door look closer to a sprayed finish.
Once cured, the finish holds up well to daily door handling and cleaning. It still needs a real cure period, so treat freshly painted cabinets gently even after they feel dry to the touch.
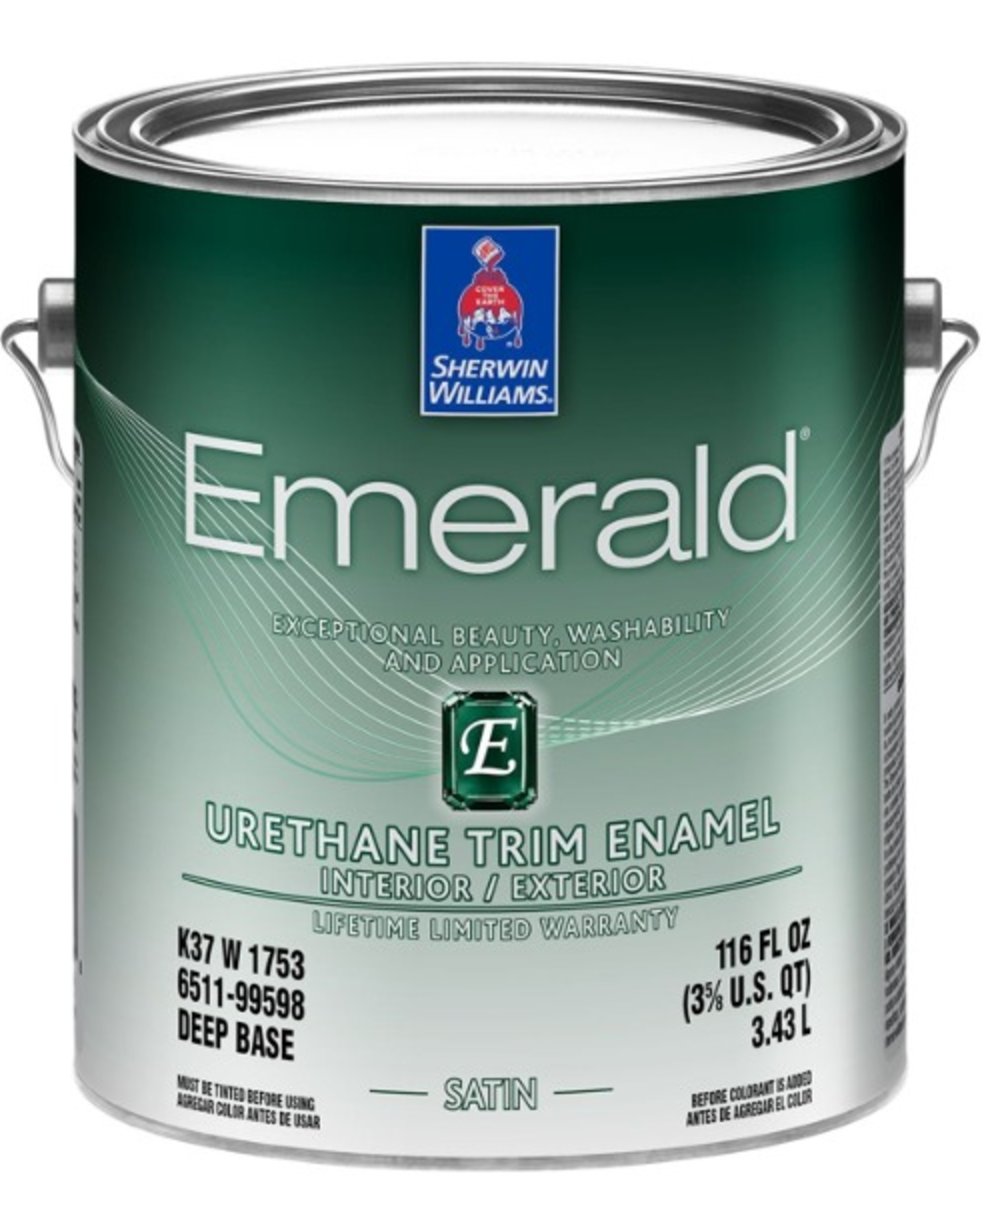
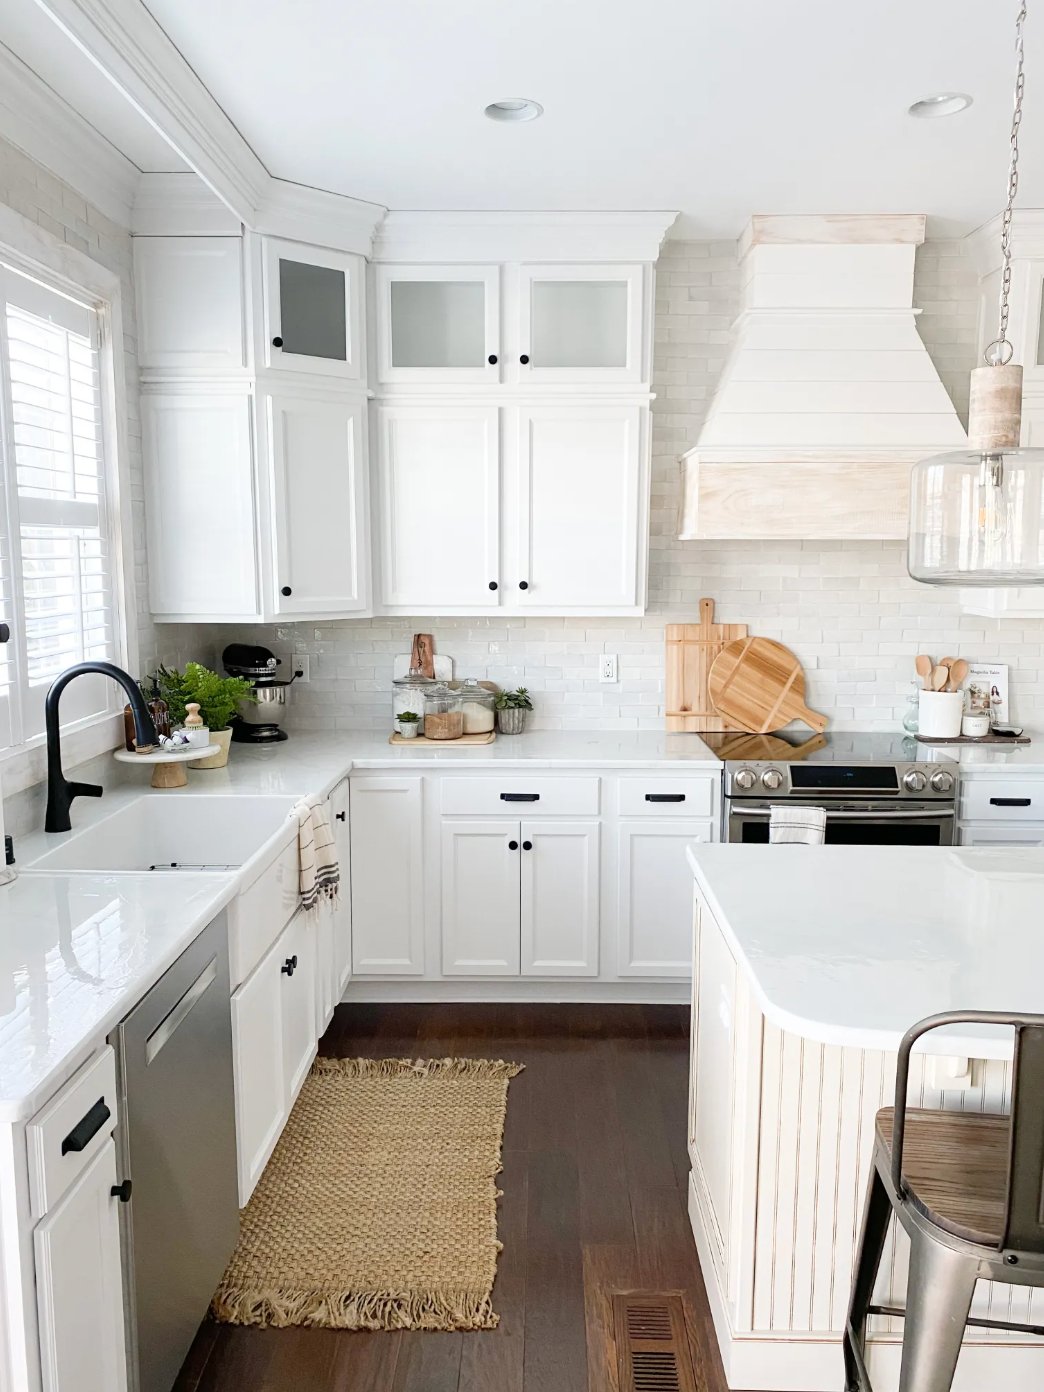
Sherwin-Williams Emerald Urethane Trim Enamel is another cabinet paint I trust. It dries to a durable finish and is a good choice for doors that get wiped often, especially around the sink, stove, and trash pullout.
The price can be around $90 per gallon, which is not cheap. For cabinets, though, one gallon covers a lot of door and drawer fronts, and the labor is the expensive part. I would rather spend more on the coating than redo a failing finish next year.
If you are watching the budget, Behr's line is worth checking out. With careful prep and thin coats, it can give good results, though you may need an extra coat for full coverage.
Cheap cabinet paint often costs more once you count sanding, priming, repainting, and living with chipped doors. Put the money into the coating and the prep. That is what keeps the finish from wearing through around knobs and drawer pulls.
How Cabinet Material Affects Your Paint Choice
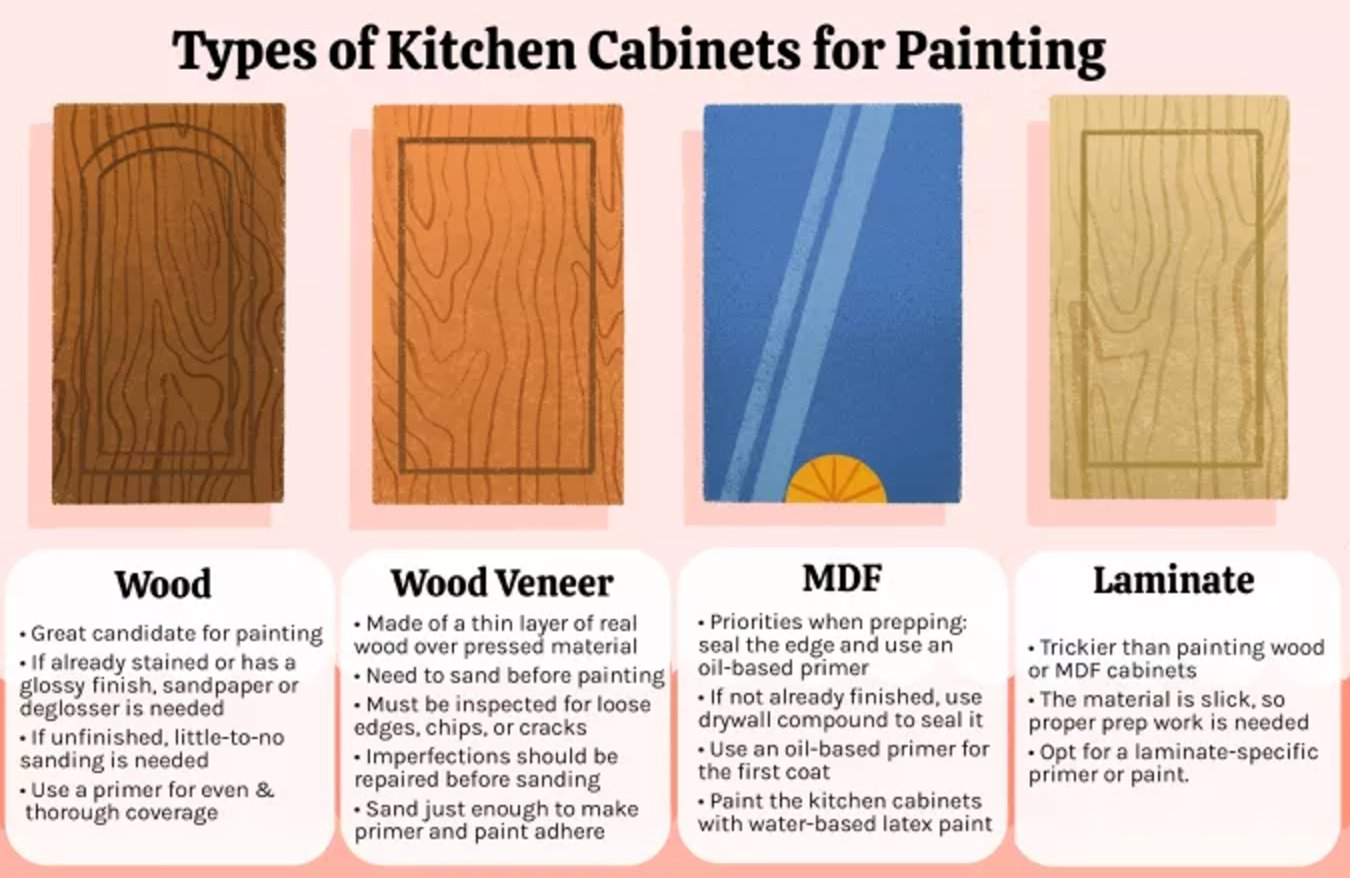
Your cabinet material decides how much sanding, priming, and sealing you need before paint. Two kitchens can use the same enamel and get very different results if one has raw wood doors and the other has slick laminate fronts.
Wood
Natural wood is the easiest cabinet material to paint because it gives primer something to bite into. If the cabinets have lacquer, polyurethane, or a glossy factory finish, sand the shine off or use a deglosser before priming.
Fresh untreated wood may not need heavy sanding, but it can soak up primer and paint. Seal it well at the primer stage, or you can end up using close to twice as much paint and still see uneven dull spots.
Wood Veneer
Wood veneer is a thin layer of wood over a pressed base, so inspect it before you sand. Glue down any lifting corners, bubbles, or cracked edges first. Paint will not hide loose veneer.
Sand veneer lightly. The goal is to dull the surface enough for primer to grip, not to cut through the veneer layer.
MDF
MDF edges are the weak spot. They soak up moisture and paint quickly, then swell or look fuzzy if they are not sealed. Fill and seal the edges with putty, prime with an oil-based primer, then use your cabinet enamel or latex finish coat.
Laminate
Laminate is the hardest surface here because it is a slick plastic layer bonded to a base. Paint does not want to grab it. Do not start without a bonding primer or a laminate-specific paint system.
Sand laminate just enough to dull the shine. Deep scratches can telegraph through glossy cabinet paint, and they are tedious to repair once they are in the plastic layer.
Best Cabinet Paint Finish
For kitchen cabinets, sheen is a maintenance choice as much as a design choice. The glossier the finish, the easier it usually is to wipe. The flatter the finish, the more it hides surface flaws.
Satin
Satin gives cabinets a soft sheen and hides small sanding marks better than glossier finishes. It is a practical middle ground for low-traffic kitchens or uppers that do not get touched constantly.
The downside is grease cleanup. In my first kitchen, satin looked lovely until oil splatters sat near the range. They took more scrubbing than I wanted, and scrubbing is how cabinet paint starts to dull.
Semi-gloss
Semi-gloss is my usual recommendation for kitchen cabinets. It has enough sheen to reflect light and wipe clean, but it is not as unforgiving as a true high-gloss finish.
Most splatters come off with a damp cloth if the paint has cured properly. On busy lower cabinets, semi-gloss can cut cleaning time roughly in half compared with a softer satin finish.
High-gloss
High-gloss gives you a mirror-like shine and is the easiest sheen to wipe clean. It can look sharp in a modern kitchen with very flat doors.
It also shows every fingerprint, roller mark, dent, and bit of dust. If you cook often or have kids, expect to wipe the fronts more than once a day.
Matte
I do not like matte paint for working kitchen cabinets. It can look calm in photos, but stubborn stains need more pressure to remove, and that pressure can polish or damage the finish.
Do not paint the whole kitchen based on a sheen chip. Buy sample pots in the finishes you are considering and test them on the inside of a cabinet door.
Give it a week of regular use, and you'll know exactly which finish works best for your kitchen and how you live.
Choosing the Right Color
Cabinet color has more risk than wall color because repainting doors is real labor. I choose the color after I look at counters, backsplash, flooring, cabinet hardware, and the light in the room.
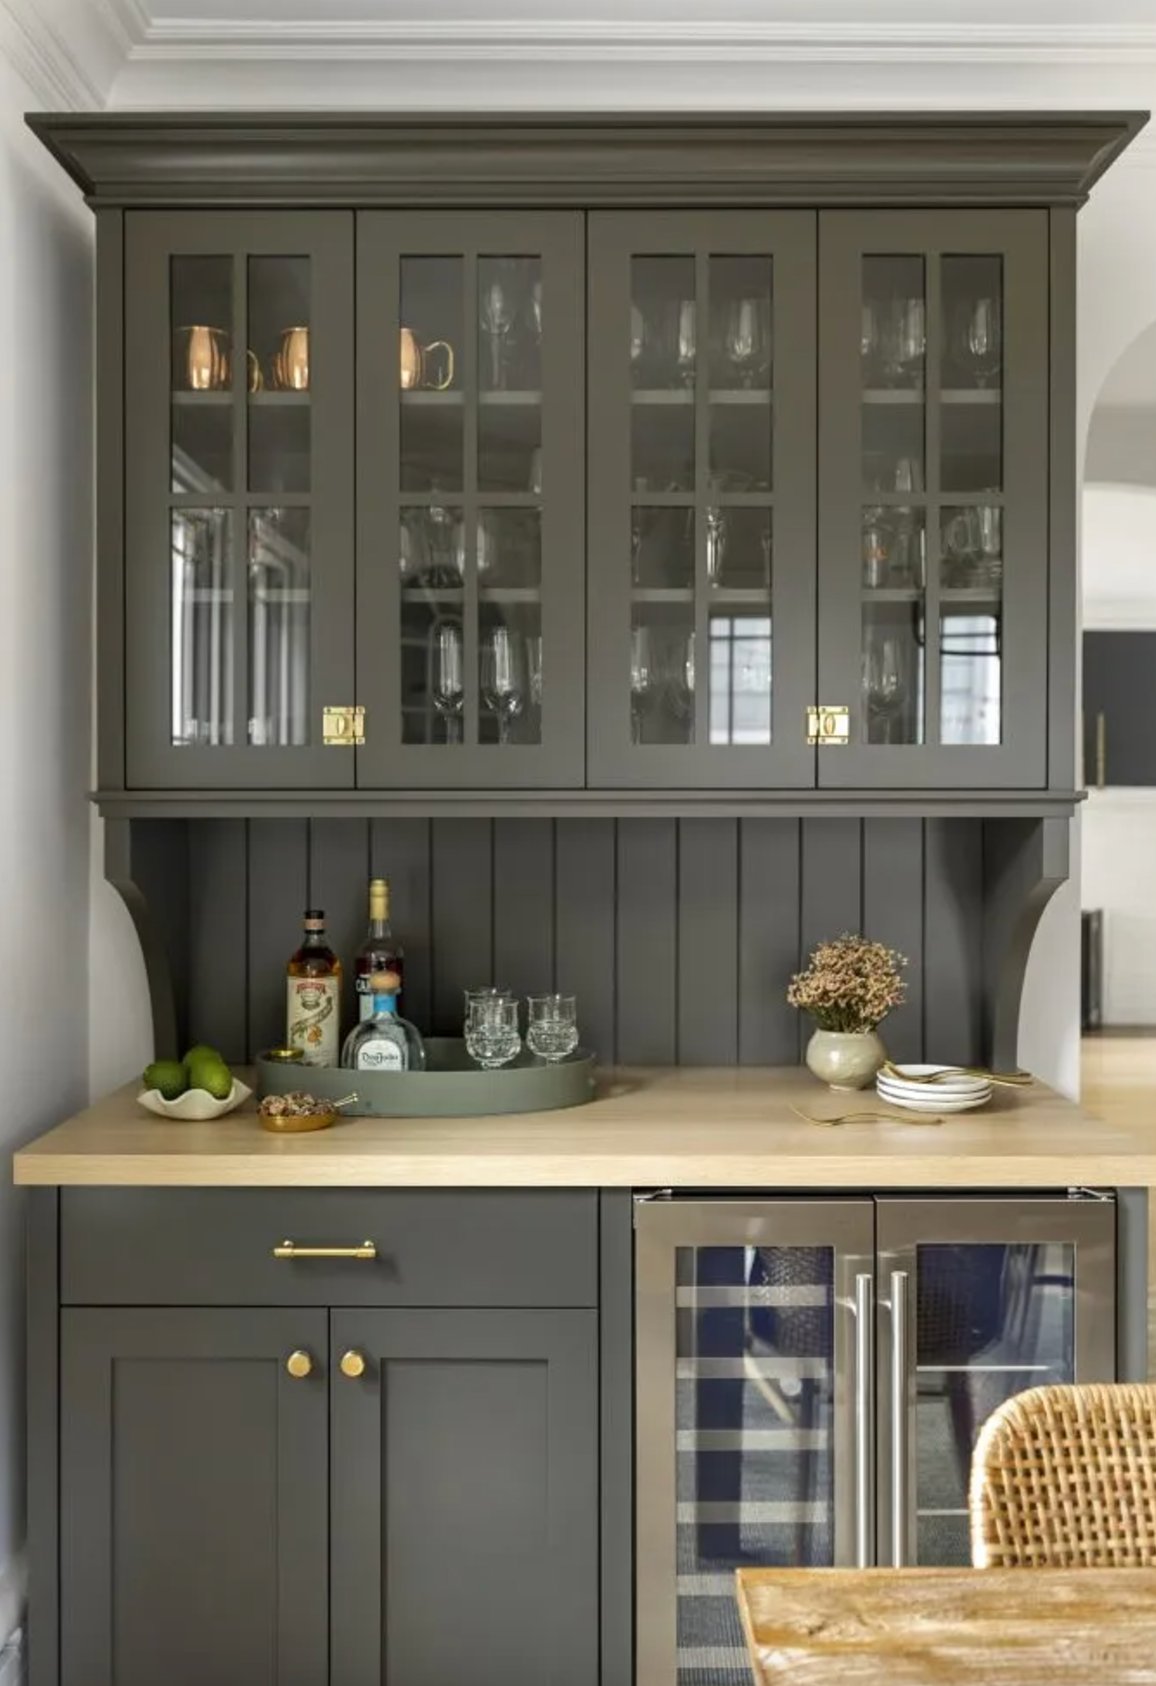
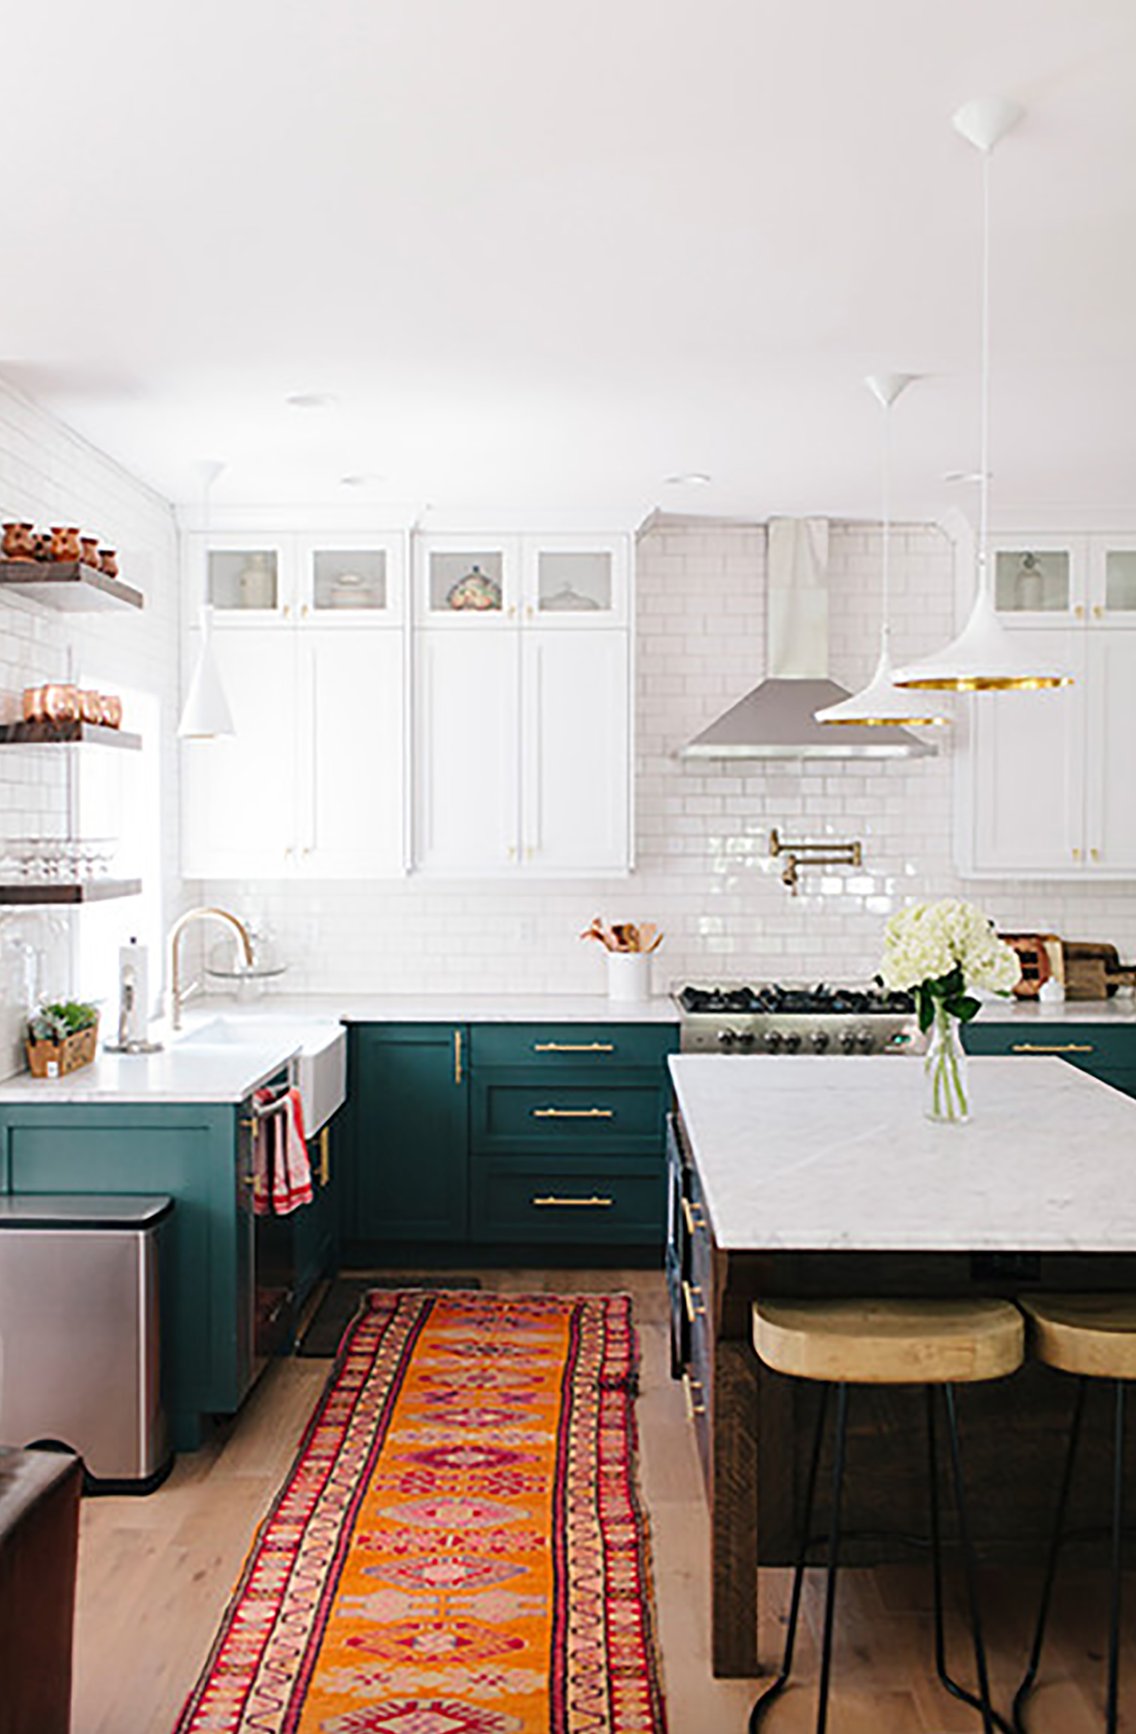
When I am helping clients, I often point them toward deep greens or navy blues. They give the kitchen color without the harshness of bright red, yellow, or blue on a large run of cabinets.
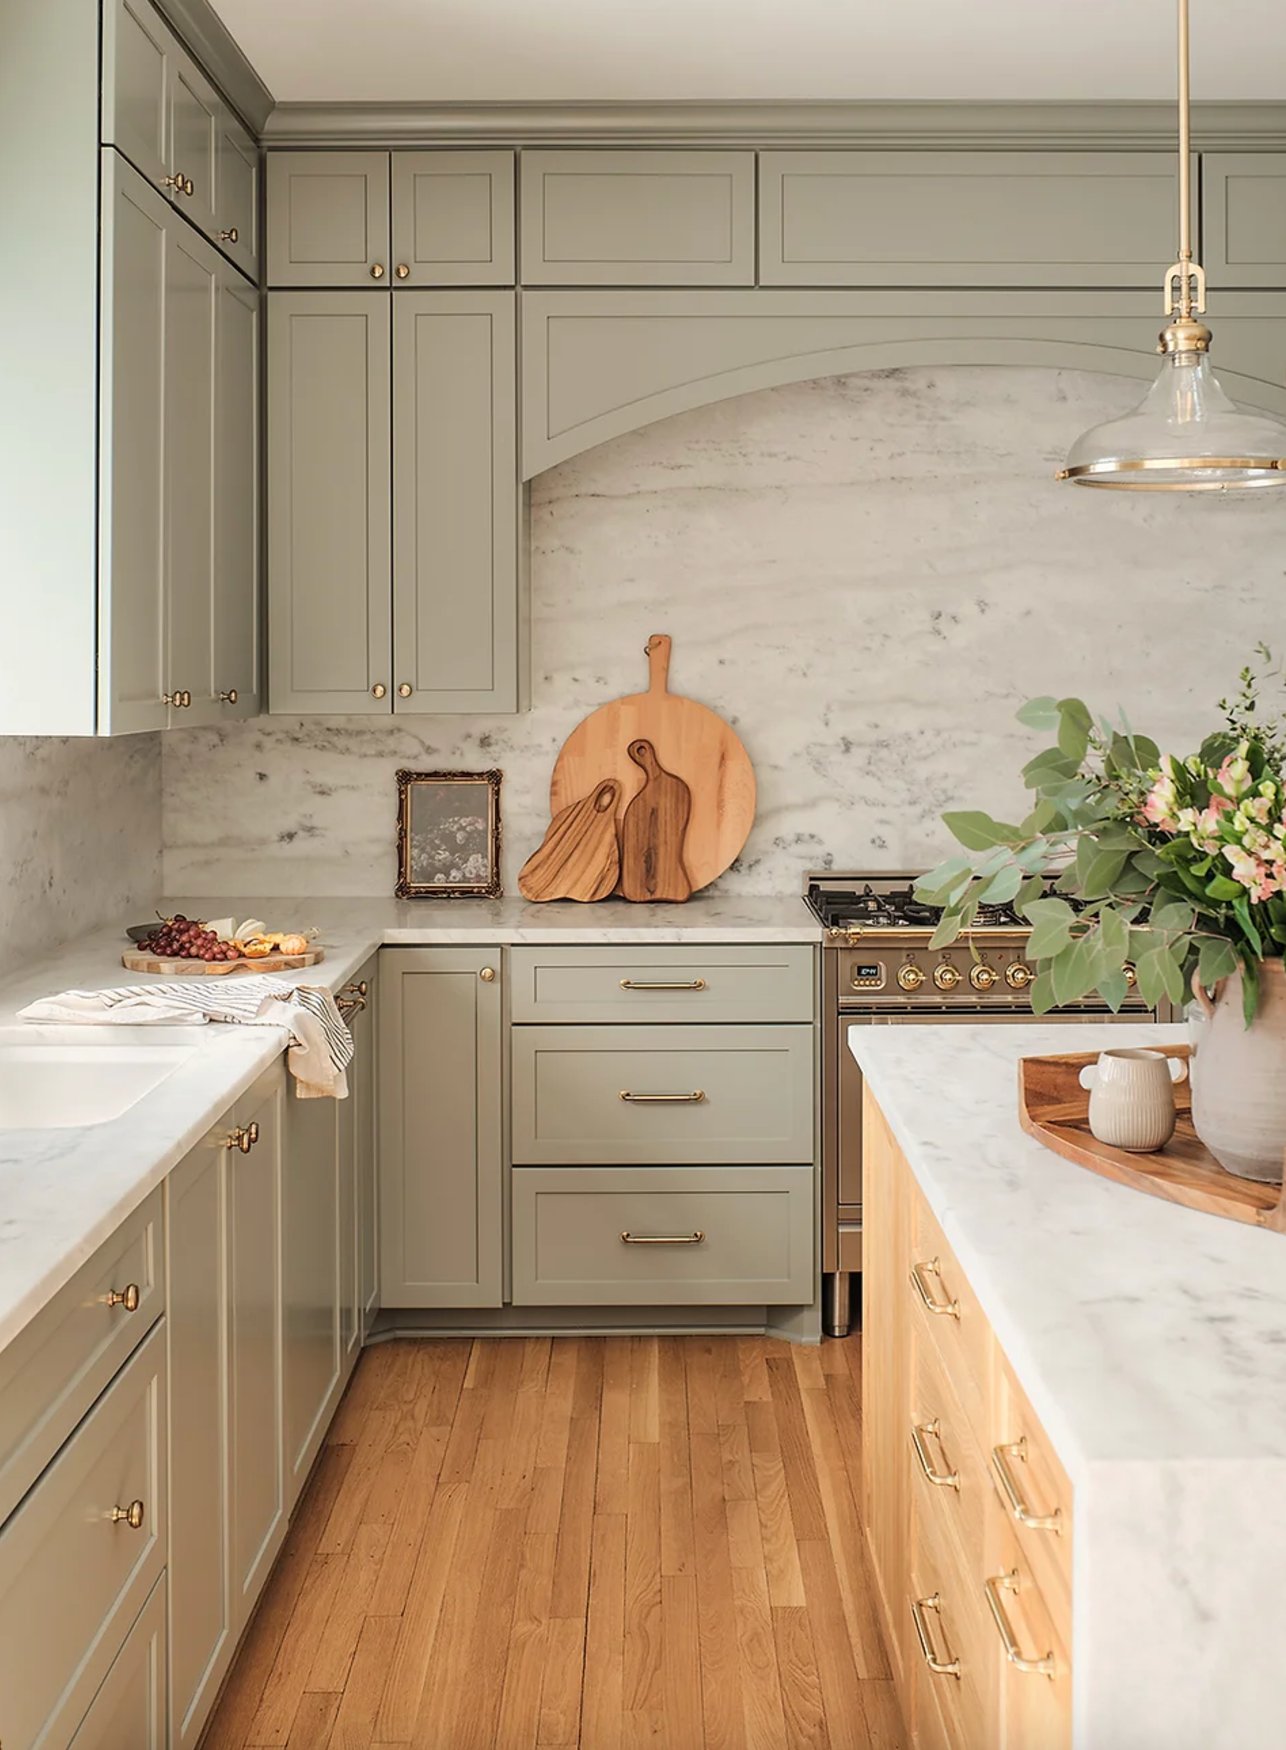
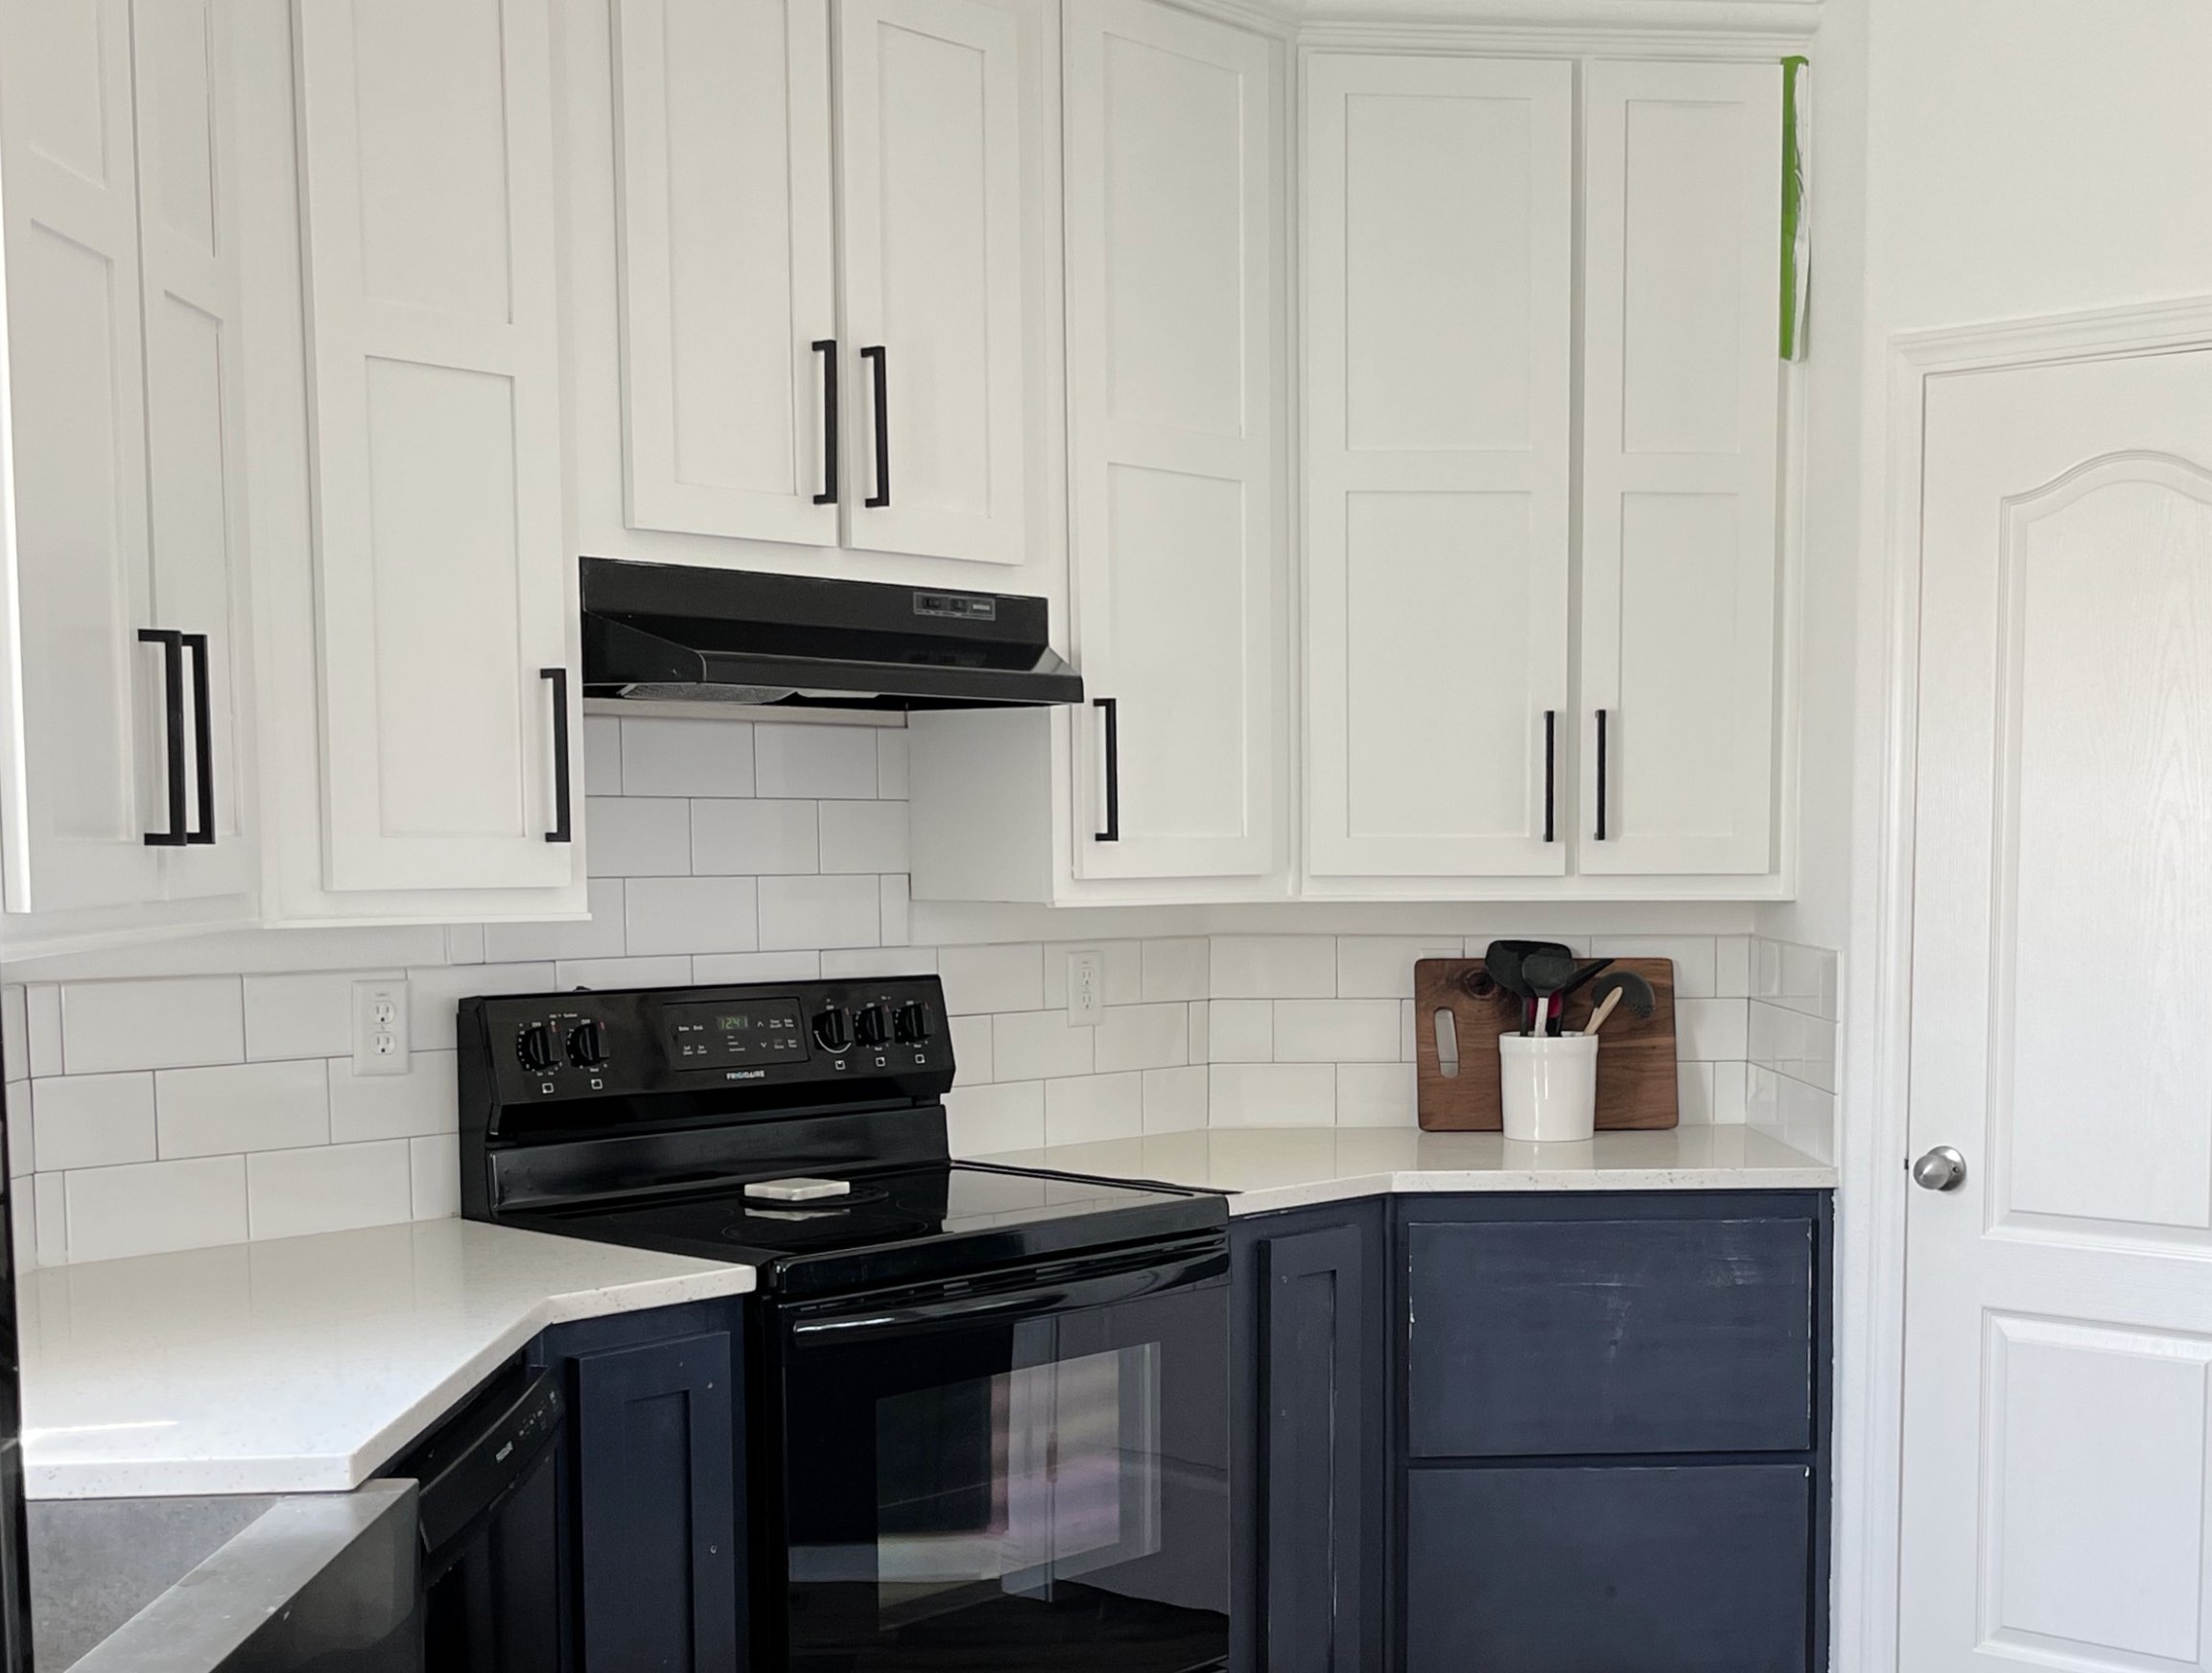
Classic white is still the safest choice if you may sell in the next few years, especially with stone counters or a busy backsplash. Two-tone combinations also work well when the room needs weight on the bottom, such as rich gray lower cabinets with cream uppers.
For more cabinet color examples, I have a general guide plus specific guides for white, gray, and black kitchen cabinets.
How to Get a Flawless Cabinet Finish
Surface Preparation
Cabinet paint fails most often because the surface was dirty, glossy, or dusty before primer. Grease near the stove and hand oils around pulls will keep even good paint from bonding.
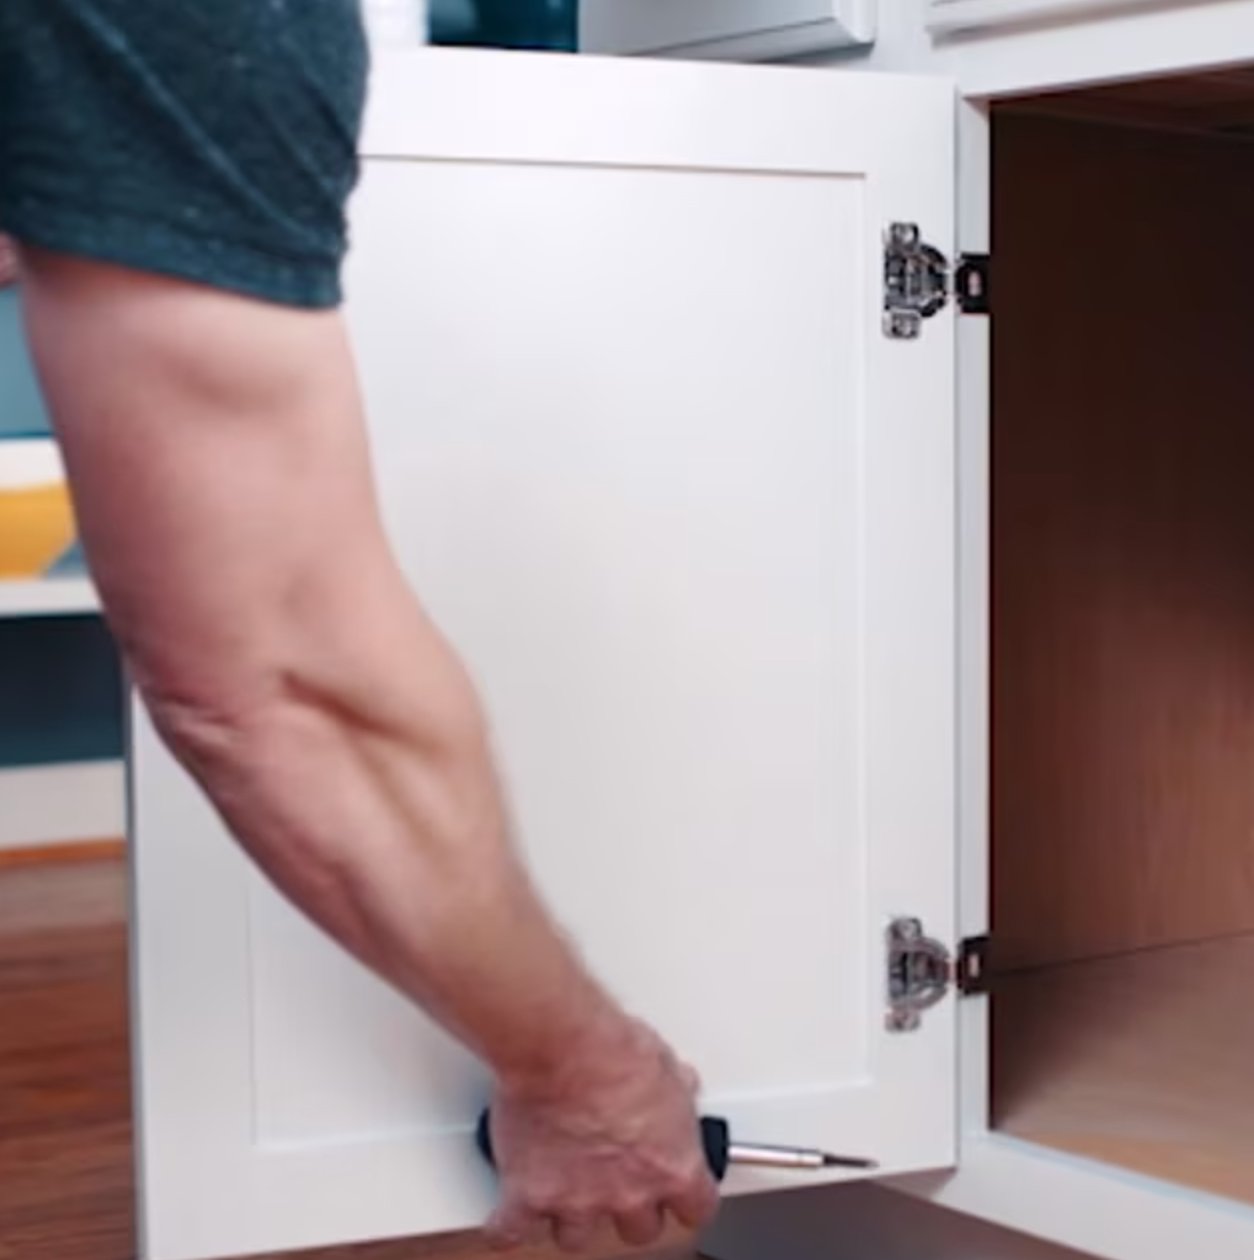
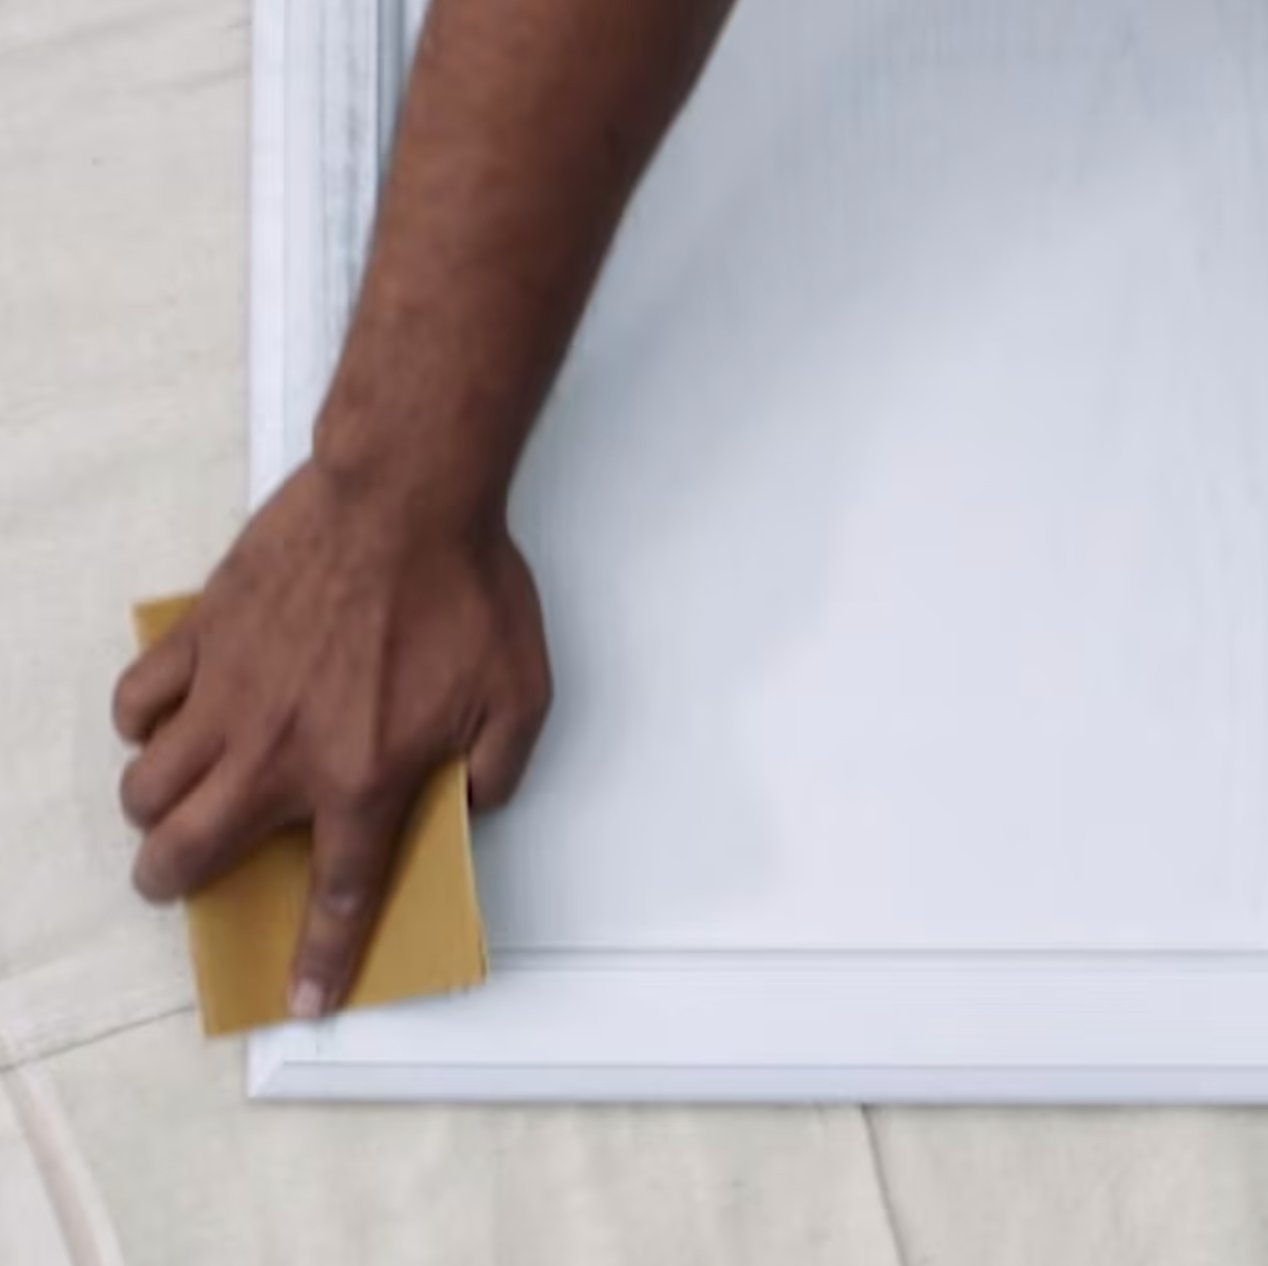
Start by cleaning off grease, especially around the stove, sink, trash cabinet, and favorite drawer pulls. Remove handles and hinges, then number the doors and hardware so everything goes back in the same opening. Sand with 120-grit sandpaper to dull the finish and give primer something to grab.
Fill dents, gouges, and old hardware holes with wood filler before priming. Glossy paint makes flaws stand out, especially on door edges and drawer corners, so do not skip those areas.
To Prime or Not to Prime
Prime cabinets before painting. Paint-and-primer products are fine for many walls, but kitchen cabinets need a separate primer for adhesion, stain blocking, and a more even finish. I usually choose an oil-based primer or a strong bonding primer.
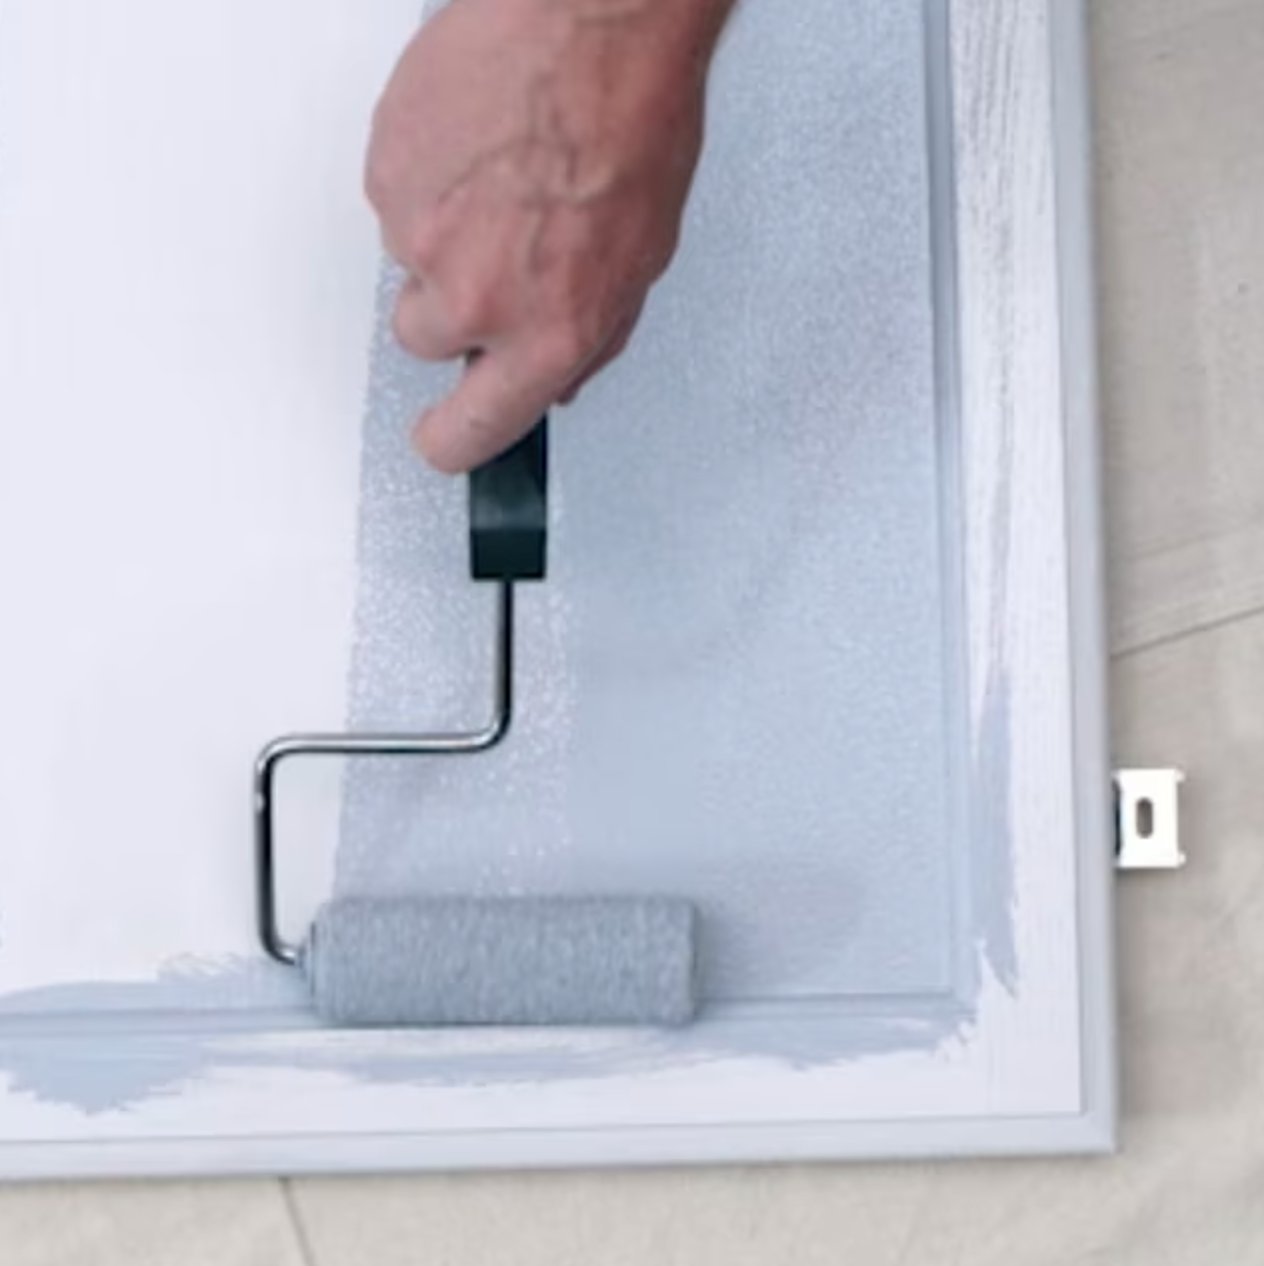
Apply primer in a thin, even coat and let it dry completely before sanding. Light wood often needs one coat. Dark wood may need two coats, especially if the final cabinet color is white, cream, or another light shade.
If you are working with MDF cabinets, use a tannin-blocking primer or stain-blocking primer where needed. Yellow or brown spots can bleed through the finish coat, and fixing bleed-through later means sanding and priming again.
Application Method
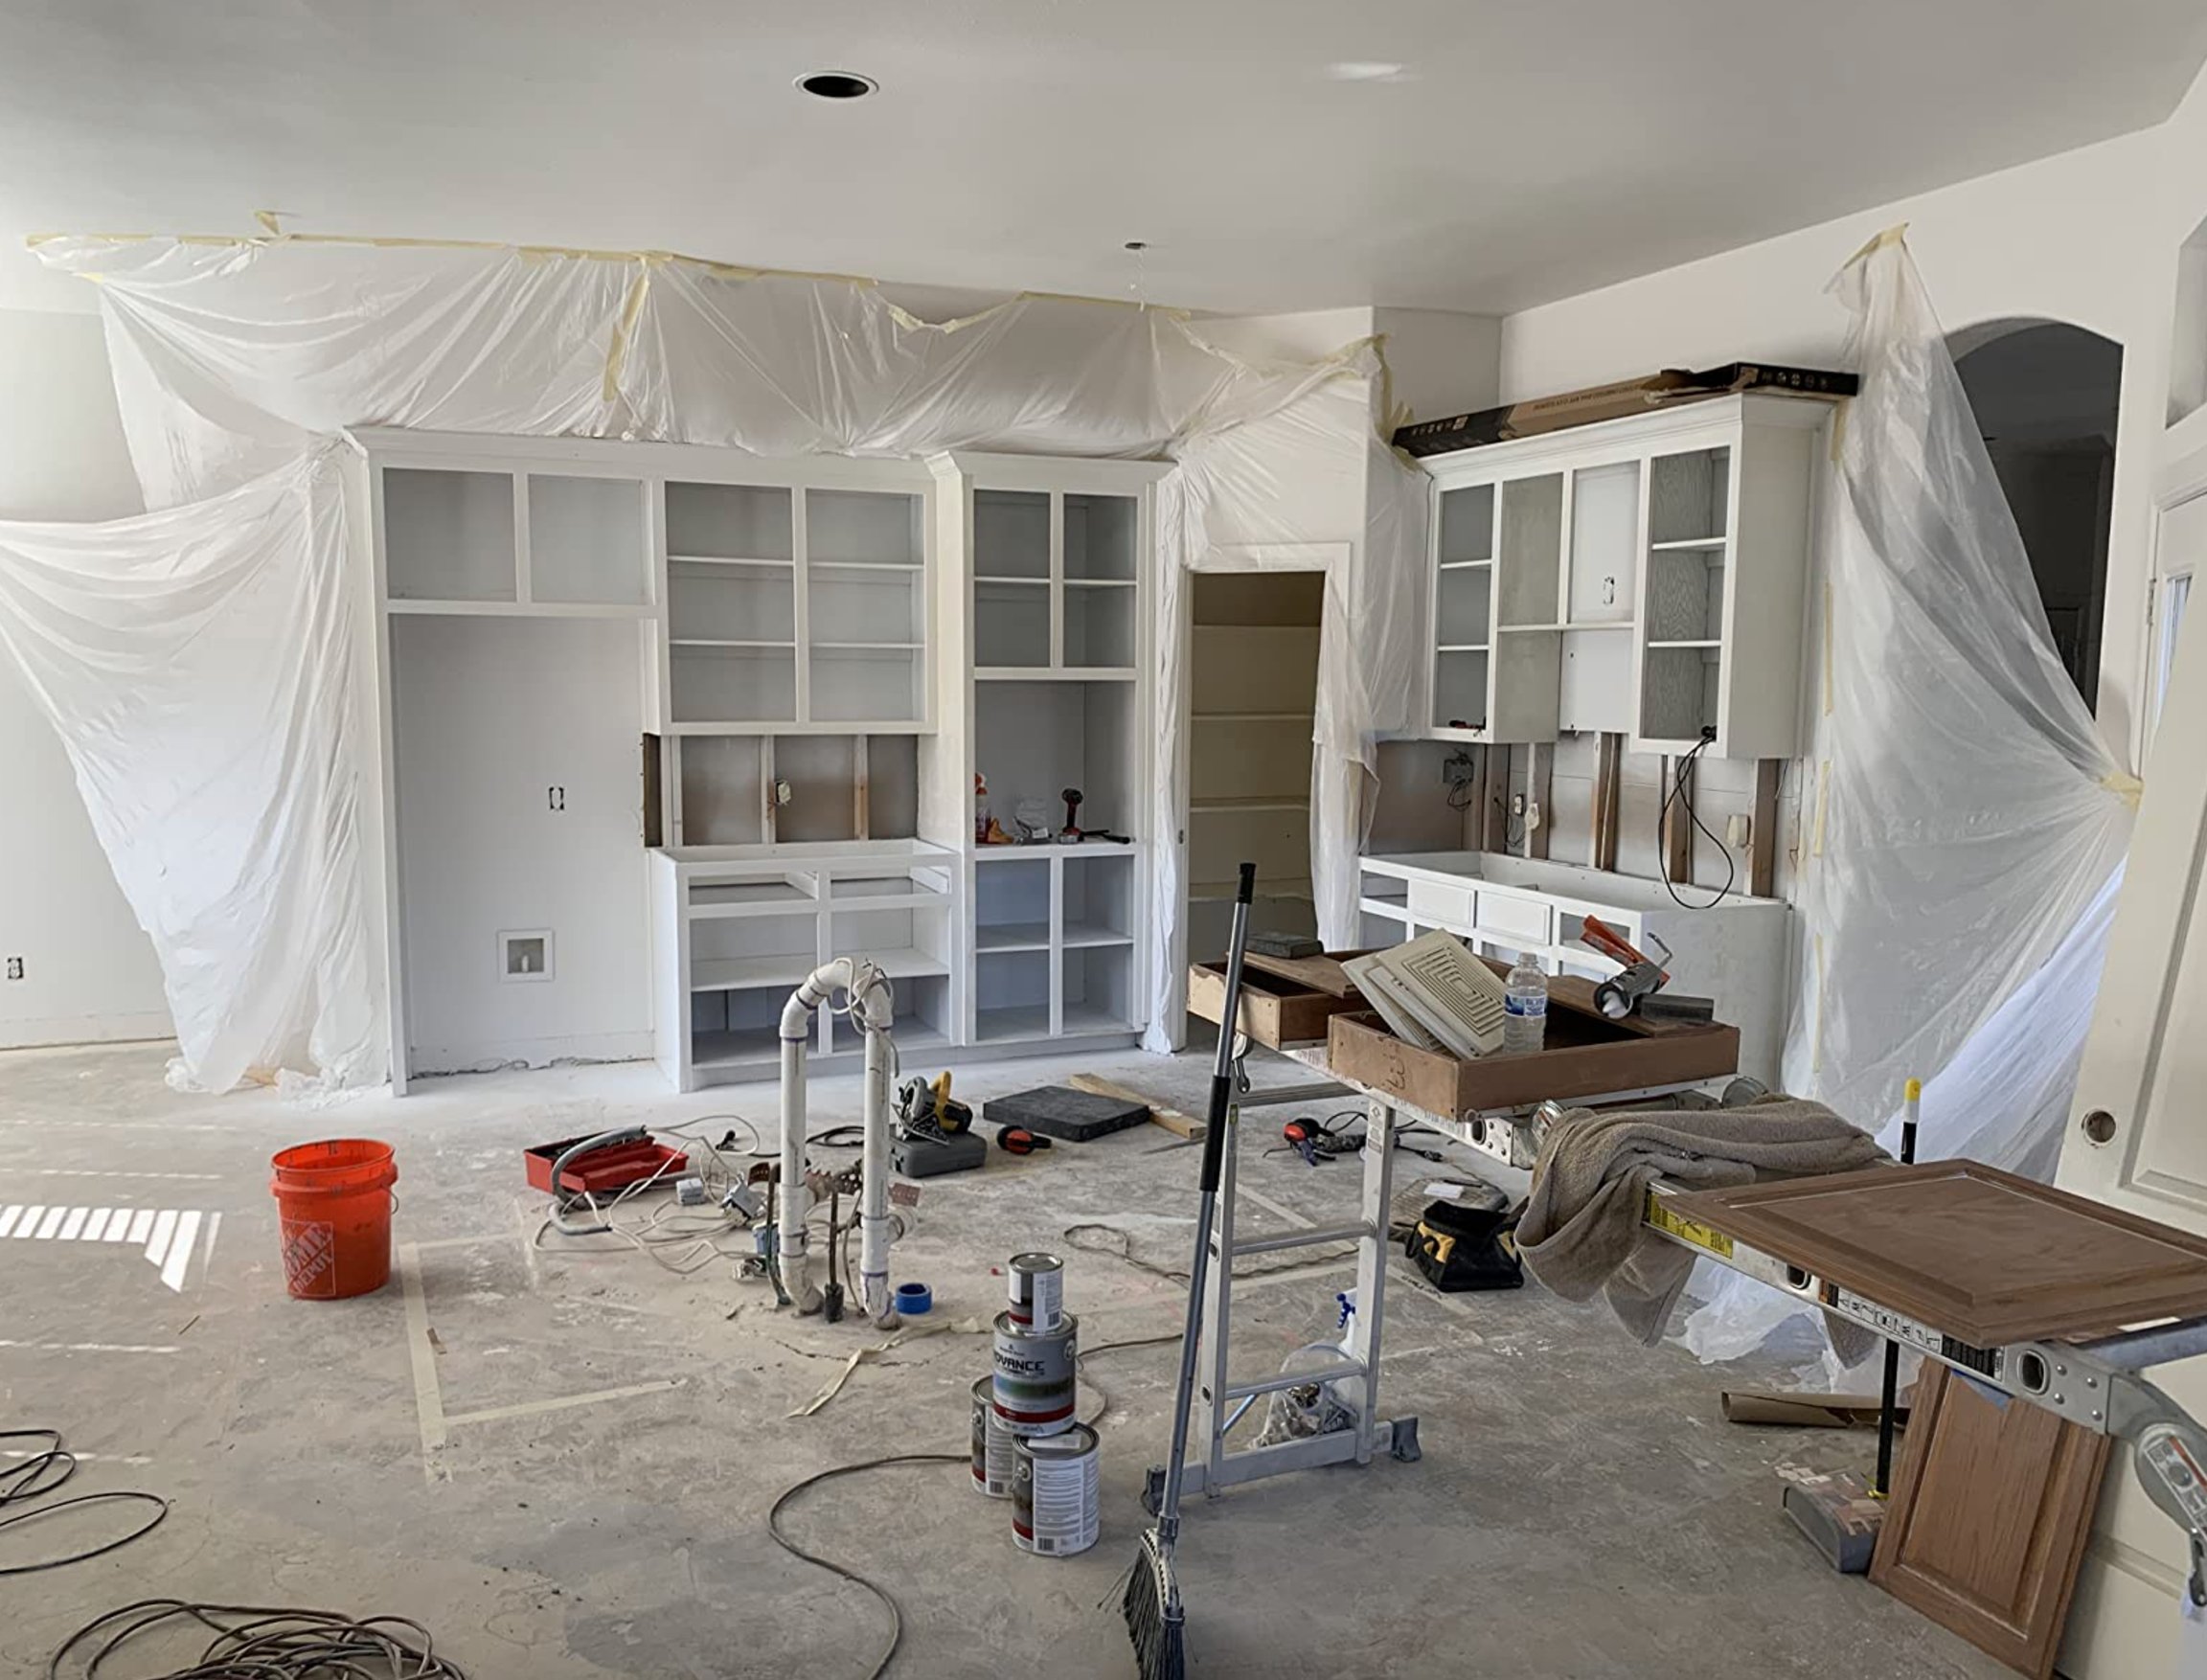
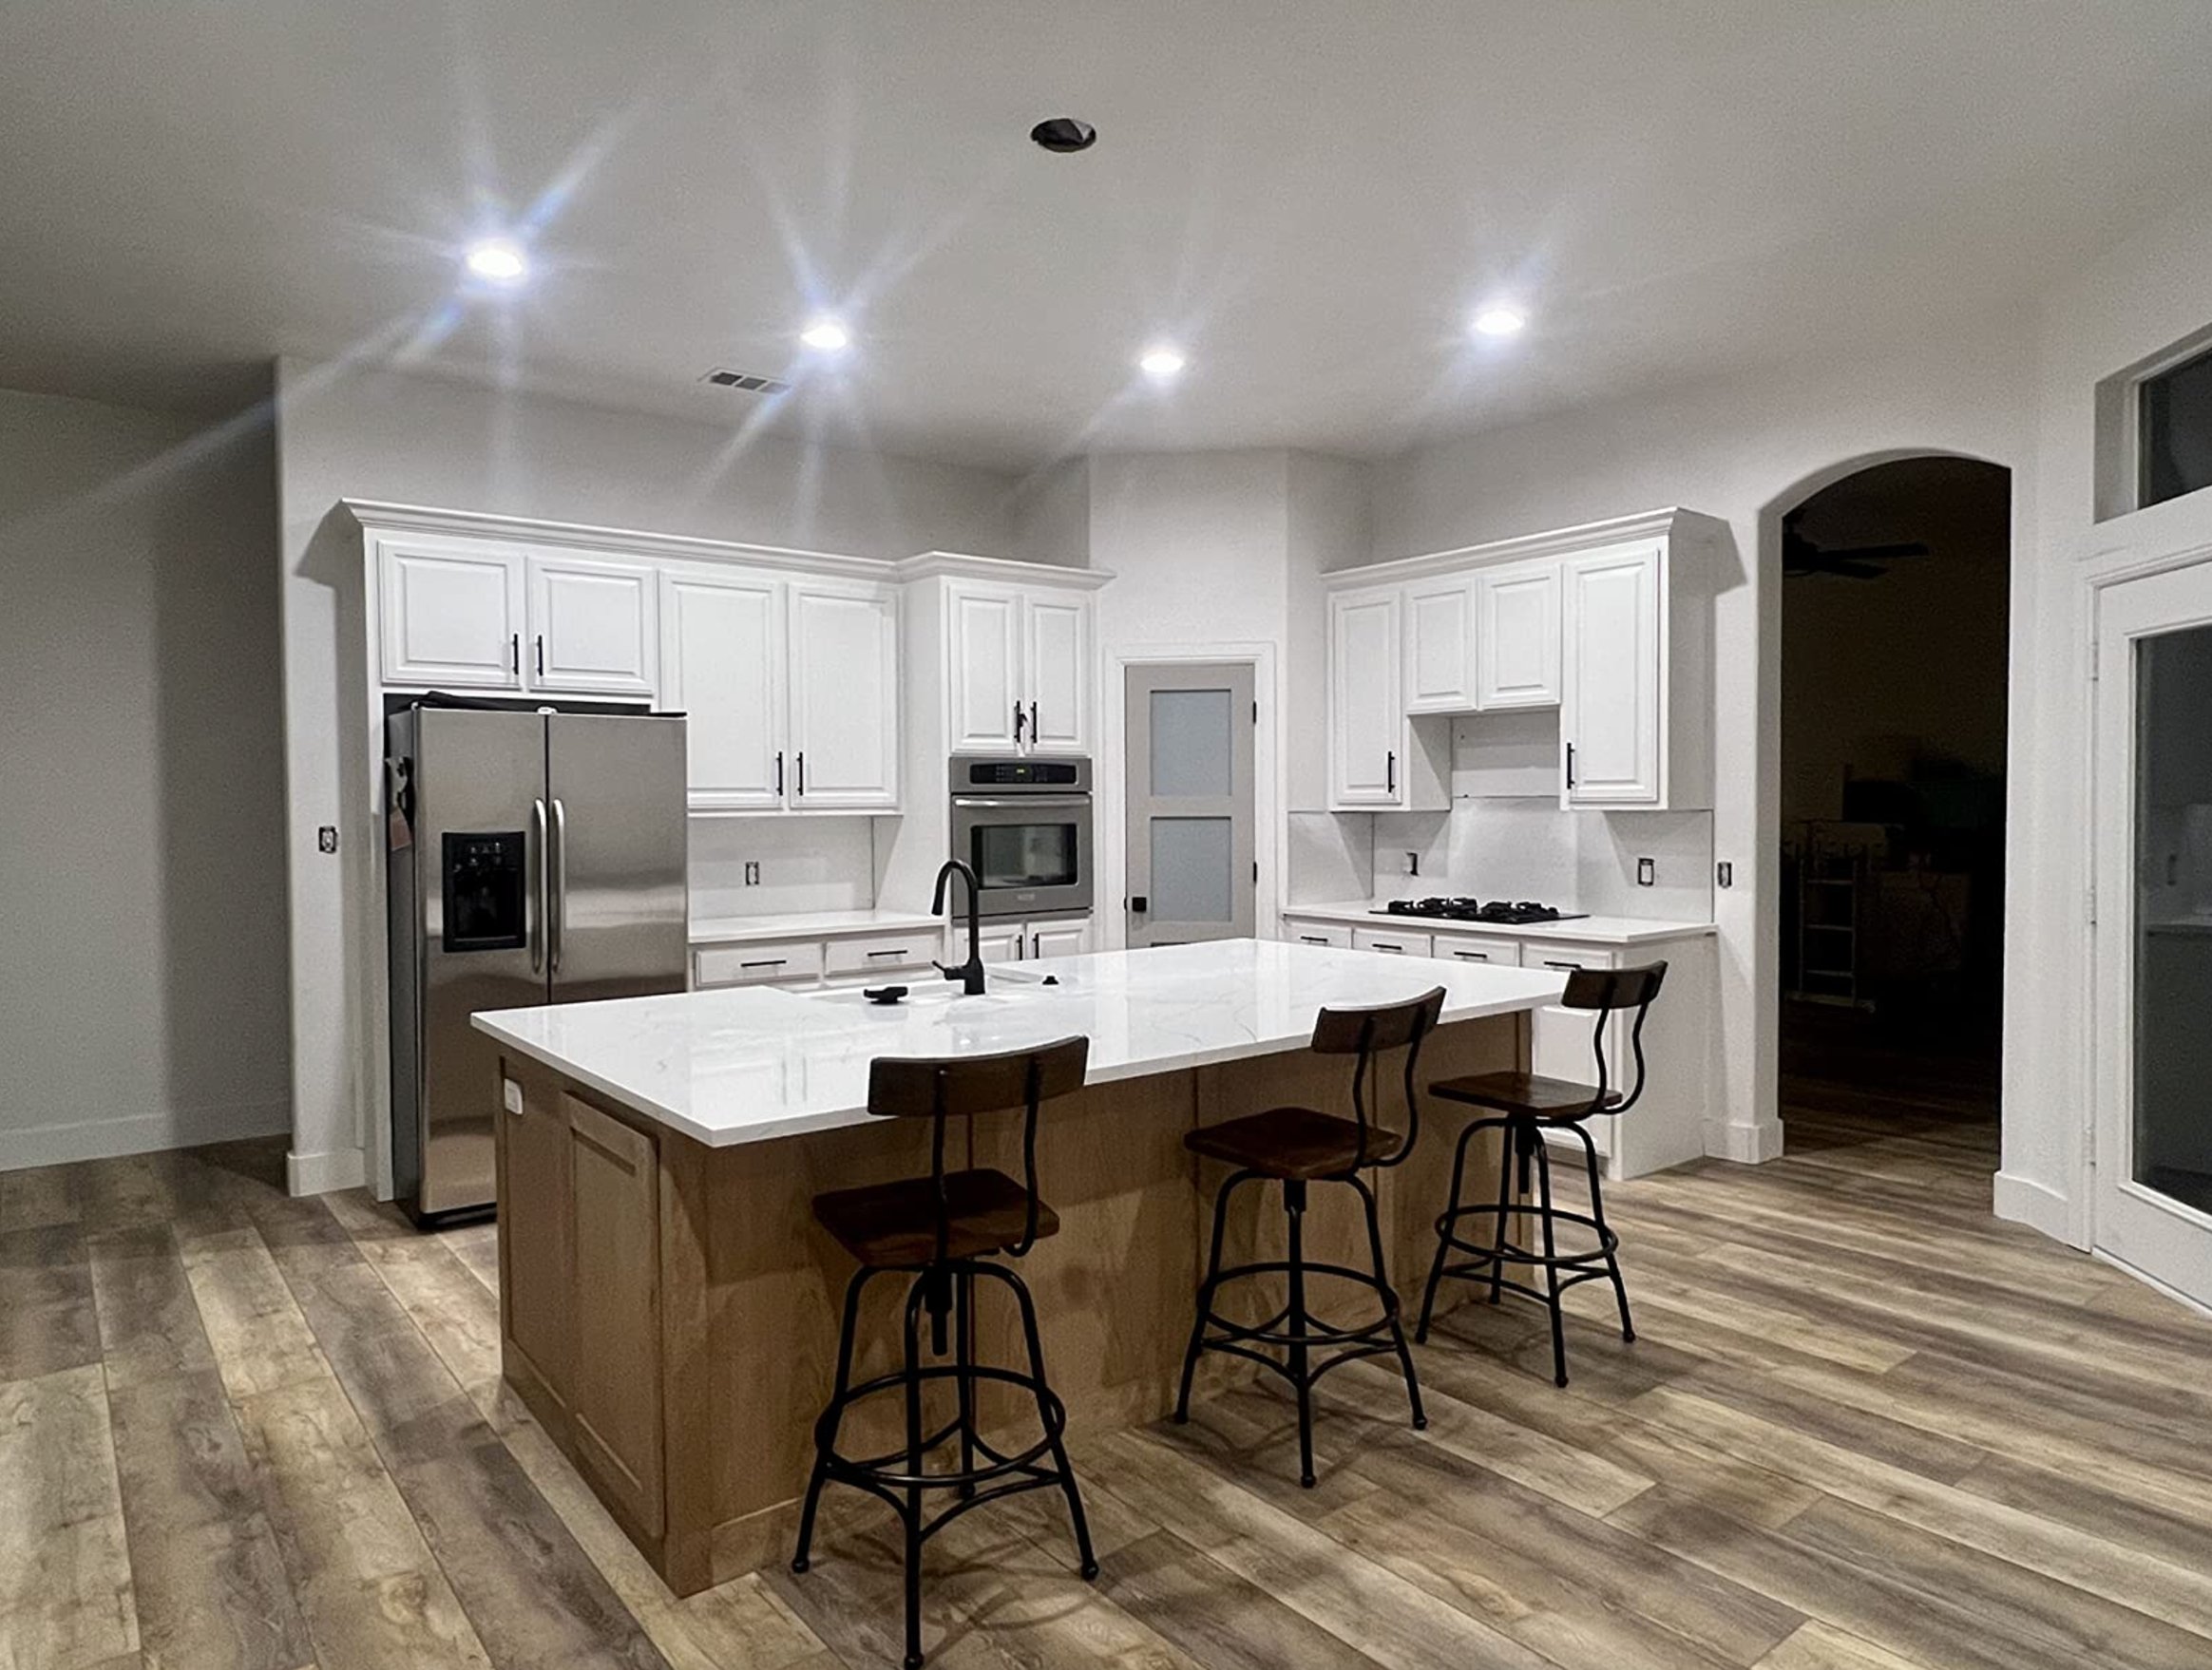
A paint sprayer gives the smoothest cabinet finish if you have the space to mask, ventilate, and practice first. It is also easy to create runs if you spray too close or move too slowly. A foam roller and quality brush can still produce a very clean finish for most DIY kitchens.
I use a 1/4-inch nap roller for flat panels because it lays down a finer texture than a thicker roller. For recessed panels, inside corners, and trim detail, use a good brush. Choose synthetic bristles with latex or waterborne paints. Cheap brushes leave ridges and shed bristles into the finish.
When rolling, finish each section with one light pass in a single direction using a nearly dry roller. That helps even out bubbles and roller lines before the paint starts to set.
Between Coat Sanding
After the first coat dries, sand lightly with 220-grit sandpaper. This removes dust nibs, raised grain, and small ridges so the next coat lays flatter.
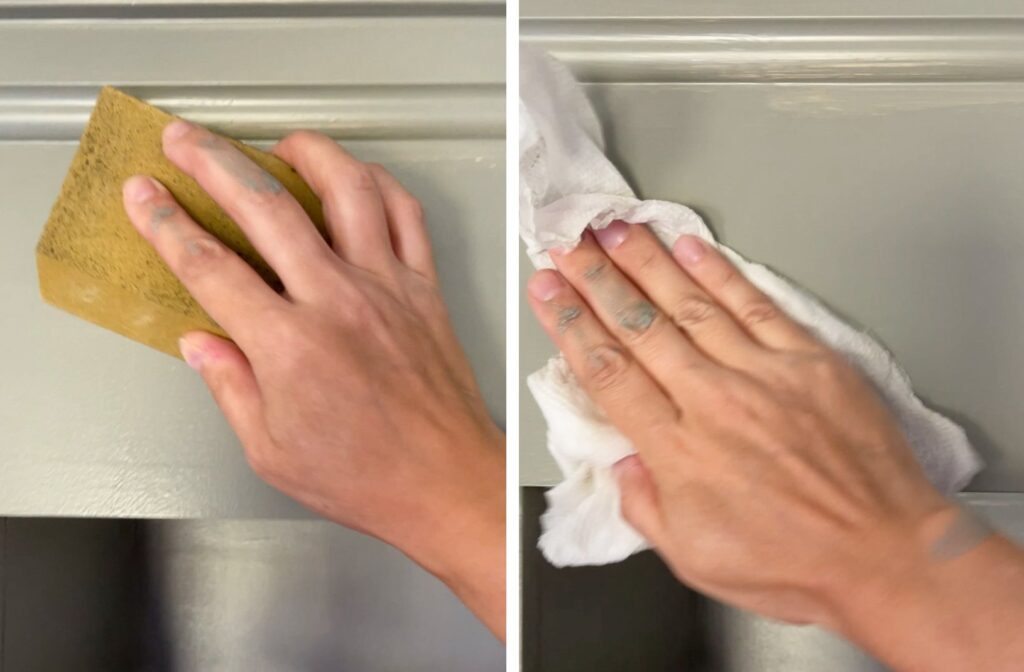
Use a light hand. You are smoothing the surface, not sanding back to primer. Wipe everything clean before the next coat.
I use tack cloths because they are slightly sticky and pick up the fine dust a regular rag can miss. Follow the drying times on the paint can between coats. If the room is humid or cool, give the paint more time, because a coat that feels dry can still be soft underneath.
Troubleshooting
For small drips, let the paint dry, sand the raised spot smooth, and touch it up with a thin coat. For a heavy drip, I usually shave the high ridge carefully with a razor blade after it hardens, then sand and repaint that area.
If you see bubbles, let the coat dry completely, sand the bubbles flat, and apply a thinner coat. Patchy coverage or old color showing through usually means the paint needs another coat after the previous one has fully dried.
Many cabinet paint problems come from laying the paint on too thick. Two thin coats will always beat one heavy coat.
Final Touches
Cabinet paint can feel dry long before it is cured. Give it a few days to toughen up before normal use.
If you want extra protection, polyurethane can help in kitchens, but test it first because it can change sheen and color. I wait at least 72 hours before hanging doors back up so the finish has time to harden.
Treat the doors gently for the first week. Do not slam them, stack them face to face, or hang heavy towels from knobs while the paint is still curing.
Before adding any protective coat, do a test spot on the inside of a door. Clear coats can warm up whites, add shine, or make touchups harder later.

I'm Elizabeth, your go-to guide for all things paint and design! My days are filled with color swatches and innovative room makeovers. When I'm not painting the town - literally - I'm soaking up inspiration from my travels. This blog is my way of sharing my passion and making the world a more vibrant place, one color palette at a time.