The Best Interior Door Paint & How to Use It
For interior doors, I reach for a hard-curing trim enamel, usually Benjamin Moore Advance or Sherwin-Williams Emerald Urethane. Wall paint can look fine on day one, but doors get touched, bumped, wiped, and slammed far more than walls do.
Color still matters. A painted door can make a low hallway feel more intentional, pull a trim color through the house, or give plain builder doors some depth. The finish matters just as much, because the wrong sheen will show fingerprints, brush marks, and every old ding in the slab.
Here is how I choose door paint for clients and how I would prep, prime, and paint the door if I were doing the work myself.
What Makes a Great Interior Door Paint?
A great interior door paint needs to cure harder than standard wall paint. Color is only one piece of it. The coating has to handle skin oils, cleaning, edge wear, and the little hits that happen when furniture or laundry baskets scrape past.
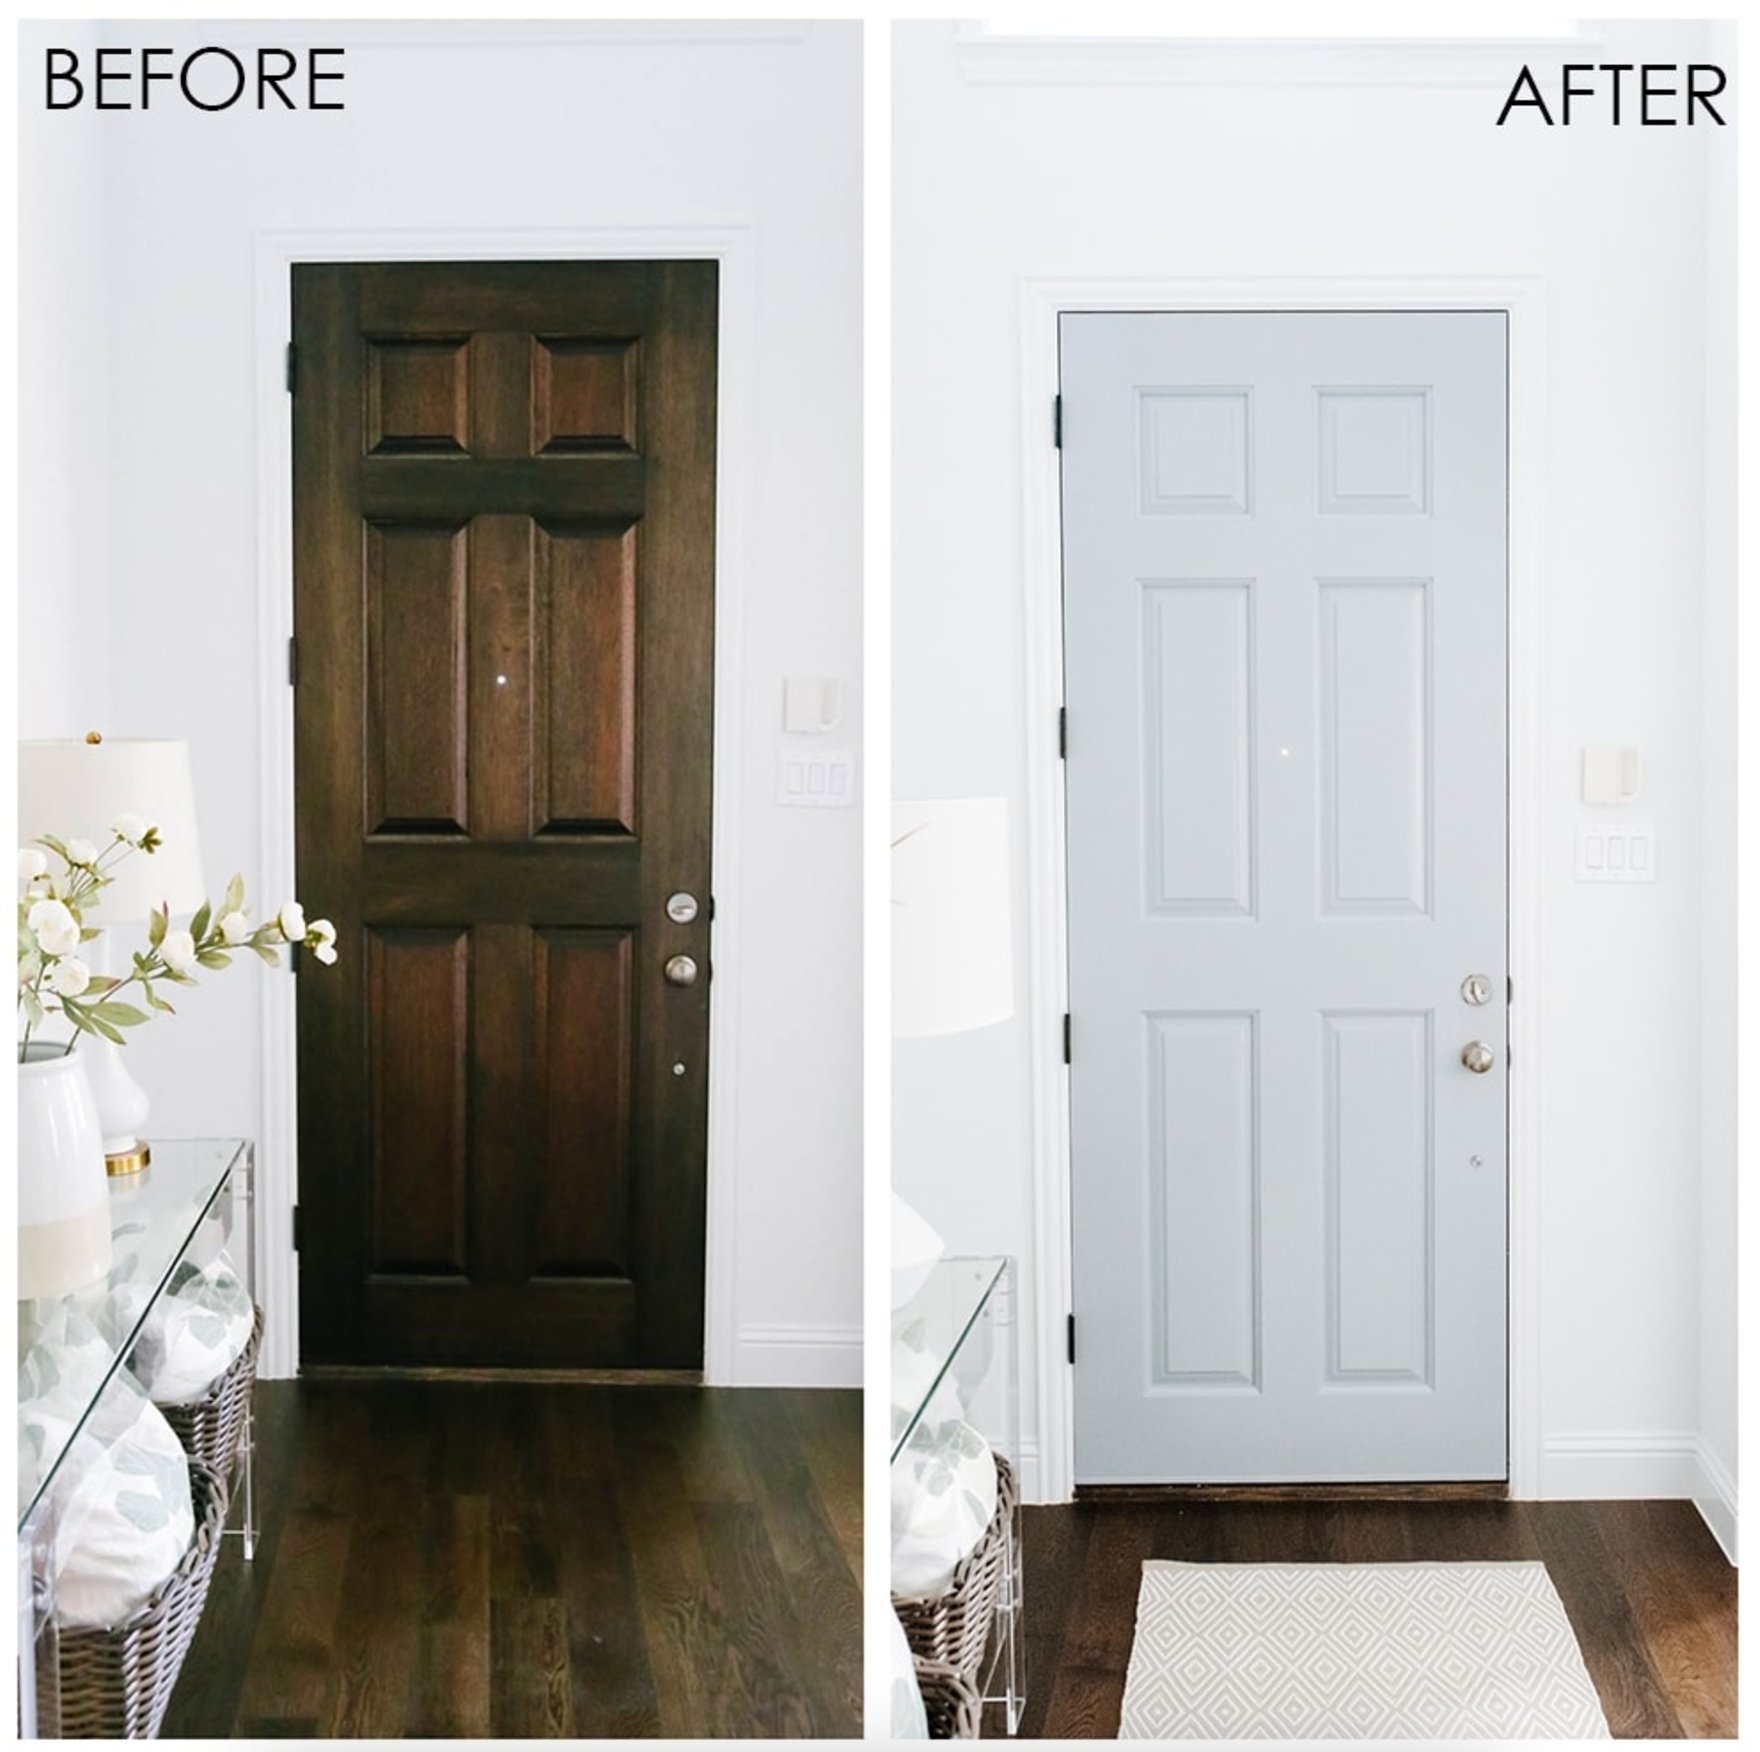
Most importantly, the paint must be tough enough to handle constant touching and the occasional bump. The area around the knob takes the worst abuse, followed by the latch edge and the bottom rail where shoes and vacuum heads hit.
You also want a coating that's easy to clean. Around handles, I like a finish that can take a damp microfiber cloth and mild soap without burnishing, which is that shiny rubbed spot you see on cheaper paints.
Good door paint should cover in 2 to 3 coats and dry within 4 to 6 hours between coats, so you can keep the project moving. Dry is not the same as cured, though. Treat the door gently for the first week, especially around the hardware.
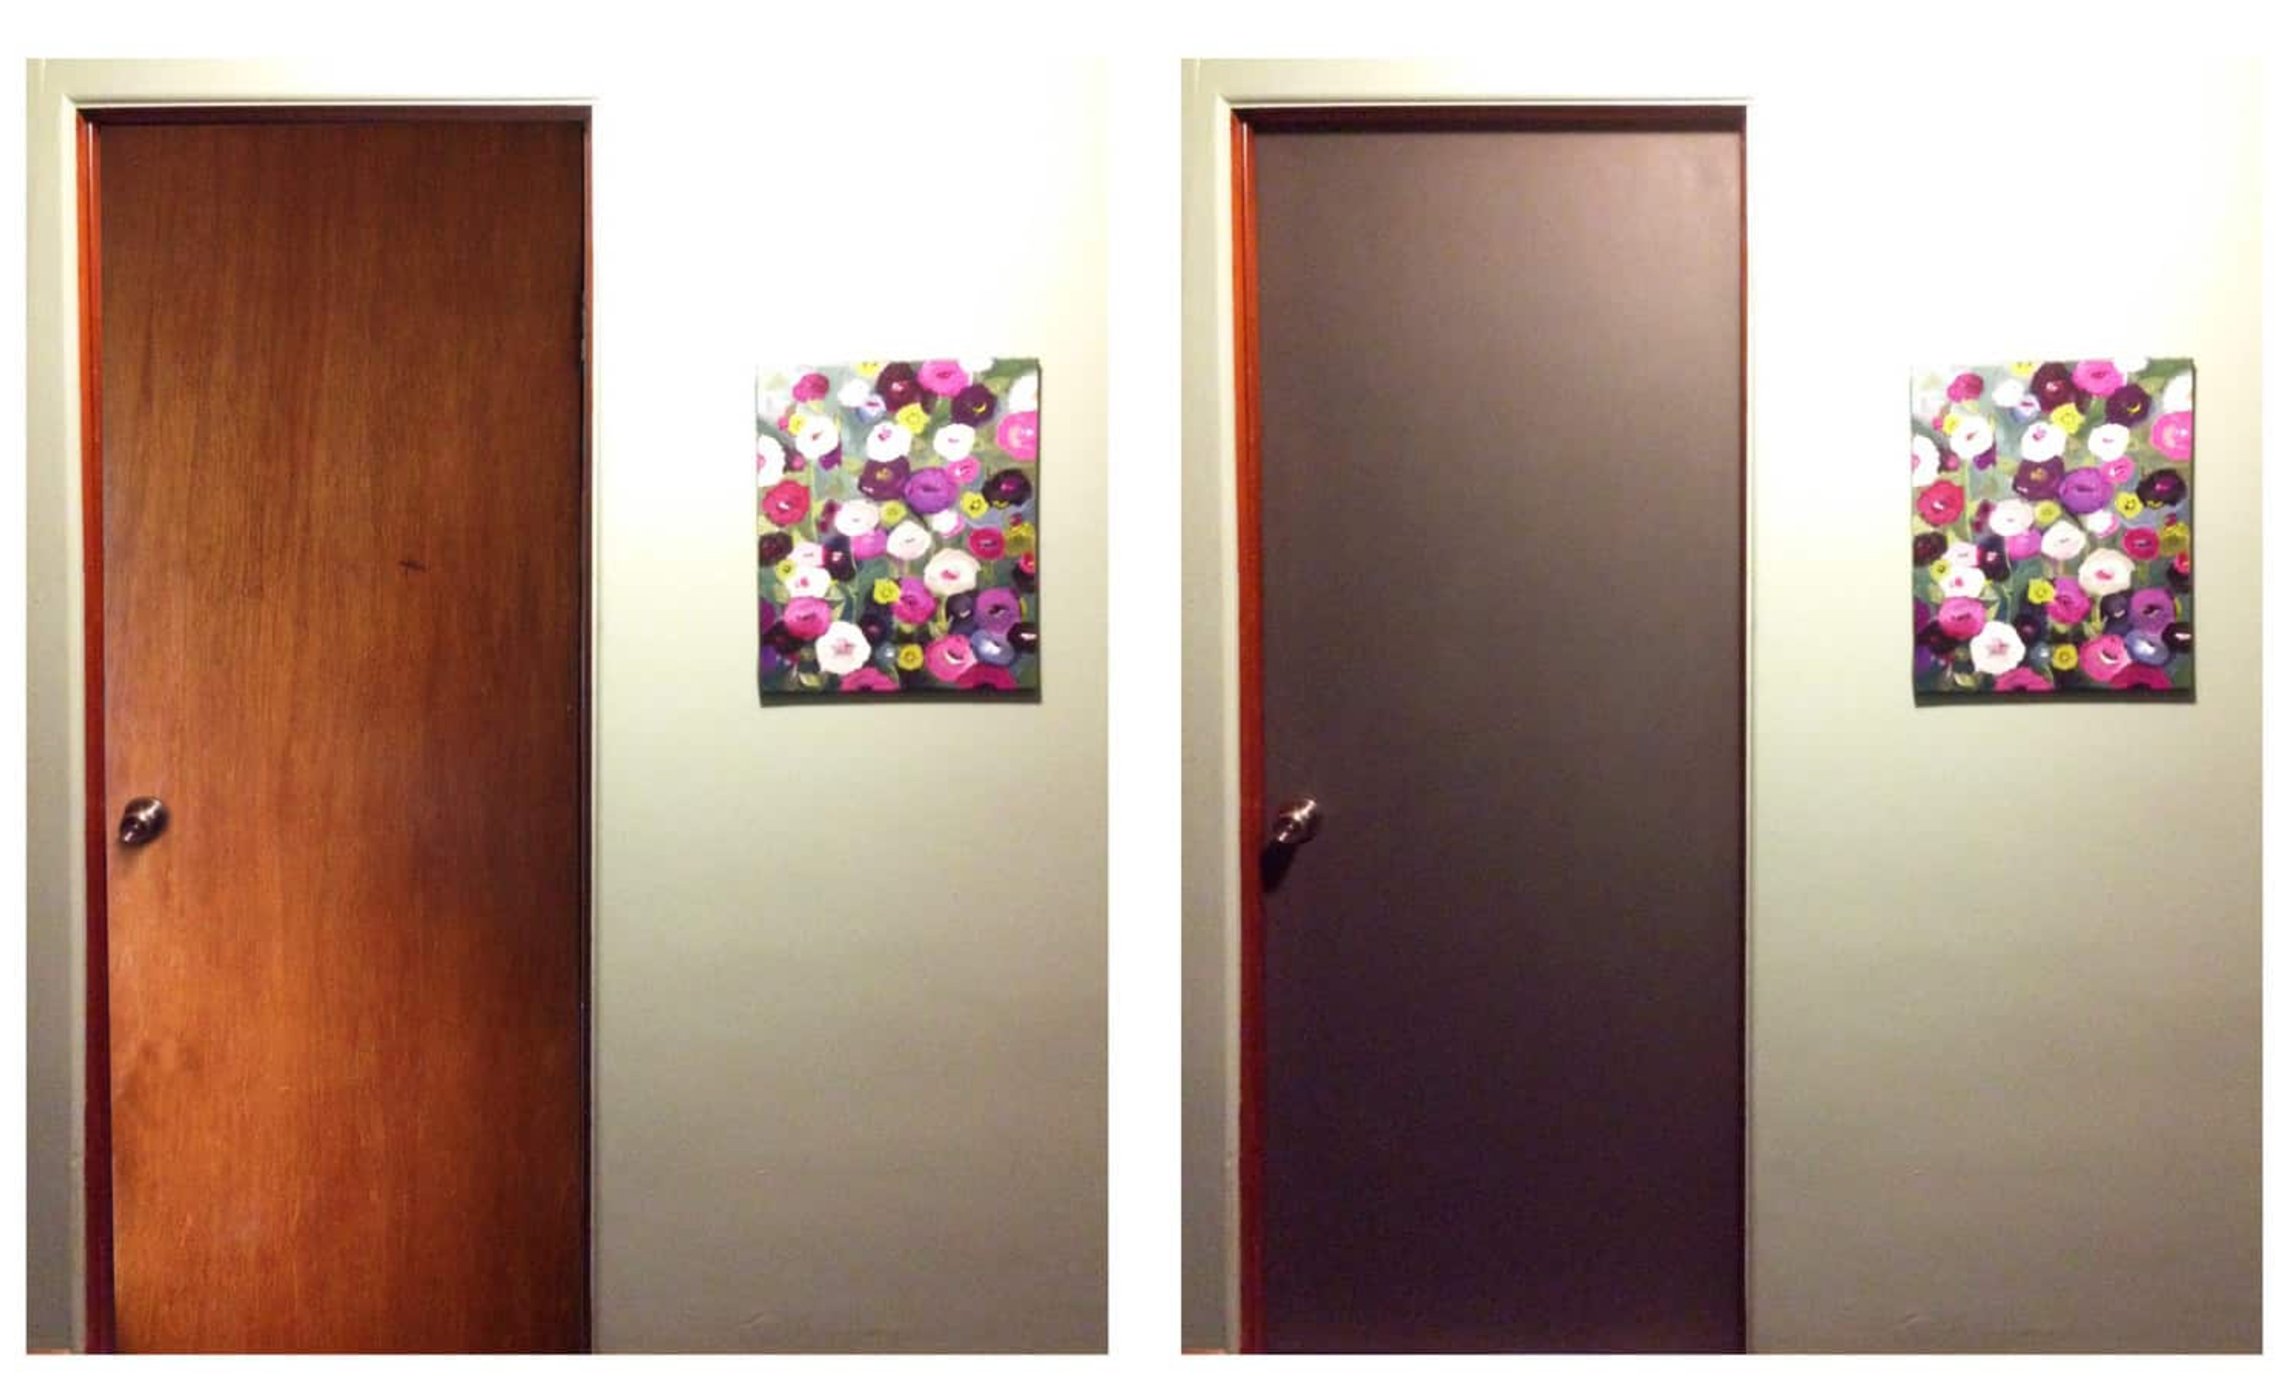
The door material is a big deal when choosing paint. Wood doors need a coating that bonds well and helps keep moisture out, especially in bathrooms and kitchens. Metal doors need rust-inhibiting primer if any bare metal is showing. Composite doors need strong adhesion, or the paint can peel from the slick factory surface.
Best Interior Door Paints and Why
After painting a lot of doors and trim, I trust two products most. Benjamin Moore Advance is my first choice for most interior doors because it levels beautifully and dries to a hard finish.
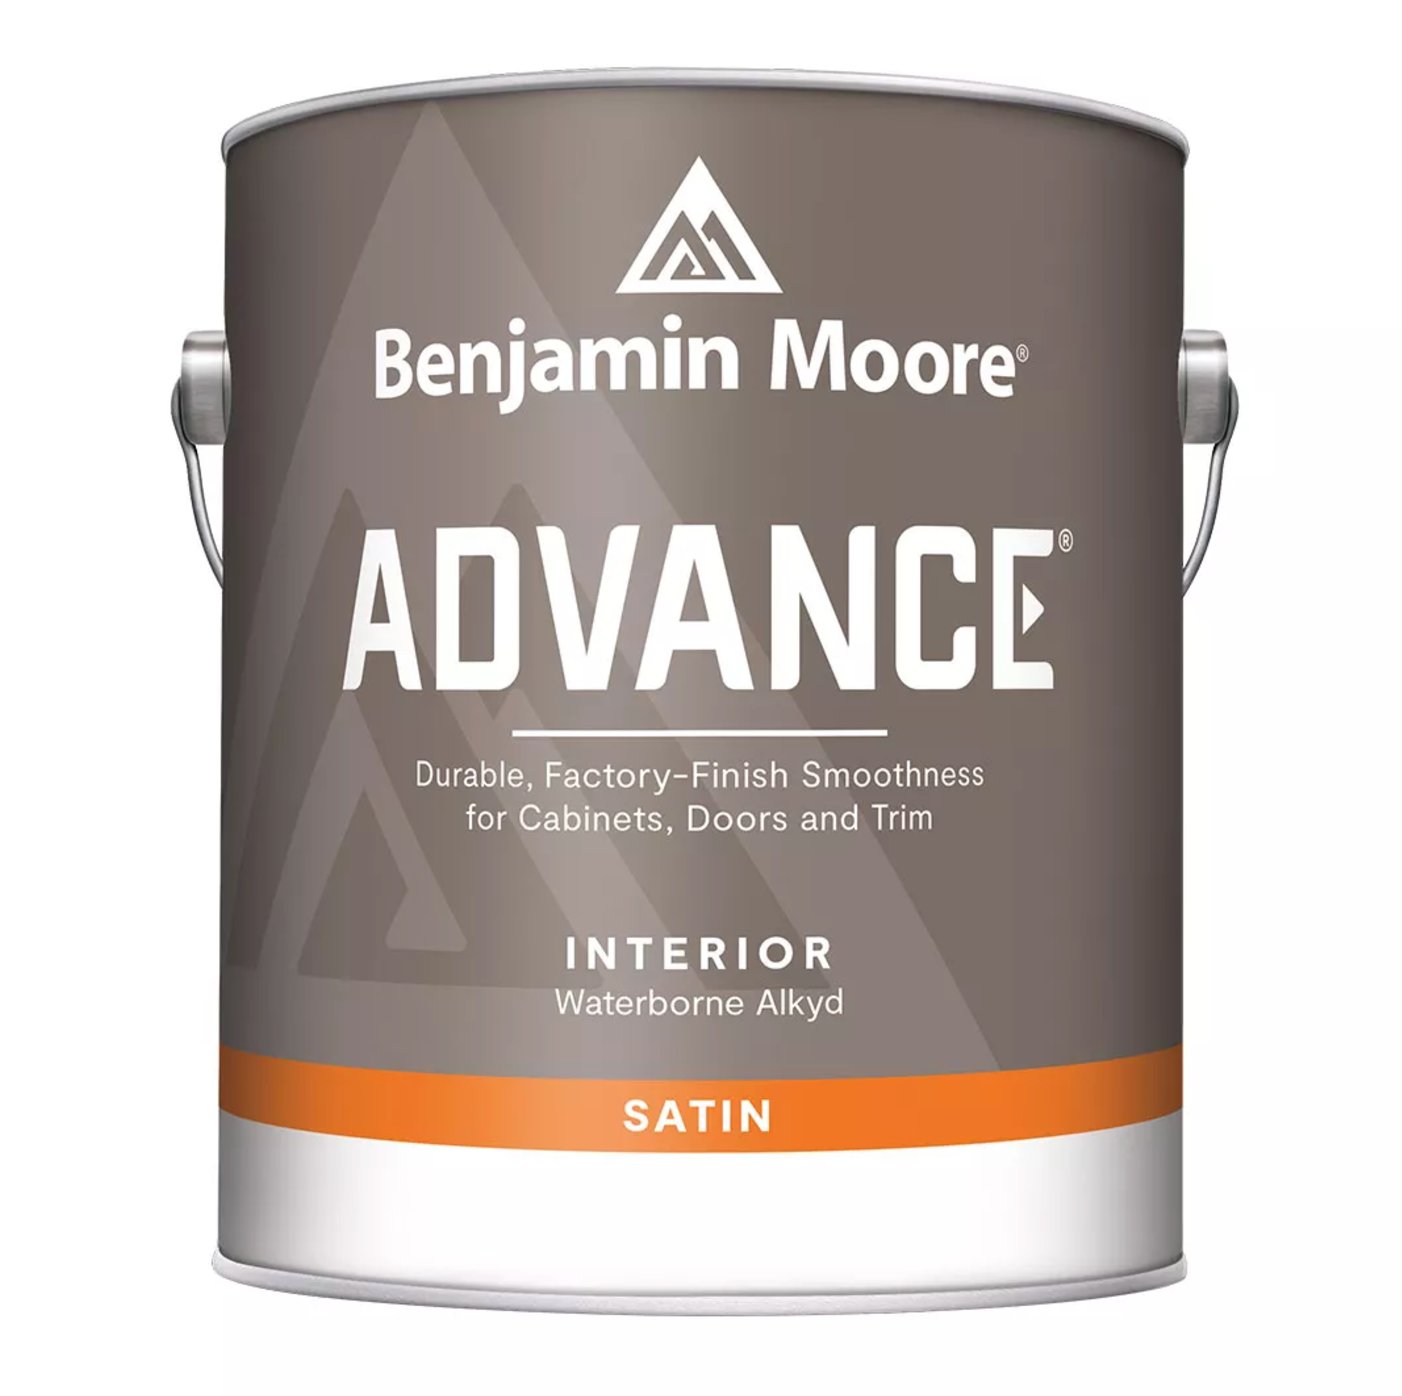
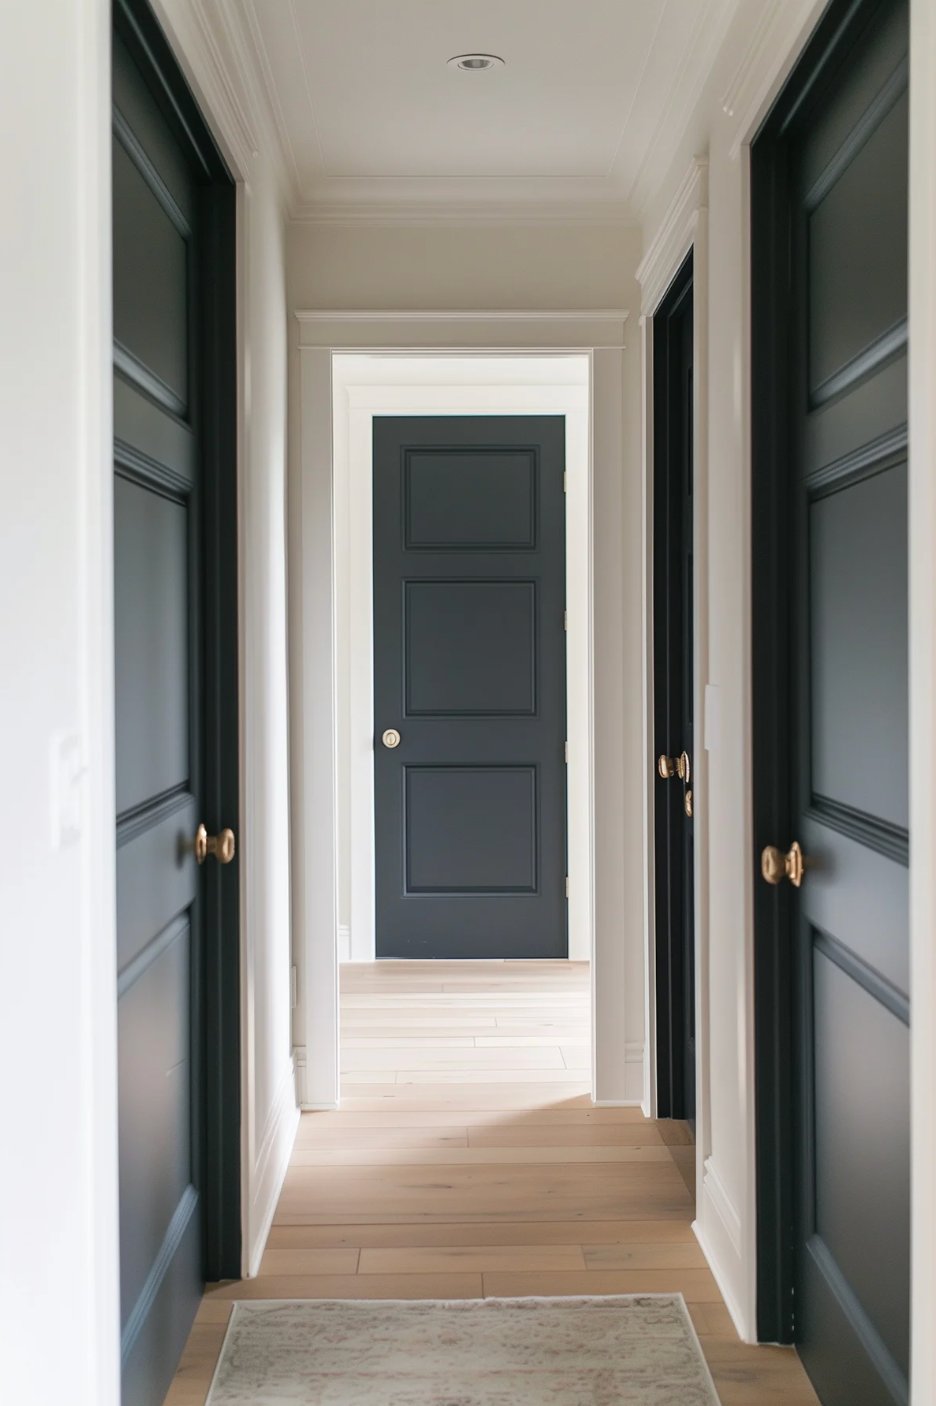
Advance uses a waterborne alkyd formula, a mix of alkyd resins and acrylic. In real use, that means it has more open time than ordinary latex paint, so brush marks have a chance to settle before the coating sets.
The tradeoff is patience. It dries slower than many acrylic paints, but that slower set is why a brushed door can still look smooth instead of striped.
Unlike old oil paints, Advance holds color better instead of yellowing over time. The cured finish is also tough enough for doors that get opened dozens of times a day.
Cleanup is simple, too. Soap and water handle the brushes, and the odor is much easier to live with than traditional oil paint.
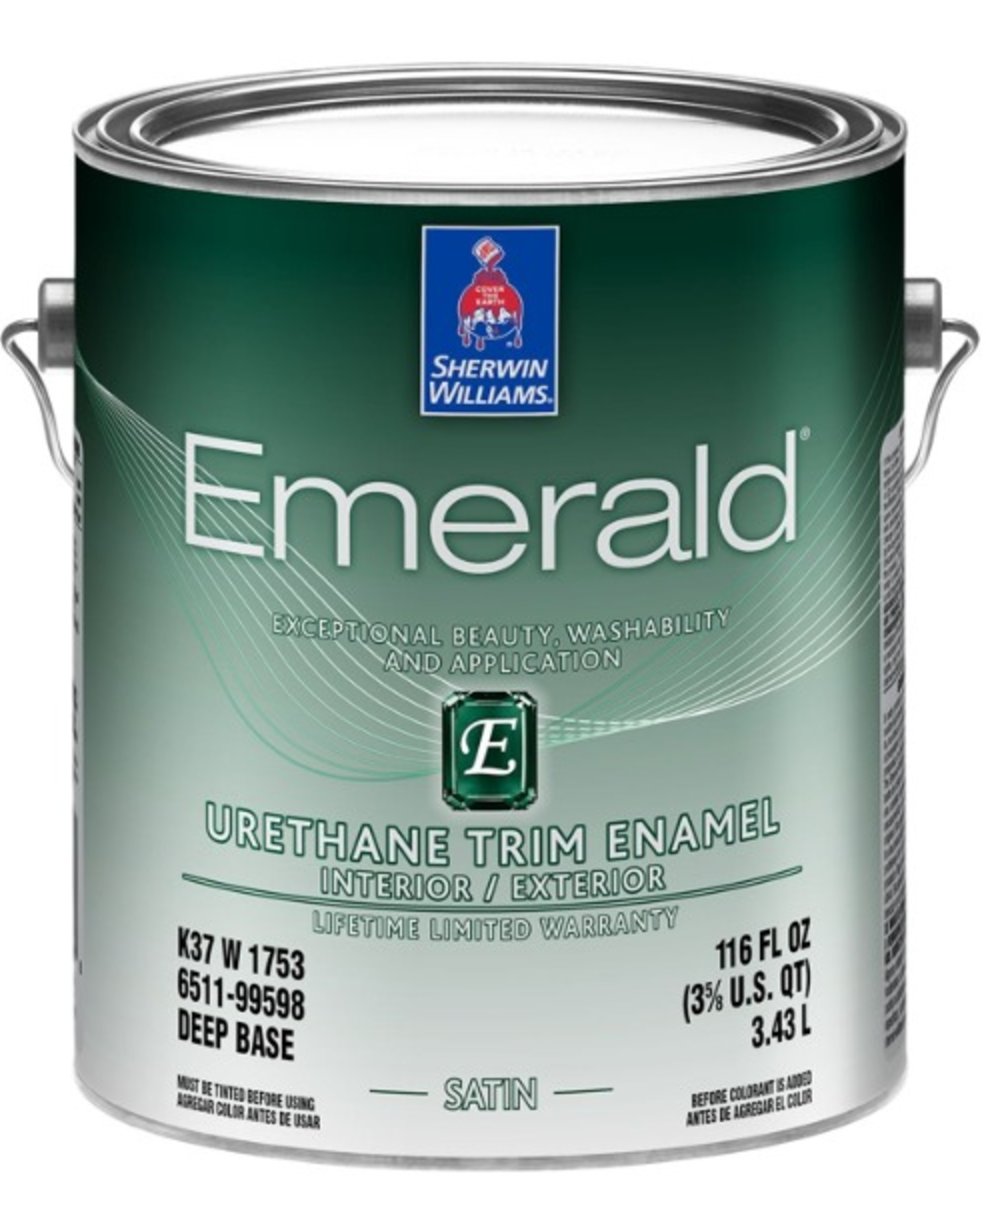
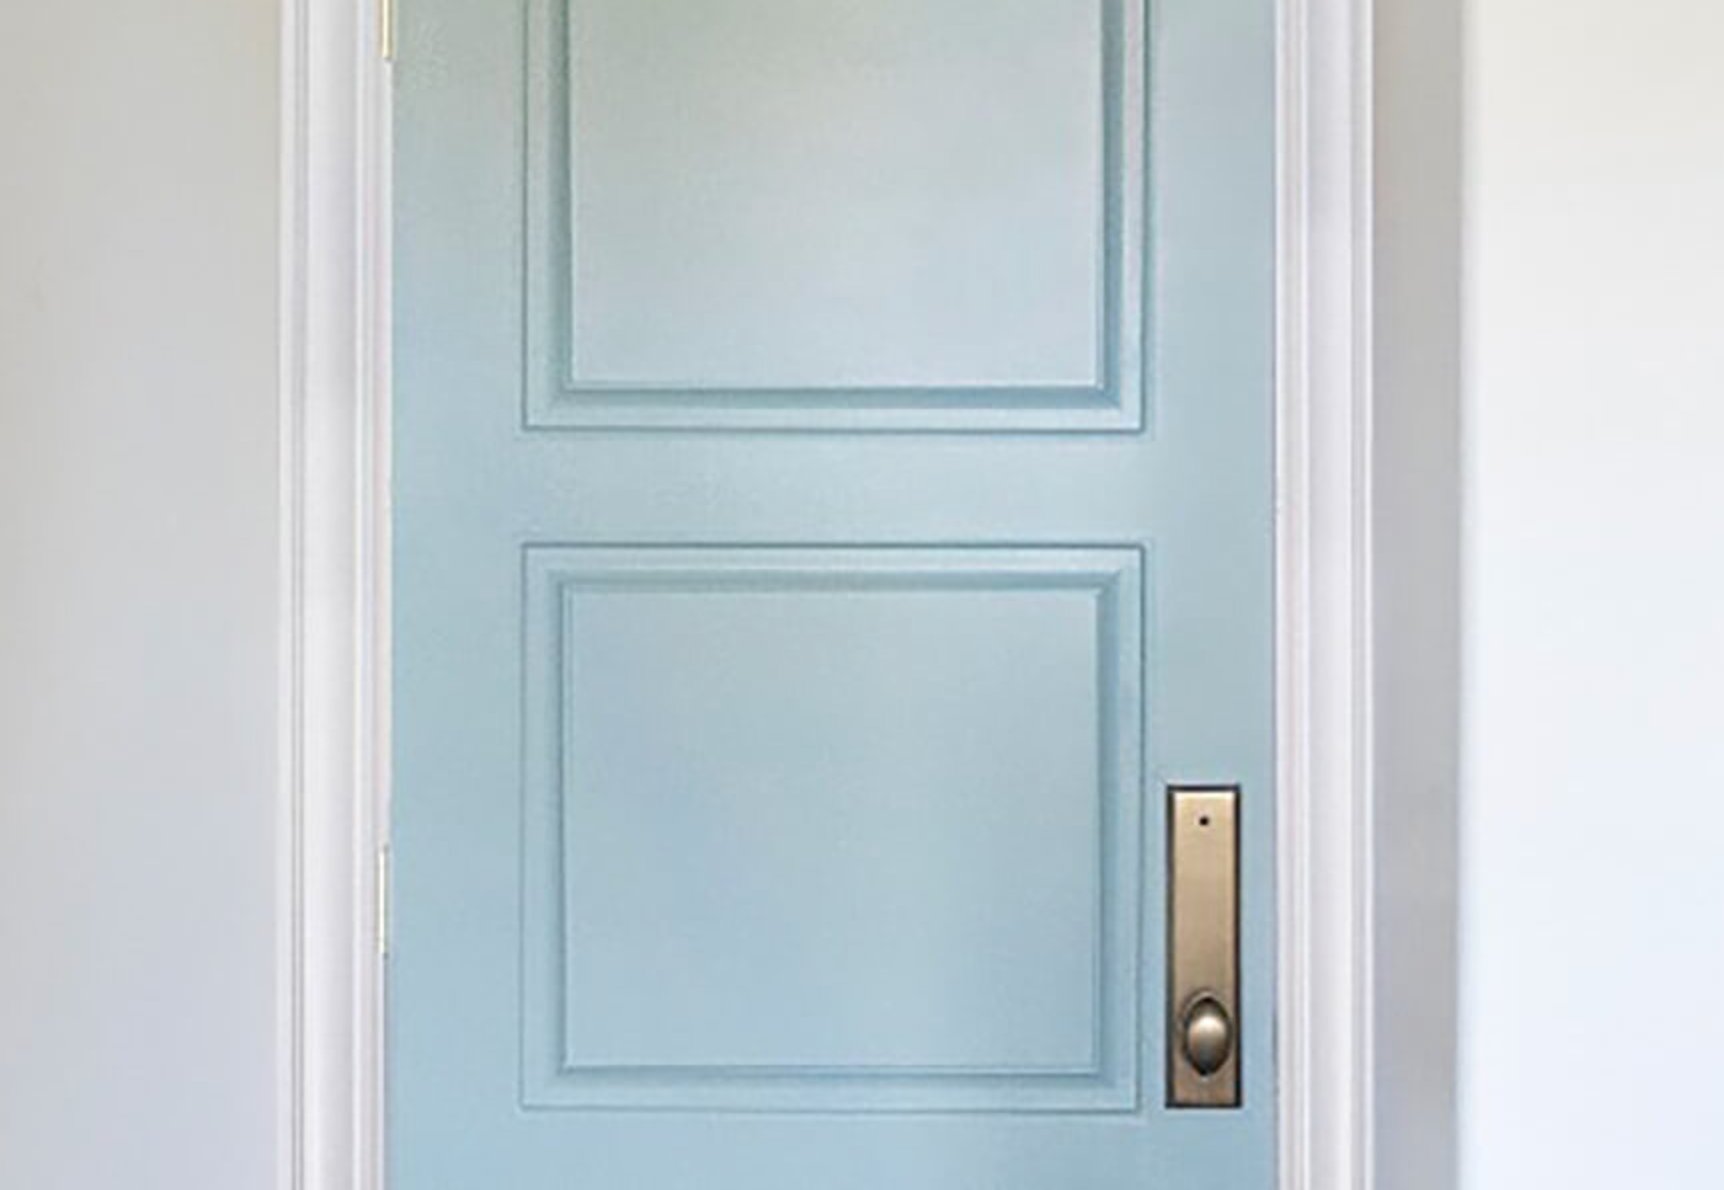
My second choice is Sherwin-Williams Emerald Urethane. It dries quicker than Advance and reads a little softer on the door. Their semi-gloss often looks closer to a satin from other brands.
It is very durable and resists scratches well once cured. The honest downside is the price, about $120 per gallon, which is a real jump from BM Advance.
Here is the lesson I learned the hard way: regular latex wall paint is a poor choice for doors. It tends to soften, smudge, or peel first around the handle and latch edge.
Spend the money on a good water-based alkyd or urethane trim enamel. One gallon usually covers several doors, and it saves you from sanding down failed paint later.
What Sheen to Paint Interior Doors
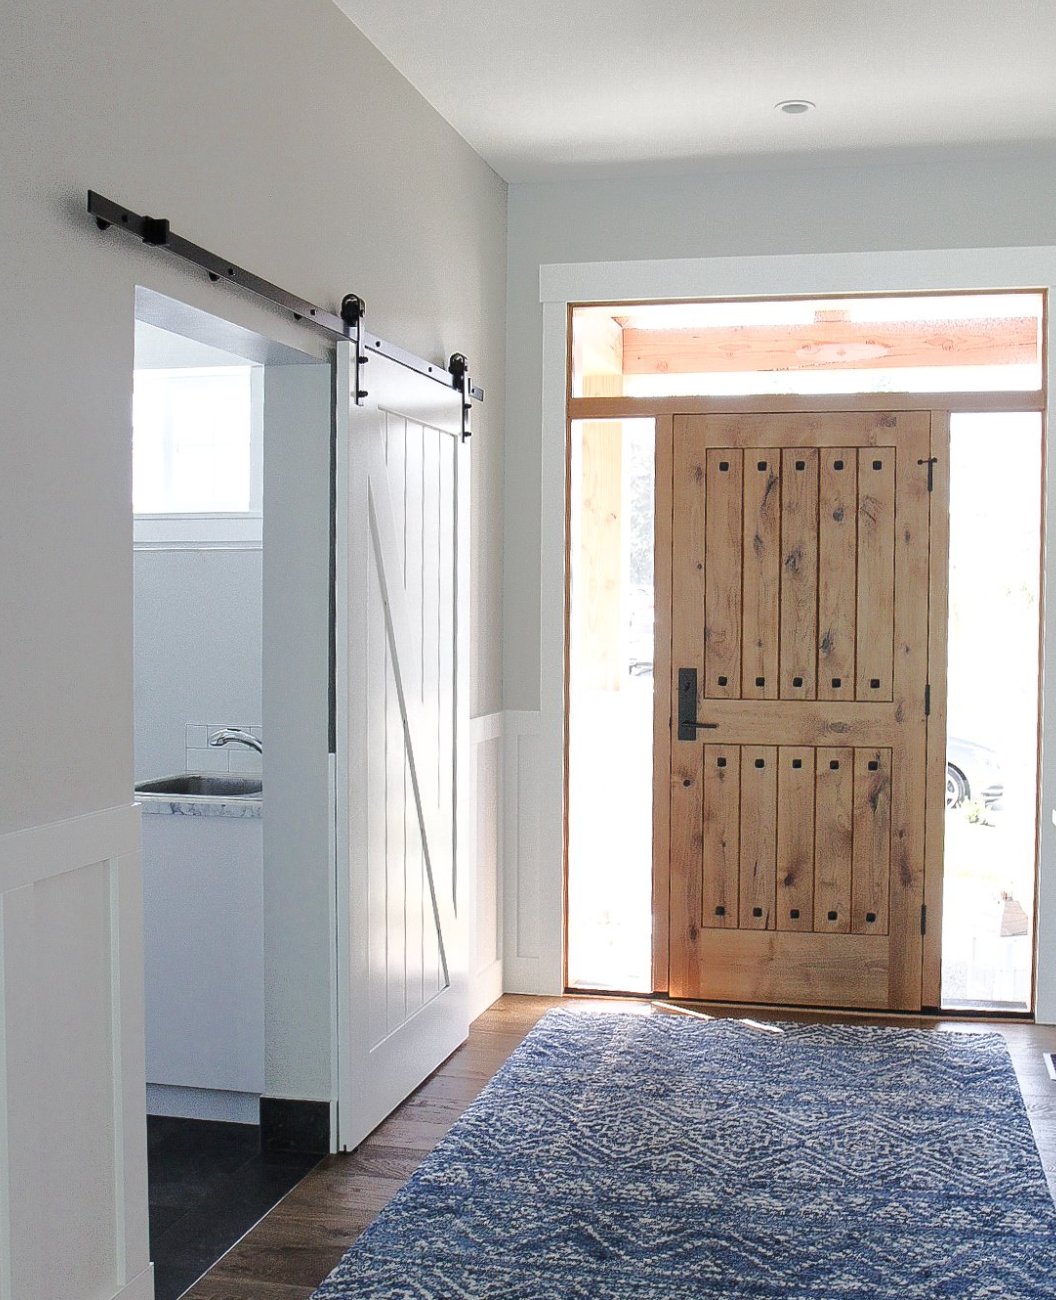
For most interior doors, satin or semi-gloss is the safest sheen. The right choice depends on how much traffic the door gets and how smooth the slab is before paint goes on.
Higher Sheen Paints
Door with a semi-gloss finish
source
Semi-gloss is the classic choice for doors because it wipes clean and gives better scratch resistance than lower sheens. I use it most often on bathroom doors, kids' room doors, pantry doors, and any door that gets handled all day.
Door with a high gloss finish
source
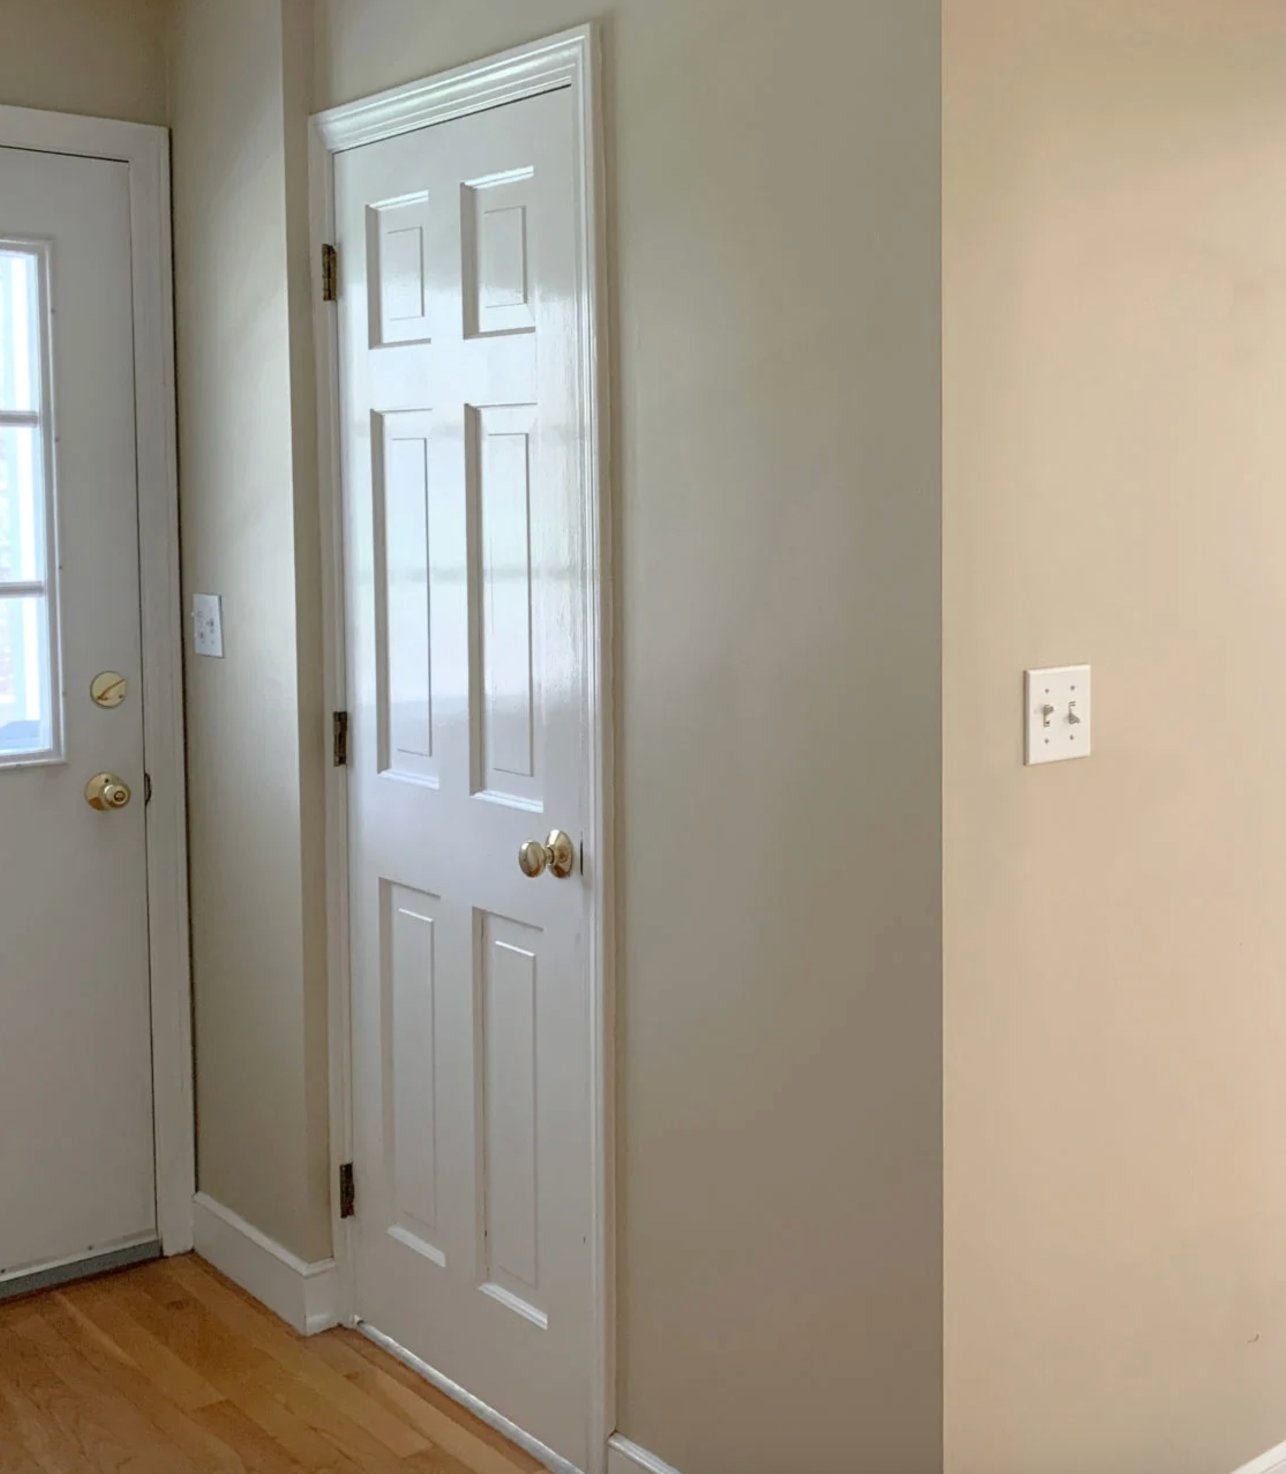
High gloss gives the most washable finish and the strongest shine. It also shows every raised grain line, old drip, dent, and patch. I only use it when the door is very smooth or when the flaws are part of the look.
Door with a satin finish
source
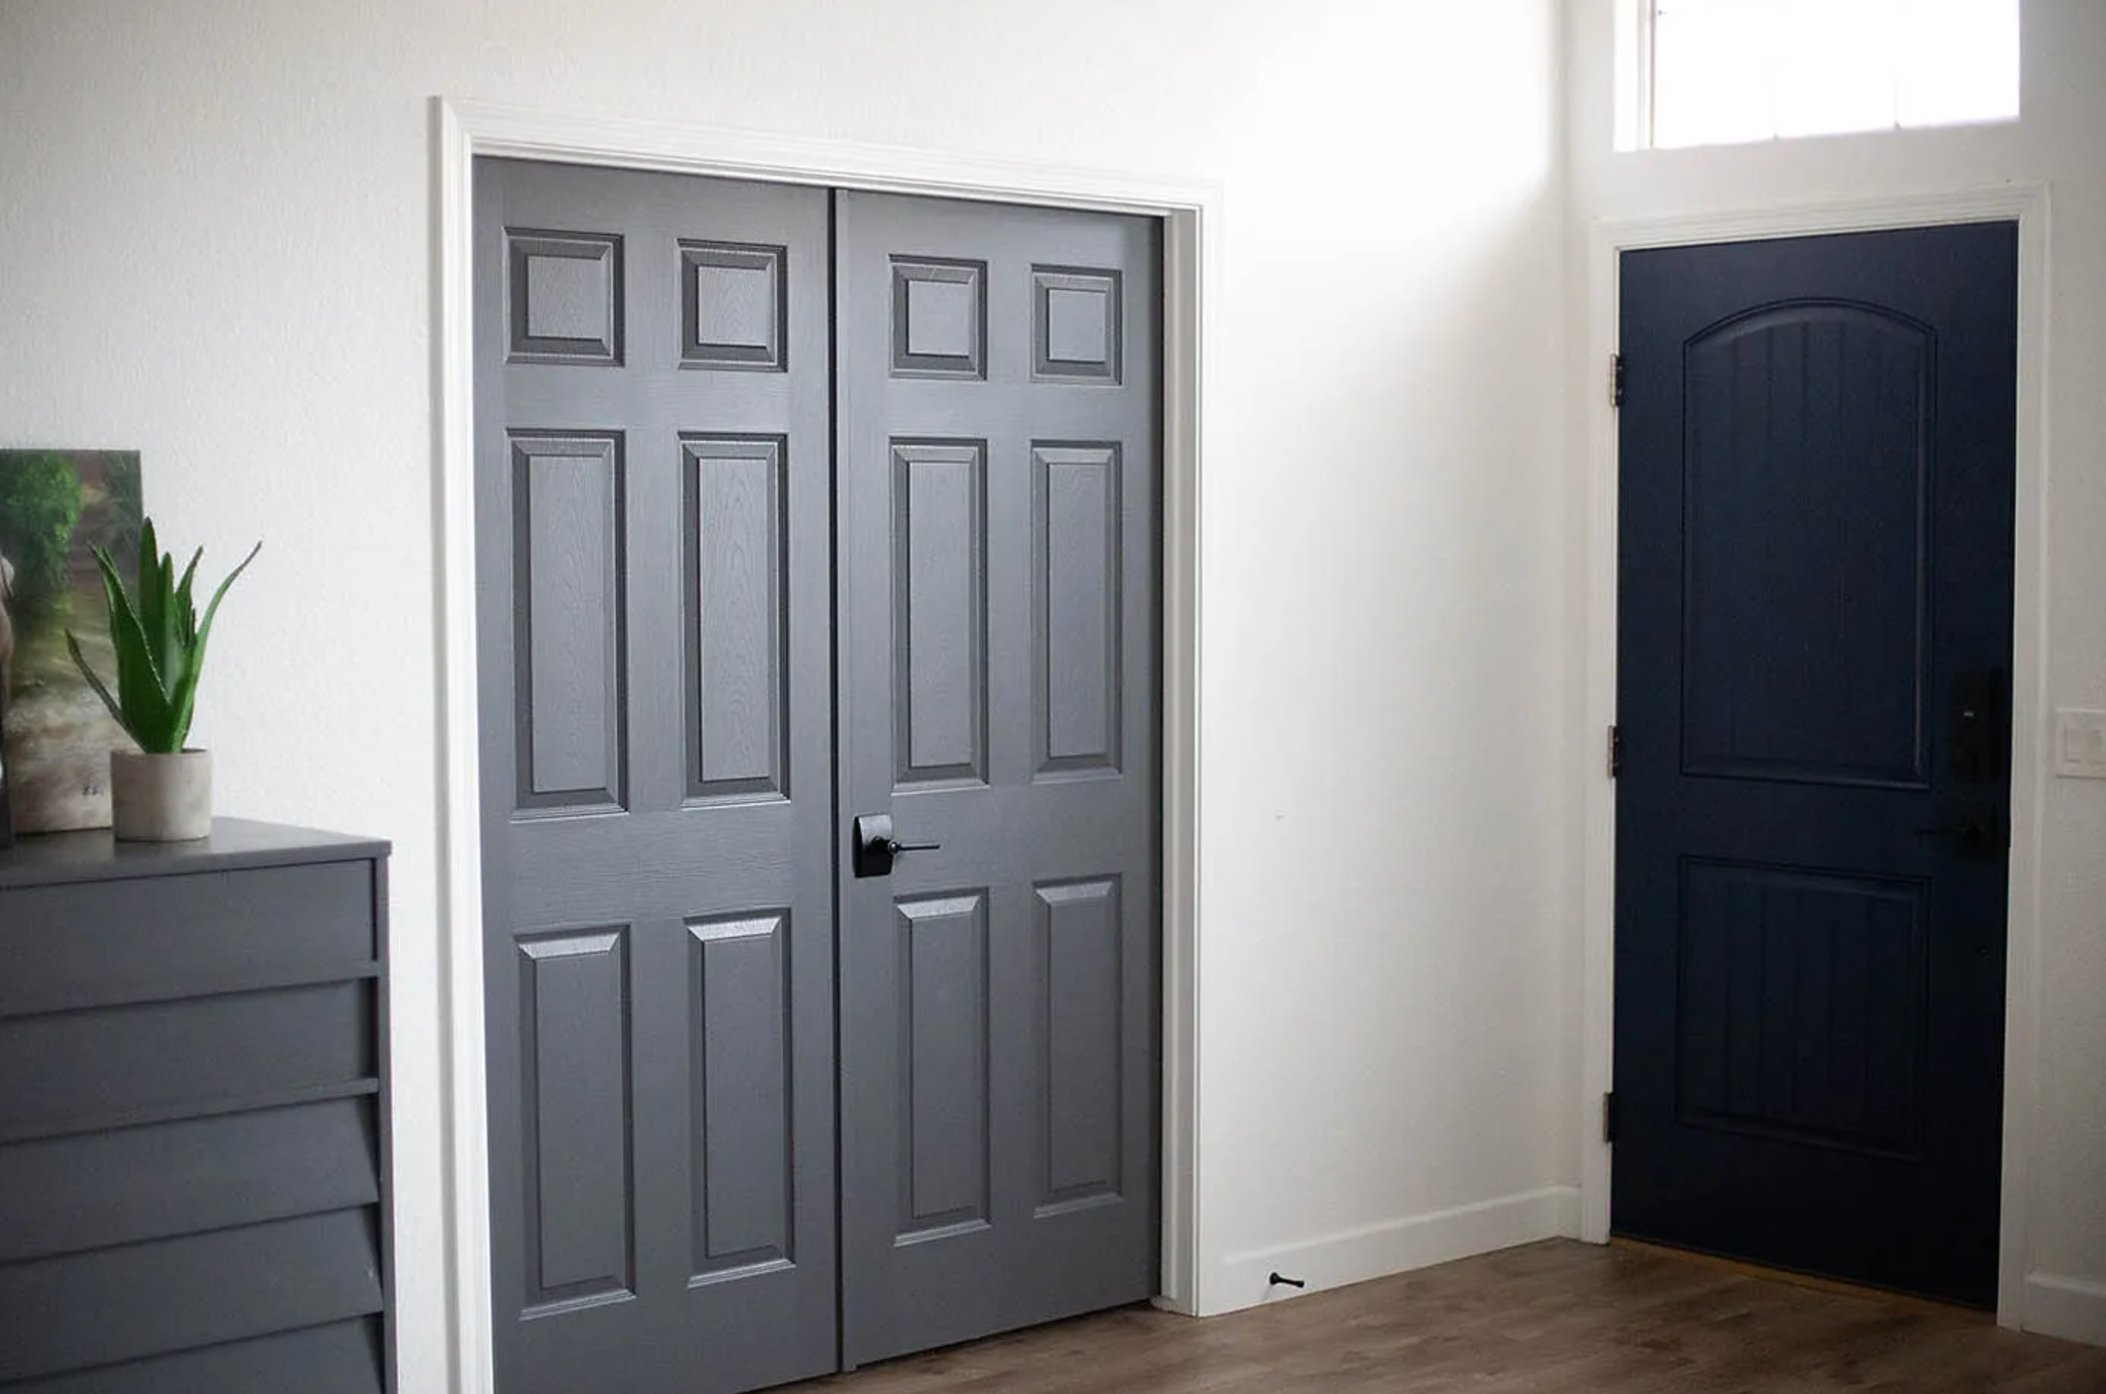
Satin is my favorite compromise for modern interiors. It has a softer glow than semi-gloss, still cleans up well, and does not spotlight small door imperfections as much.
Lower Sheen Paints
Lower sheens like eggshell or flat can look beautiful on a quiet closet door or a low-traffic room. On a busy hallway door, they show hand oils faster and can polish up when you scrub them.
Semi-gloss is common for a reason, but it is not the only workable choice. The more sheen you choose, the easier the door is to wipe. The less sheen you choose, the more forgiving it is on imperfect surfaces.
For a practical family hallway, use semi-gloss or gloss. For a cleaner modern look, use satin. For a closet or guest room door that barely gets touched, matte can work if you accept gentler cleaning.
How to Paint Interior Doors
A smooth painted door comes from prep, thin coats, and enough dry time. Rushing usually shows up as sticky edges, roller texture, or paint that pulls off when the hardware goes back on.
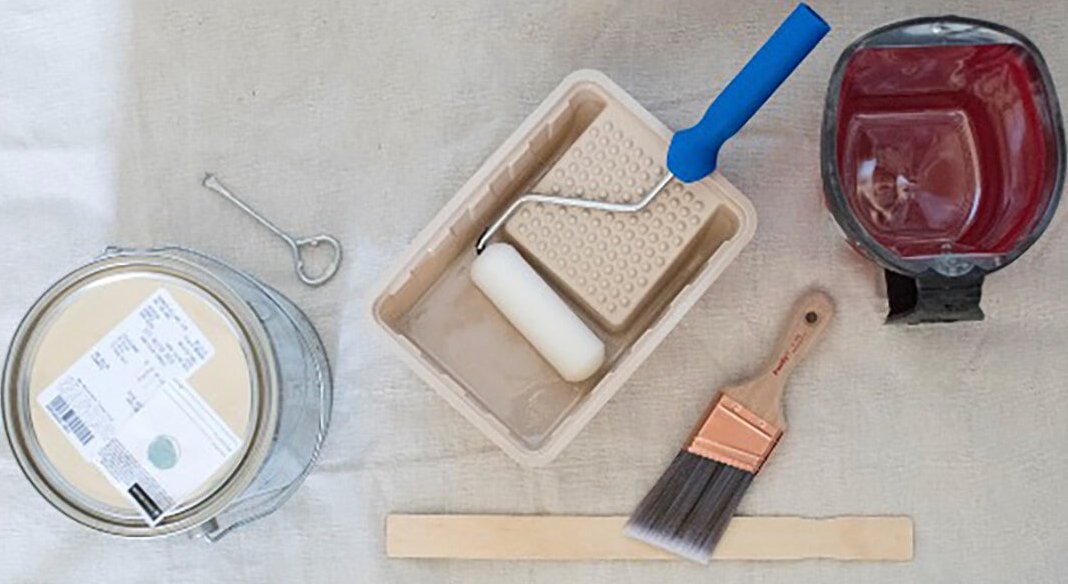
What you'll need:
- Interior paint
- Angled trim brush (2-3 inch)
- Mini foam roller with frame
- Primer
- Degreasing cleaner
- Medium-grit sandpaper (120-150)
- Tack cloth
- Drop cloth
- Painter's tape
- Screwdriver for removing hardware
1) Preparation
- Prep decides whether the paint bonds or chips. If the old finish feels greasy, glossy, or dusty, paint will not grip it well.
- Start by cleaning everything well with a degreaser or warm, soapy water. Pay special attention to the knob area, the latch edge, and the top ledges of paneled doors where dust settles.
- Once it is dry, grab your medium-grit sandpaper. You are not trying to strip it down to bare wood. Scuff the surface so the paint has tooth, then smooth scratches or dings so they do not telegraph through the new sheen.
- Wipe away all the dust with a damp cloth and let it dry.
- While you are waiting, lay down your drop cloths and tape anything that has to stay in place. Don't cheap out on the tape. Bargain tape often bleeds at the edge or leaves adhesive behind.
- I always remove the knobs, plates, hinges, and other hardware when the door can come down safely. It adds about 15 minutes, but you avoid thick paint ridges around the handles. On an older door, tighten loose hinge screws before you paint so the fresh edge does not rub the jamb.
2) Priming
- You do not always need a primer. Use one for raw wood, major color changes, glossy factory finishes, stains, or when you are covering oil paint.
- I usually pay more for bonding primer because adhesion is the whole job on a door. Start at the top and brush into the recessed details first. Watch corners and profile edges, because primer pools there and dries as drips.
- For the flat parts, use a short-nap roller. It leaves less texture than a thick wall roller.
- Give that first coat about 2 to 3 hours to dry, then check coverage. If the old color is still showing or the surface looks patchy, apply a second thin coat.
- Once the primer is fully dry, sand it very lightly with the finest sandpaper you've got. You are only knocking down raised grain and dust nibs, not cutting through the primer.
3) Painting
- Start at the top. Brush the recessed details first, then the rails and stiles, following the wood grain where the door has one.
- Use a good synthetic brush for the details. Cheap brushes shed, drag, and leave heavy ridges that are hard to sand out later.
- For the main panels, use your roller. Work in long strokes from top to bottom. Thin layers matter here. Two or three light coats beat one thick coat because thick paint sags on vertical surfaces.
- Give it at least 4 hours between coats, or 6 to 8 hours if the room is humid. Paint each new coat at a right angle to the last one when the door layout allows it, which helps even out roller marks.
- After the final coat, wait 24 hours before reinstalling the hardware. Then treat the door gently for about a week. The paint may feel dry, but it still needs time to cure hard.
If the door rubs the jamb before you paint, fix that first. Fresh paint adds thickness, and a tight door will scrape at the latch side or top edge no matter how good the paint is.

I'm Elizabeth, your go-to guide for all things paint and design! My days are filled with color swatches and innovative room makeovers. When I'm not painting the town - literally - I'm soaking up inspiration from my travels. This blog is my way of sharing my passion and making the world a more vibrant place, one color palette at a time.