The Best Exterior Door Paint & How to Use It
I notice front doors before I notice landscaping. A good door color reads like a handshake: tailored, traditional, playful, or quietly classic.
There is real money in that first impression. Zillow has reported that choosing the right front door color can add about $6,000 to a home's sale price.
The paint matters as much as the color. A front door gets sun, rain, fingerprints, pets, keys, and cleaning products. If the paint type or sheen is wrong, the color may look fresh for a few weeks and tired by the next season.
Here is how I choose exterior door paint for clients, including the finishes and products I trust most.
What Makes a Great Exterior Door Paint?
A great exterior door paint has to handle water, heat, freezing weather, UV exposure, and daily contact. Interior wall paint is too soft for that job. This is not the place to save $15 on a gallon.
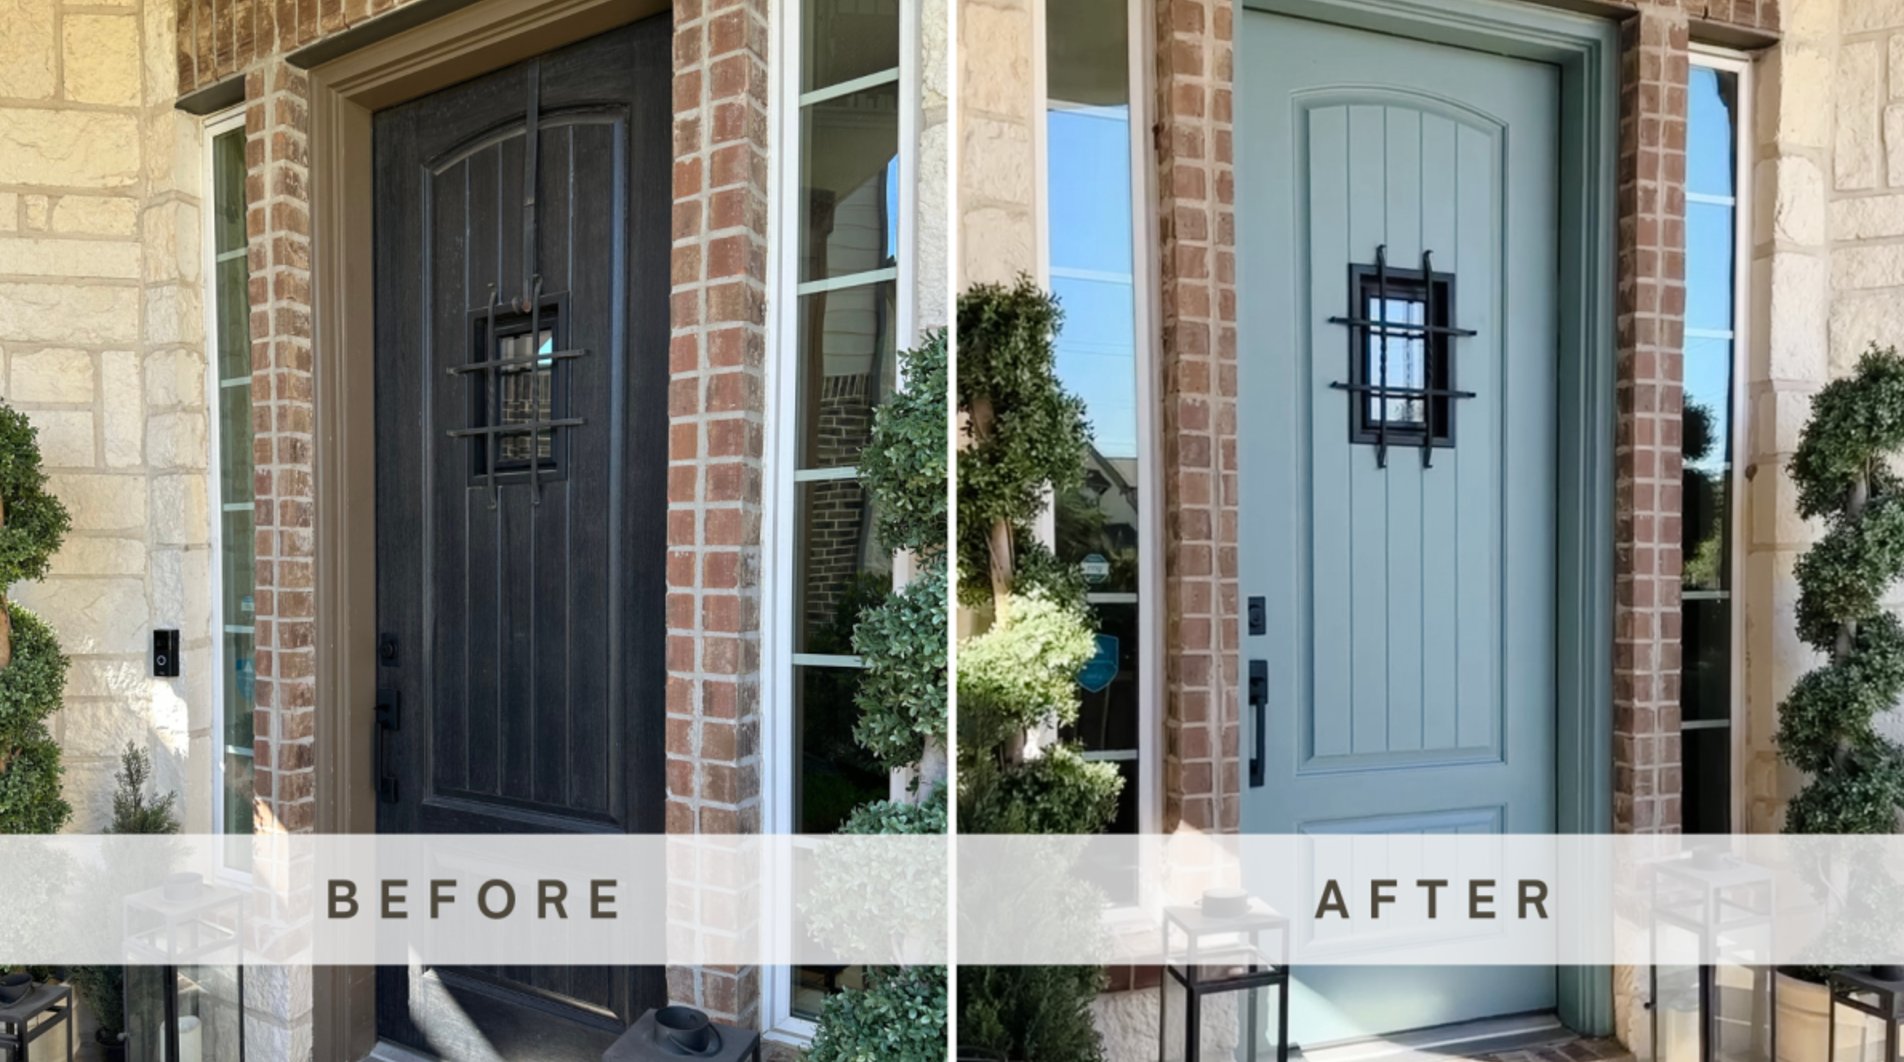
Acrylic latex paint is the best choice for most exterior doors. It stays flexible as the door expands and contracts, cleans up with soap and water, and works well on wood and fiberglass when the surface is properly cleaned, sanded, and primed.
Metal doors need more caution. I usually reach for oil-based paint, or a product clearly rated for exterior metal, because bare or poorly primed steel can rust under latex paint.
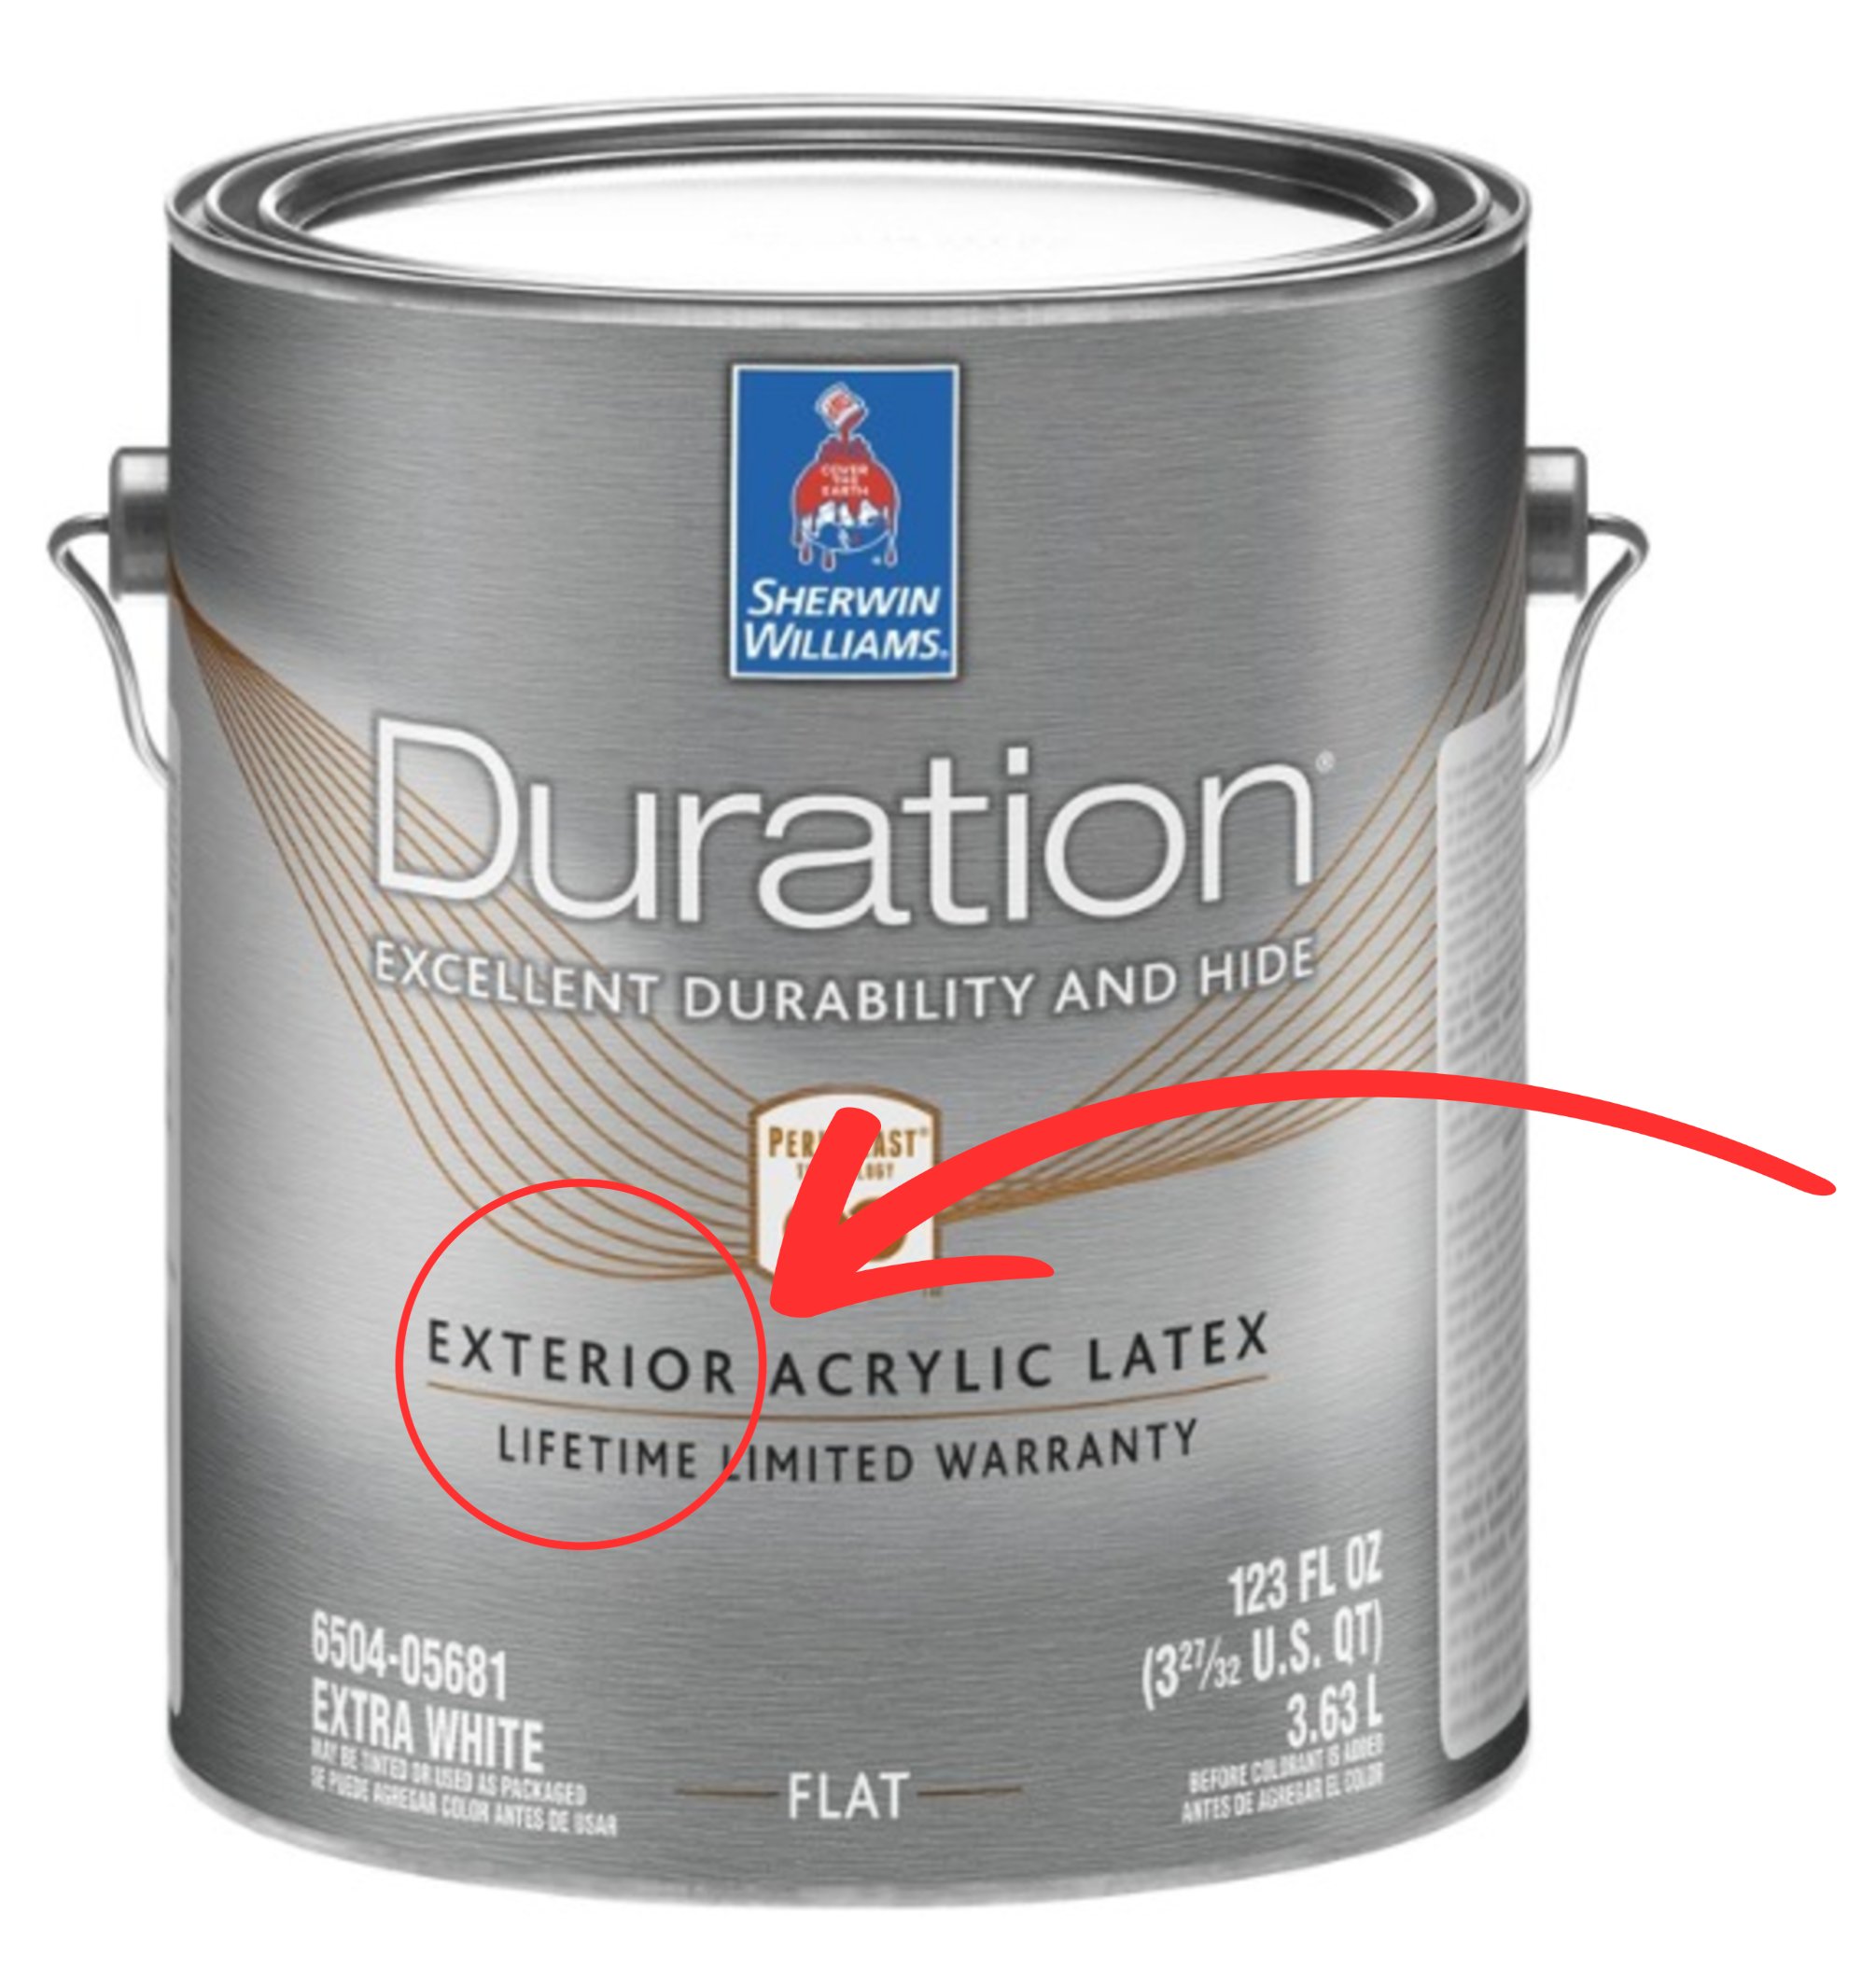
Always check for "exterior" or "interior/exterior" on the label. Those formulas include resins and additives that help resist fading, cracking, mildew, and early chalking. If your door gets hard afternoon sun, favor the higher-end exterior line in the brand you already like.
What Sheen to Paint Exterior Doors
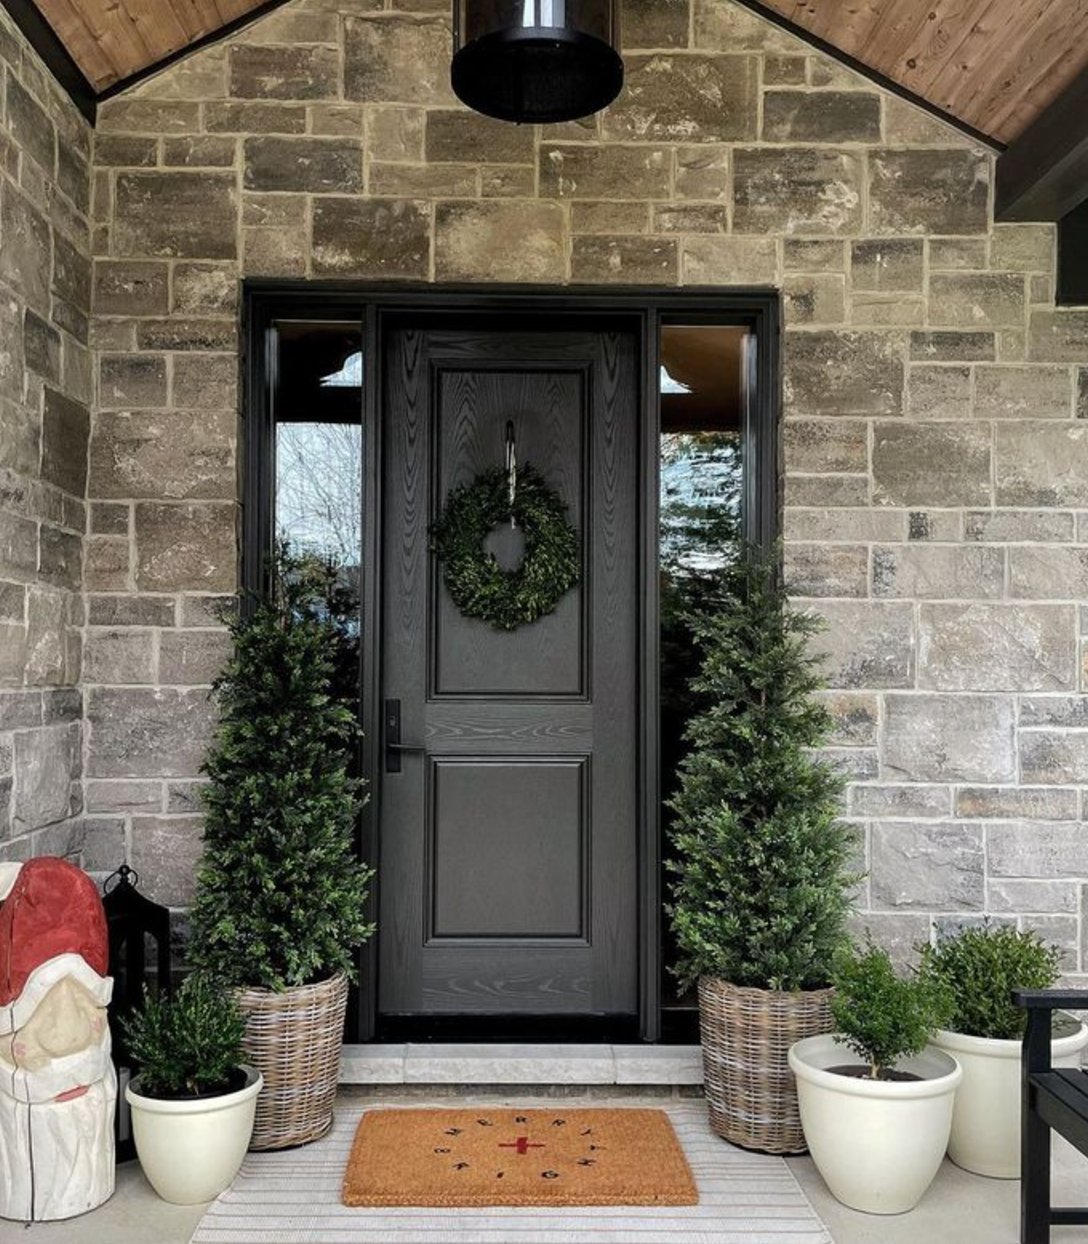
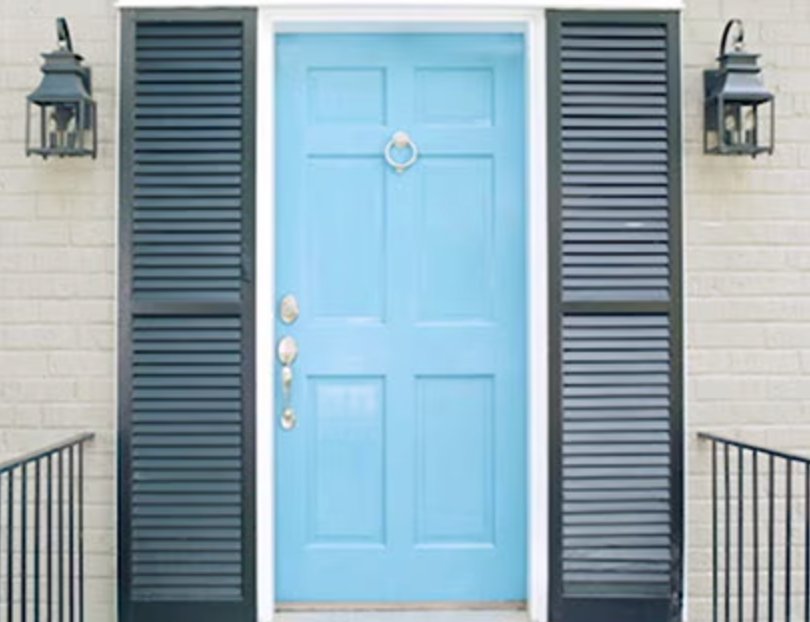
For most front doors, semi-gloss is the best sheen. It gives enough reflection to look intentional, but the bigger advantage is durability.
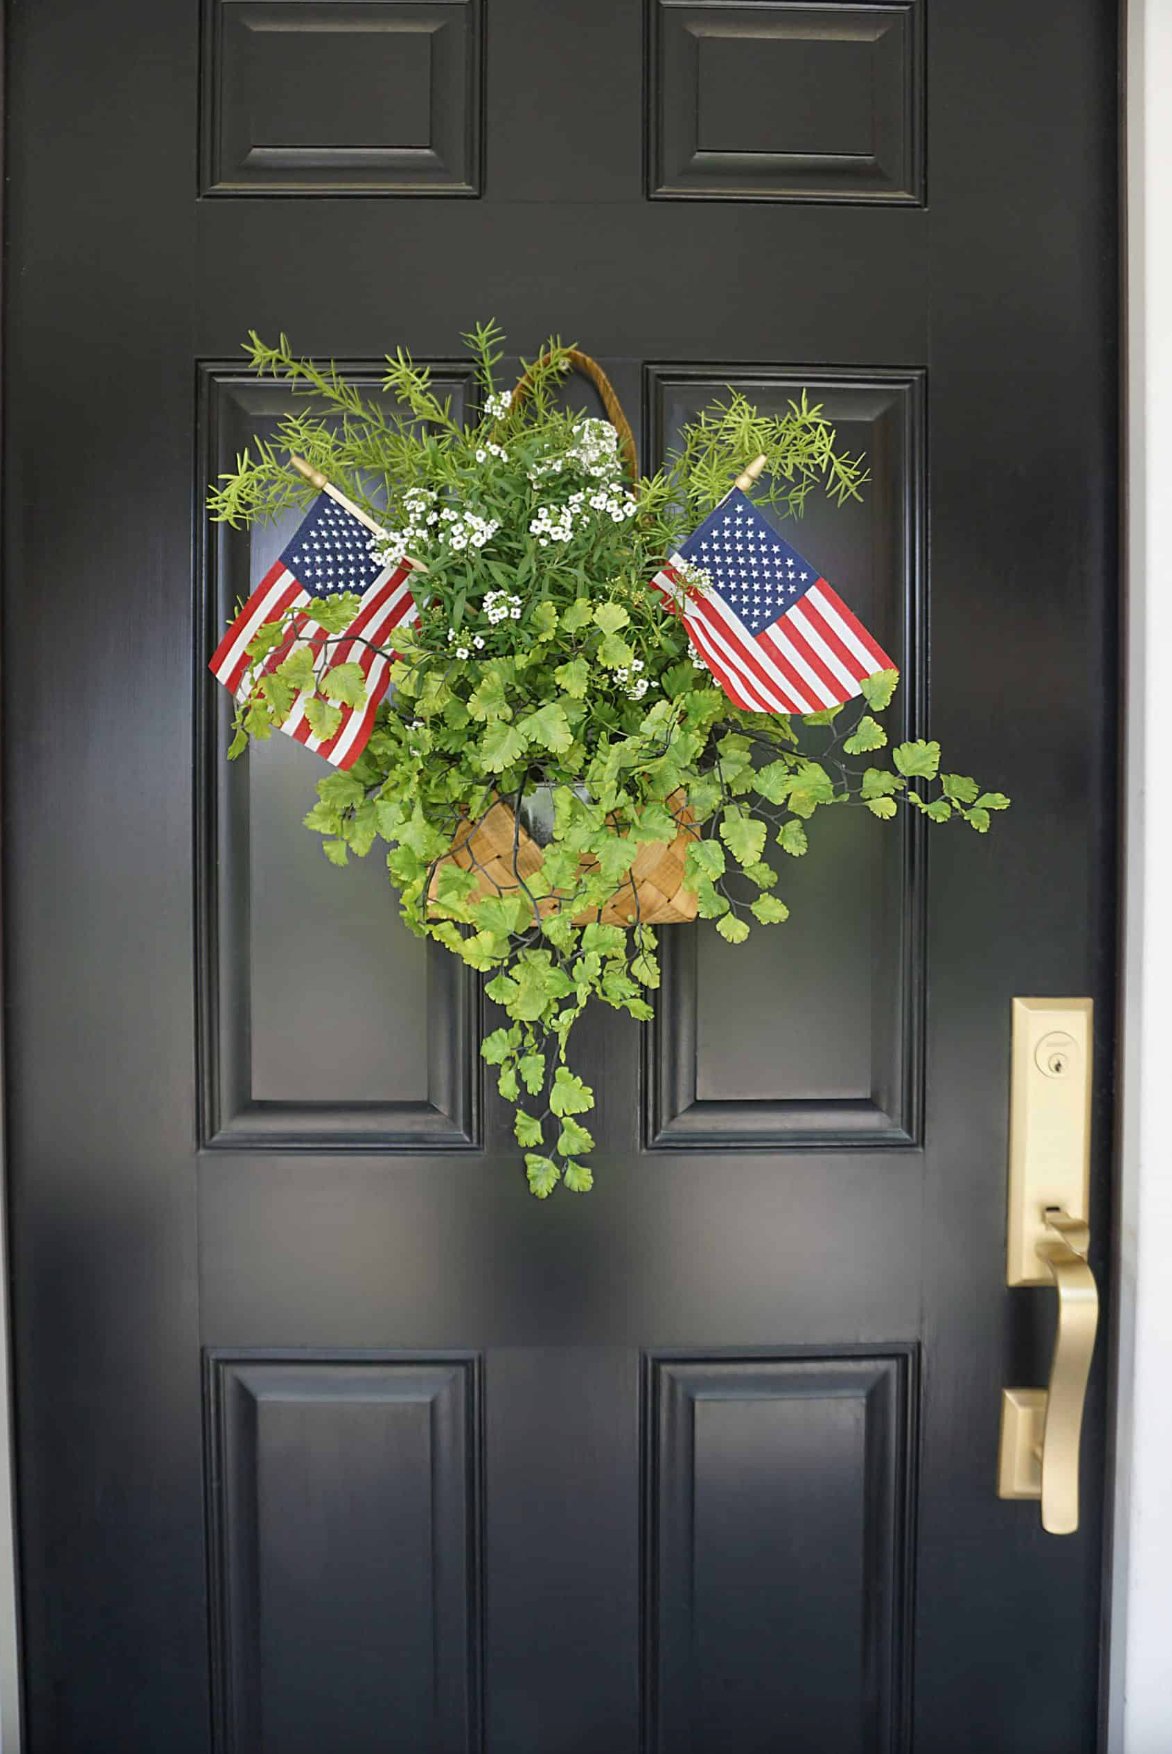
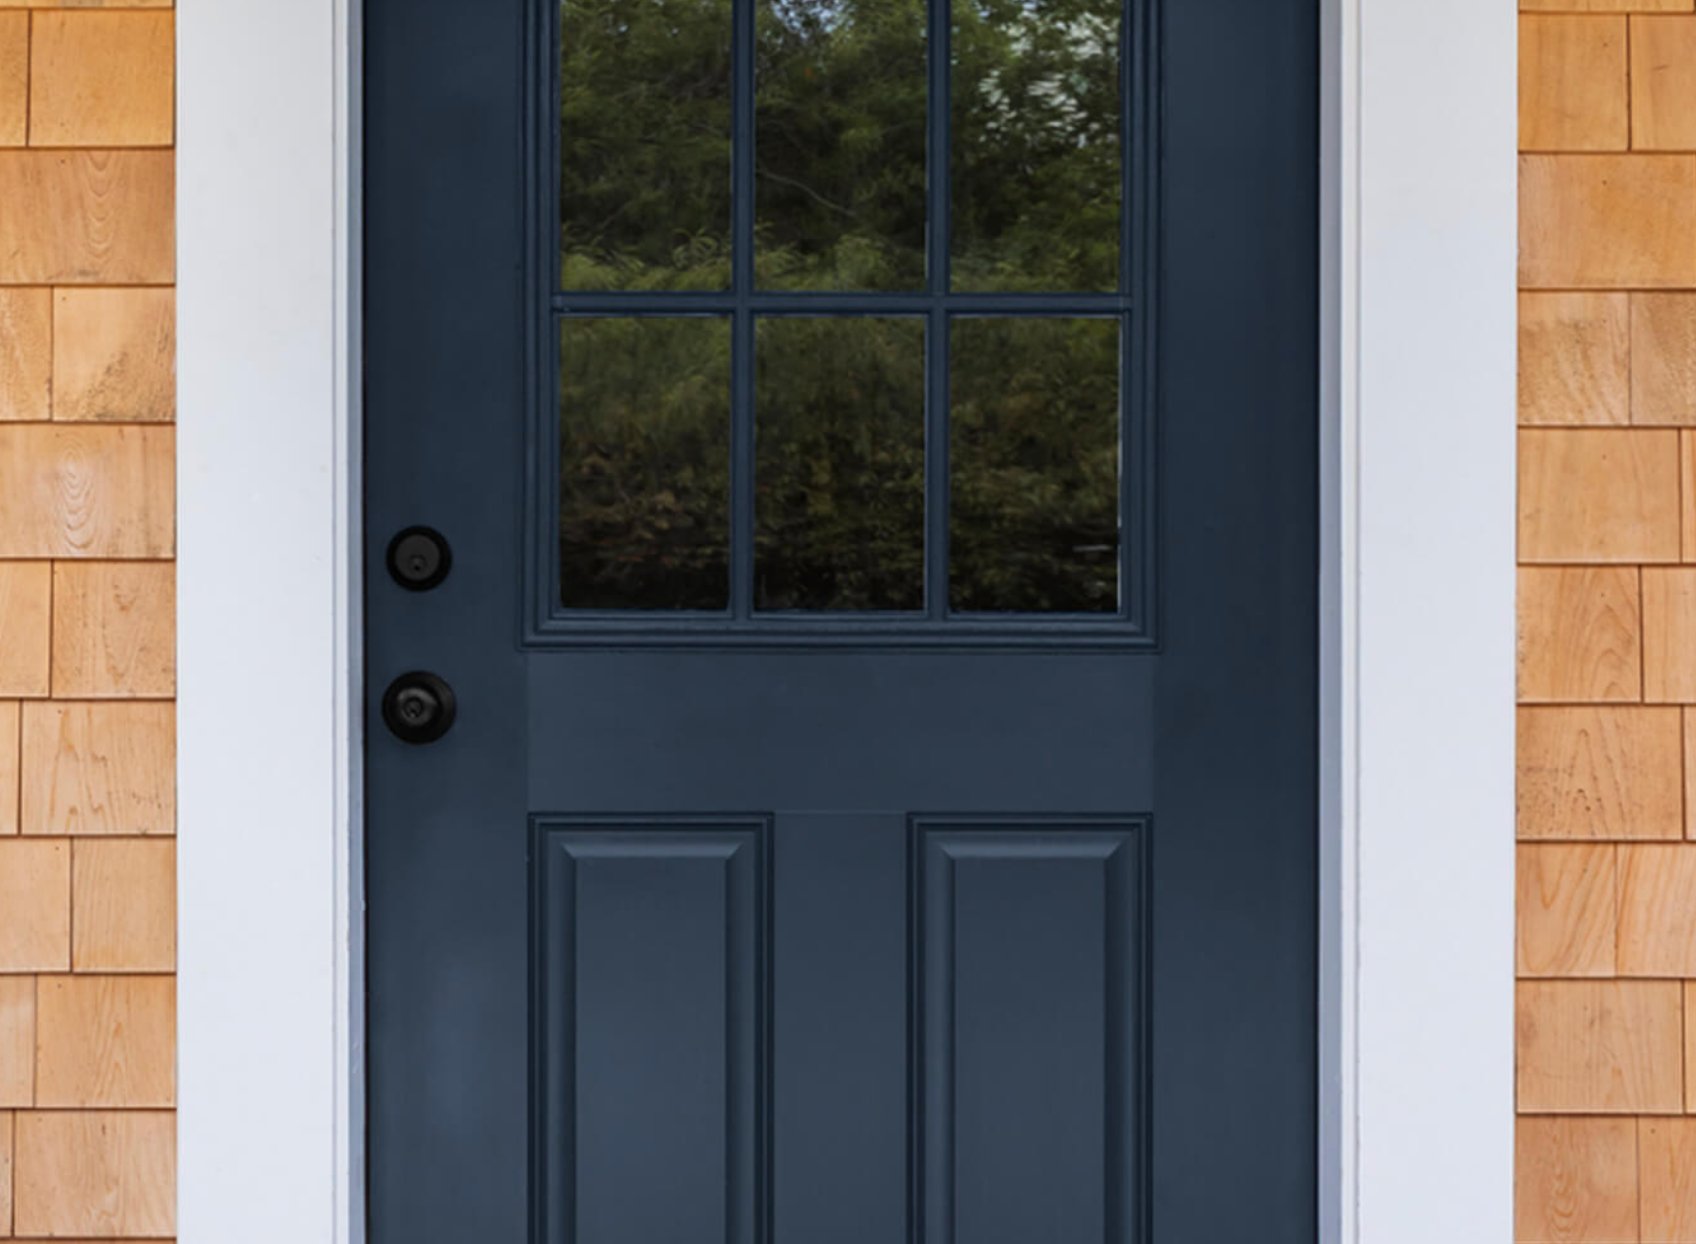
Exterior door with a semi gloss finish
source
Semi-gloss is a practical choice because dust, pollen, and hand marks wipe off more easily. It also resists moisture better than flatter finishes. On a paneled door, the slight shine makes the shadow lines look crisp without turning every brush mark into a spotlight.
I often use semi-gloss on the door trim too, especially when the siding is satin or low-luster. That small sheen shift gives the entry a cleaner edge and keeps the casing easier to wash.
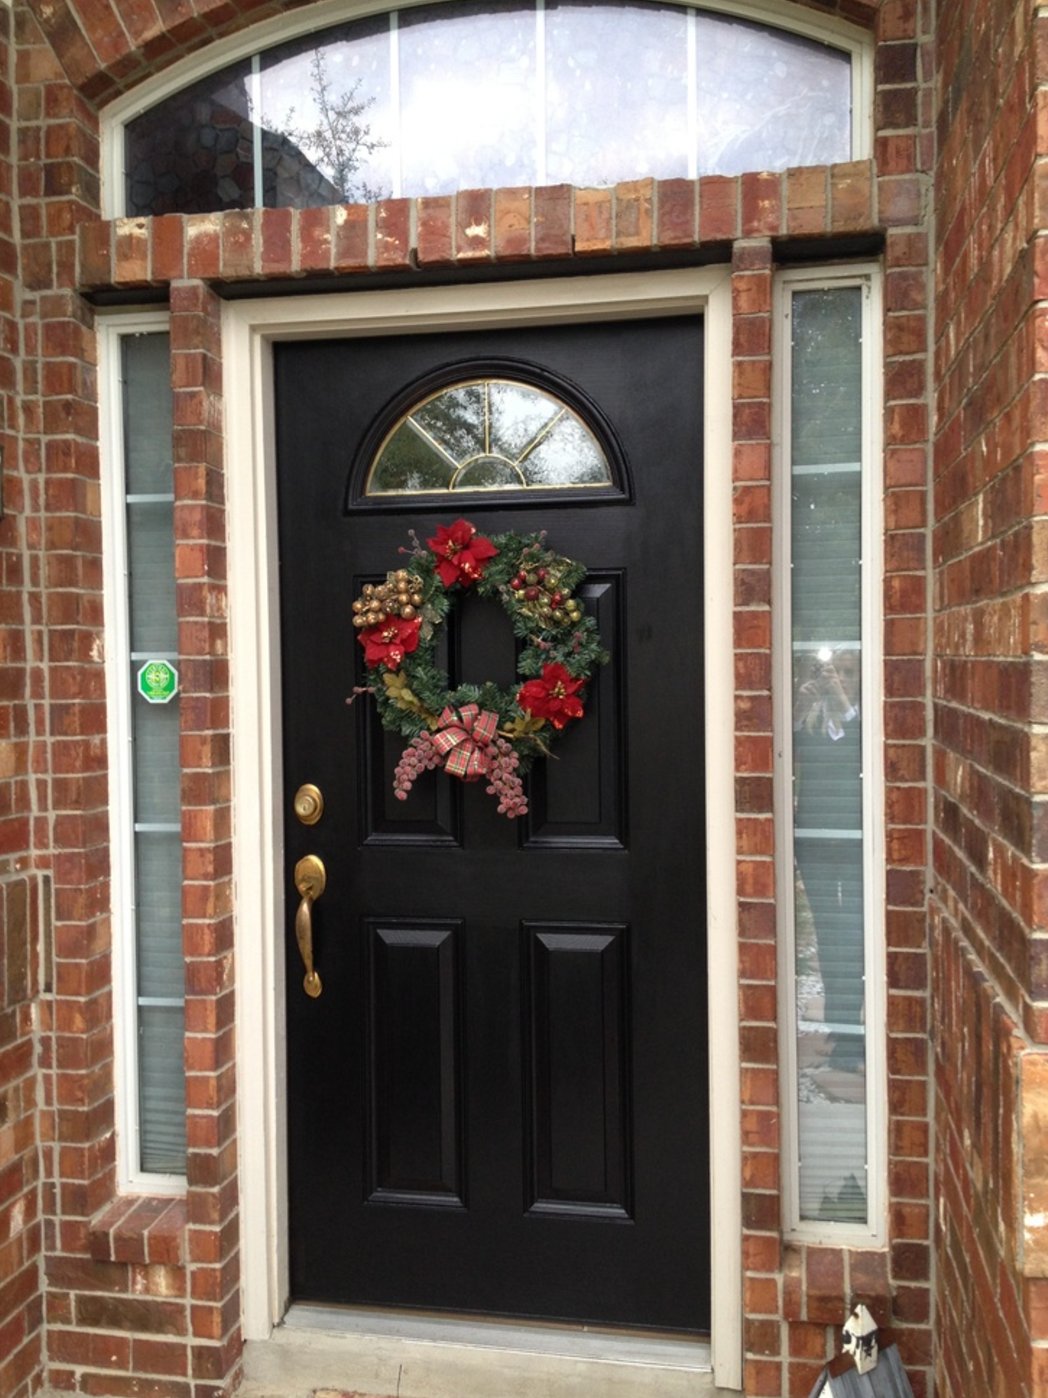
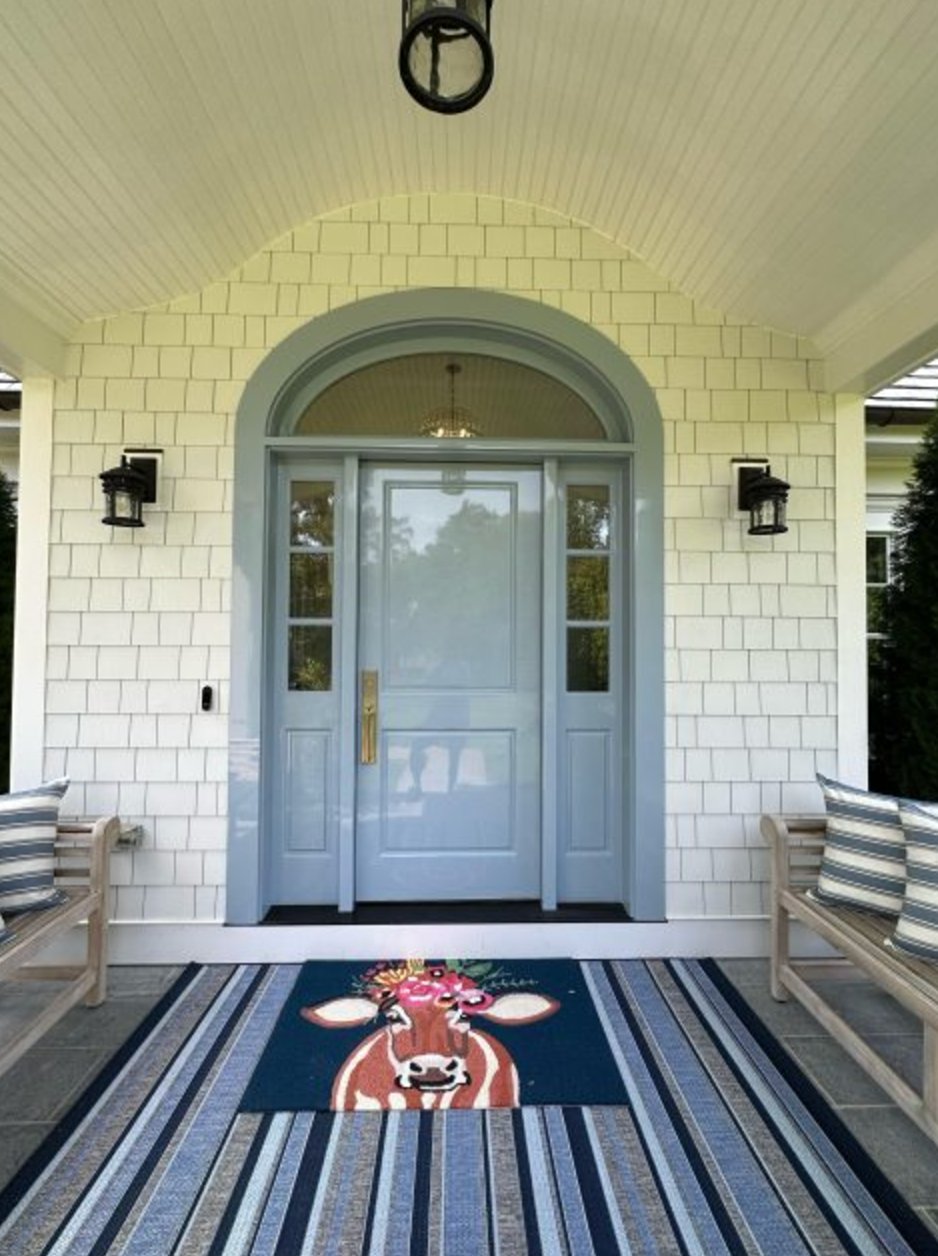
Exterior door with a satin finish
source
Satin finish is another solid option. It reads softer than semi-gloss and can make deep colors look a little richer because there is less glare. The trade-off is maintenance: satin shows grime sooner and usually does not scrub as well on a busy family entry.
Matte paint on a front door is rarely worth the upkeep. It marks quickly around the knob, scuffs at the lower rail, and can look dusty even when the color is beautiful. High-gloss has the opposite problem: it can look elegant on a flawless door, but it magnifies dents, old brush texture, and wavy prep work.
Best Exterior Door Paints and Why
Benjamin Moore Aura and Sherwin-Williams Duration are the two exterior door paints I recommend most often. Aura is my first choice when color retention matters, especially for saturated blues, greens, reds, and black doors.
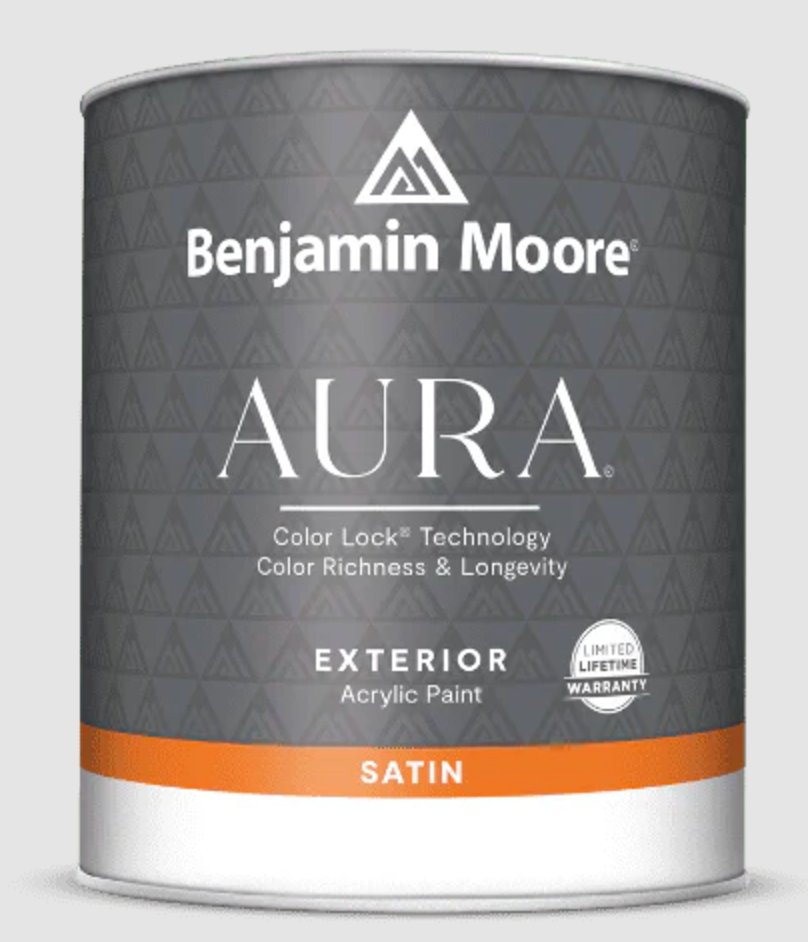
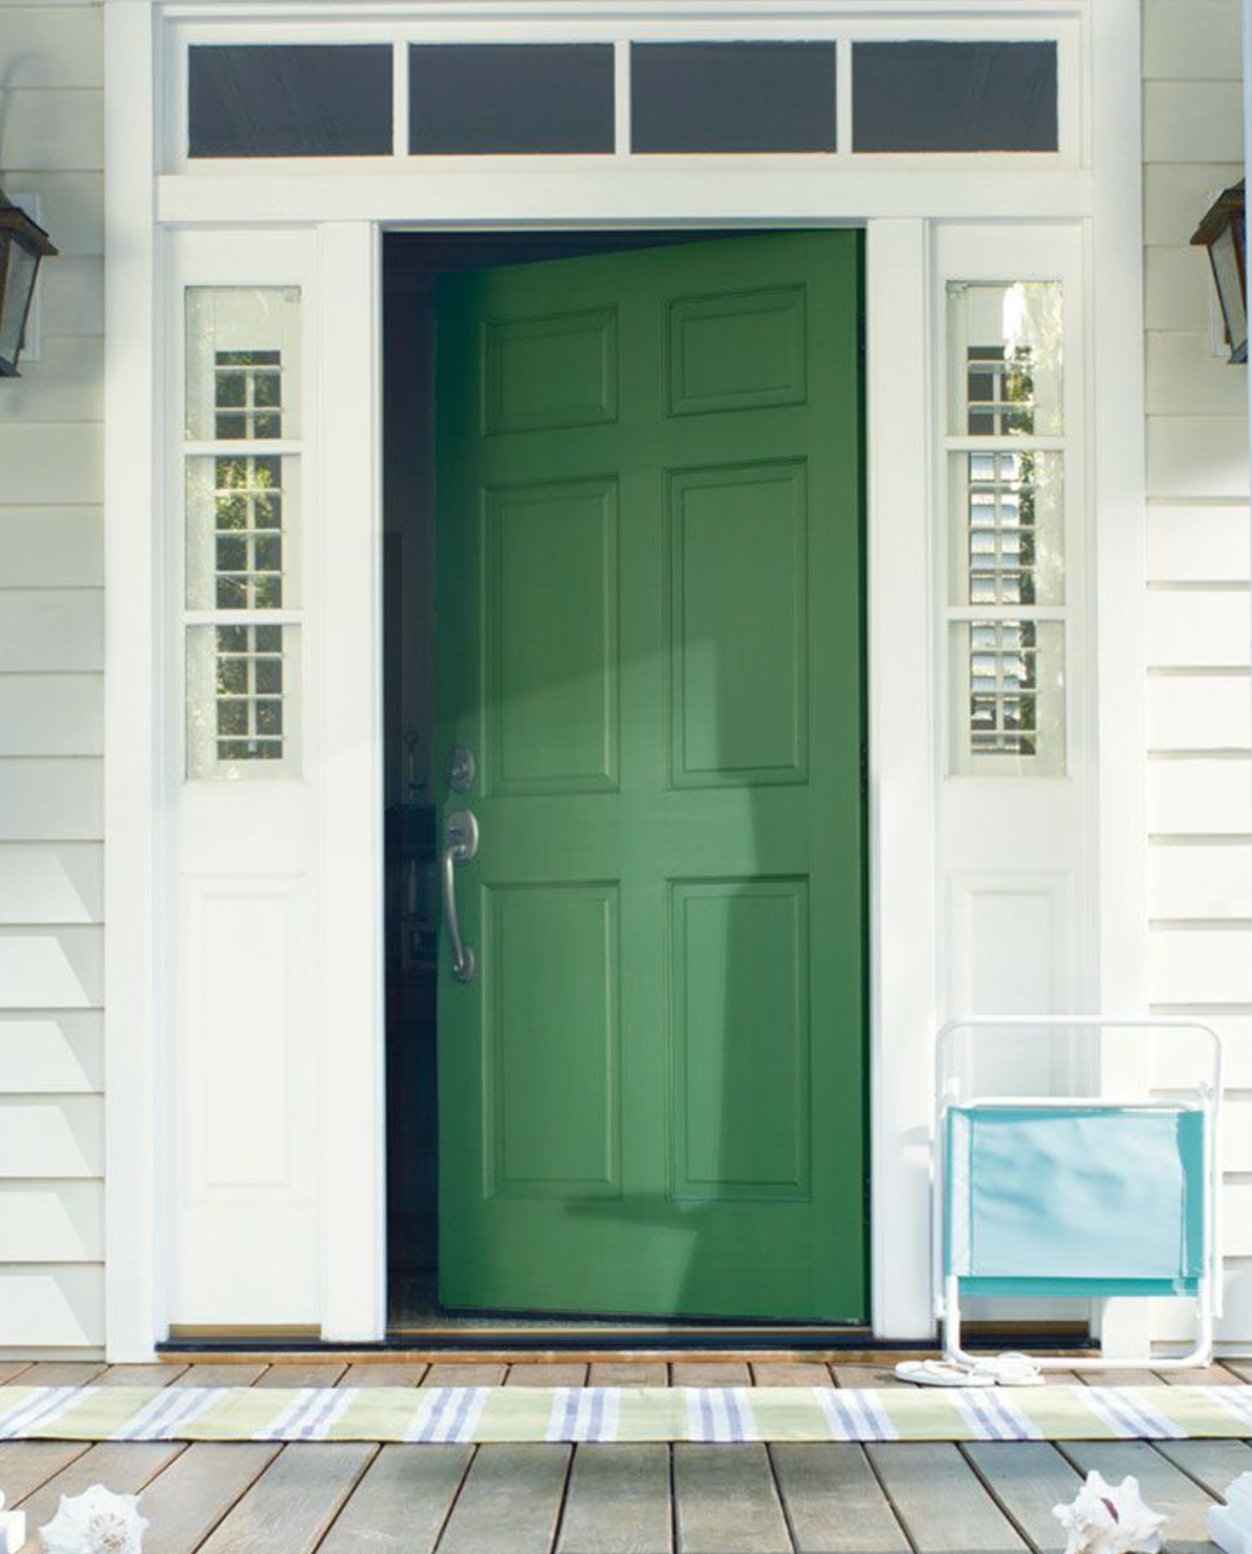
Benjamin Moore Aura earns its price on doors that face strong sun. Its Color Lock® technology helps deep and clear colors stay closer to the chip instead of dulling out after a few seasons.
It also has a controlled, substantial feel on the brush. One coat can look surprisingly rich, but I still plan on two coats for an exterior door because the second coat improves color depth and weather resistance.
Aura is breathable, which matters on wood doors that move with humidity. That helps reduce bubbling and peeling. Once it cures, it also has good block resistance, so the door is less likely to feel tacky where it meets the weatherstripping.
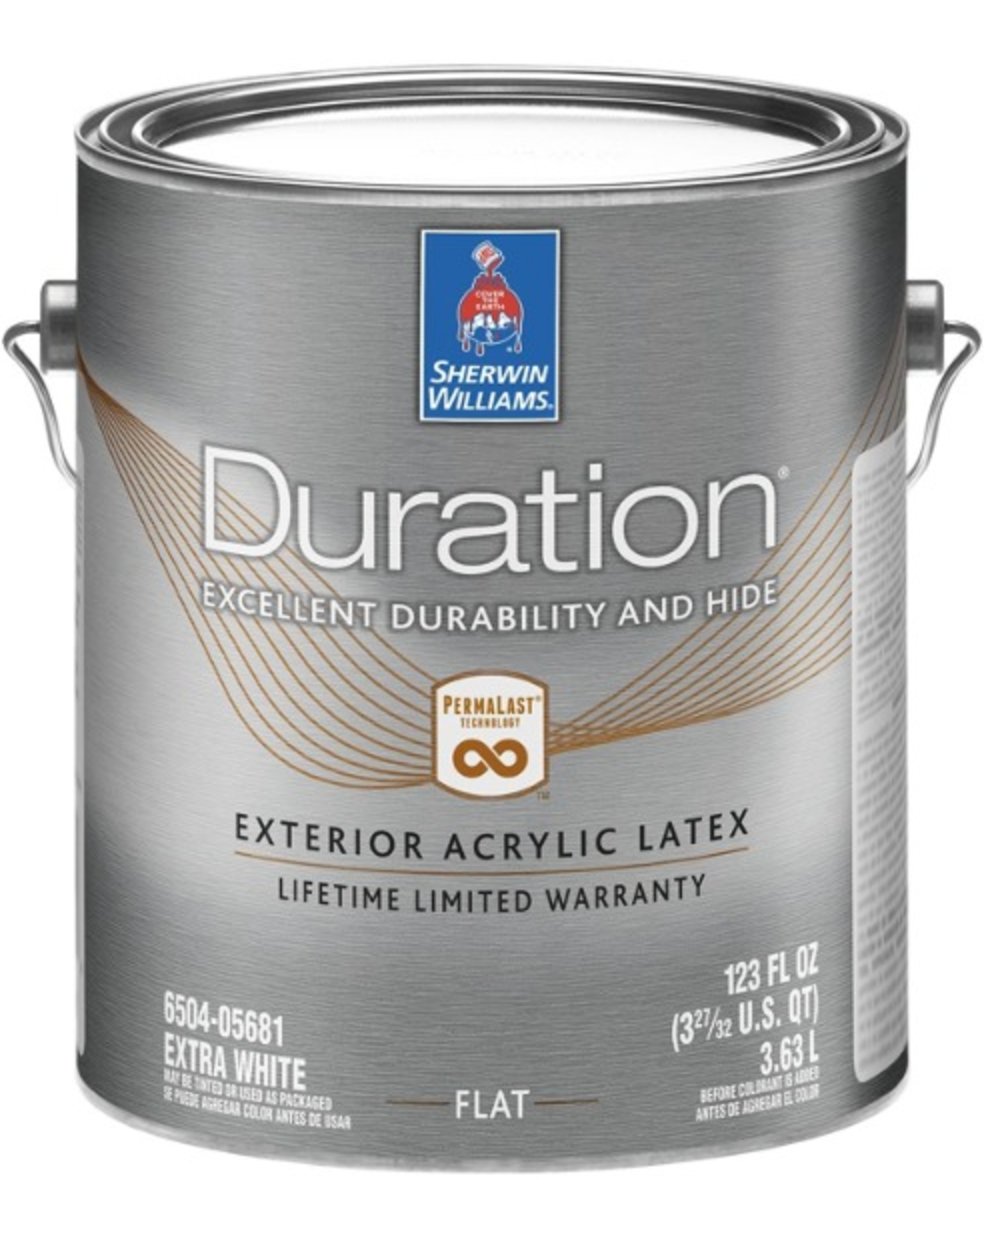
Sherwin-Williams Duration is my close second choice. It costs more than basic exterior paint, but the body of the paint makes it easier to build an even film with a brush and small roller. The one-hour dry time is helpful when the door has to be usable the same day.
Both paints are built to resist mildew and rust staining. Duration's PermaLast® technology and Aura's resin system are the reason I trust them on doors that get weather instead of sitting protected under a deep porch.
Duration can be applied in temperatures as low as 35°F (about 2°C), which is useful in spring and fall when the afternoon warms up but the evening cools fast. Both paints also come in a broad sheen range, from matte to high gloss, though I still favor satin or semi-gloss for the actual door.
How to Paint Exterior Doors
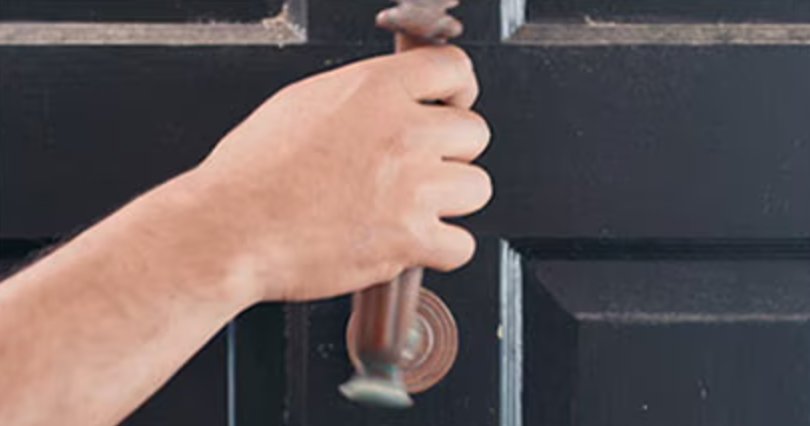
Step 1: Remove Hardware. Take off the handles, locks, kick plate, house numbers, wreath hanger, and door knocker. Taping around hardware always leaves a telltale ridge. Removing it protects the metal and gives the paint a clean stopping point.
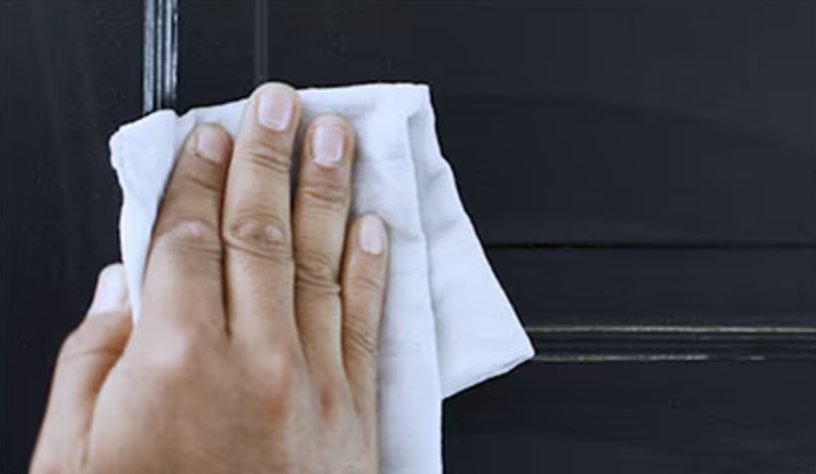
Step 2: Clean. Wash the door before you sand. Skin oils collect near the knob, dust settles in panel grooves, and old polish or cleaner can interfere with adhesion. Let the door dry completely before moving on.
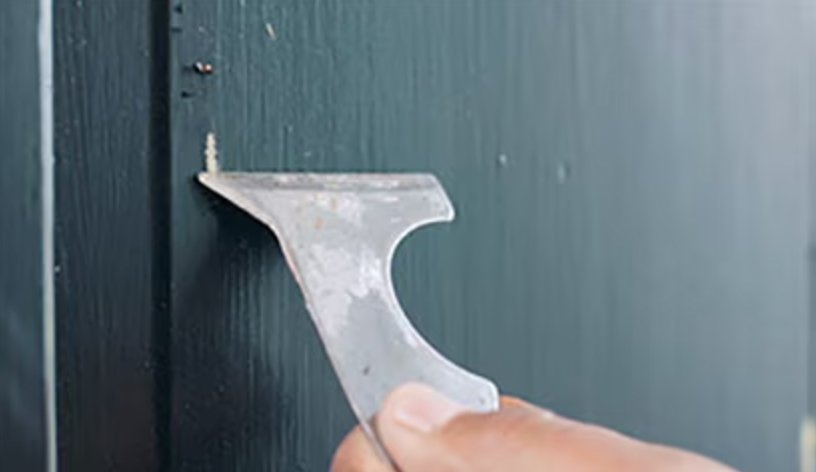
Step 3: Scrape & Check. Scrape any loose or peeling paint, especially around the frame, panel edges, and the bottom rail where moisture sits. Test the existing coating with denatured alcohol on a cotton pad. If the paint softens or transfers, it is water-based. If it stays put, you are dealing with oil-based paint.
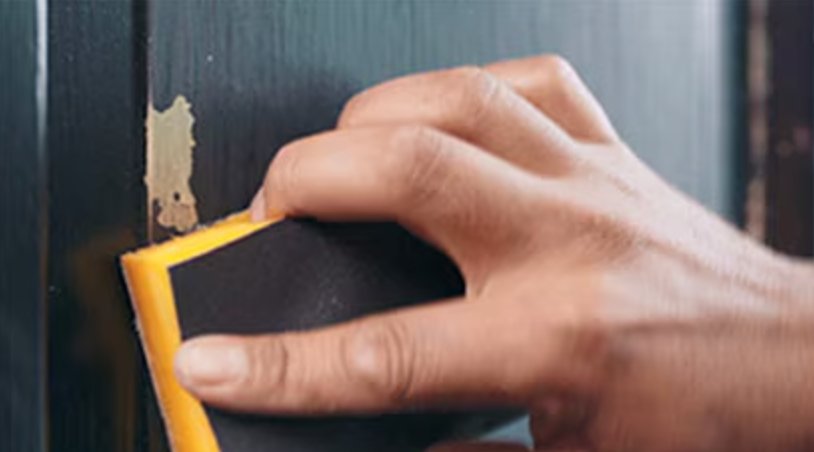
Step 4: Sand. Sand water-based paint with fine-grit paper. For oil-based paint, use medium (100-150) grit to break the gloss so the primer can grip. Feather any scraped edges until you cannot feel a ridge with your fingertip.
Step 5: Protect & Prep. Tape off glass, hinges, weatherstripping, and adjacent trim you are not painting. Put a drop cloth under the door and protect the threshold, since drips often land there first.
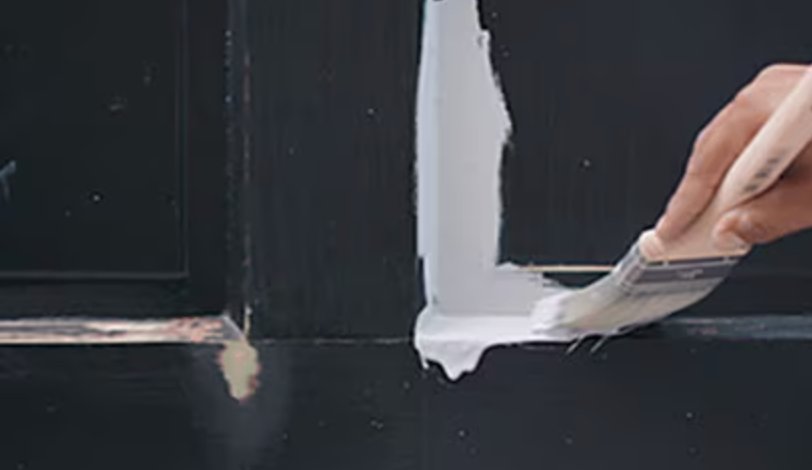
Step 6: Prime. Apply ZINSSER Bulls Eye 1-2-3 primer, especially if you are covering a strong old color or switching paint types. Watch the corners and panel bevels for drips. Give the primer at least 24 hours to dry, and longer in humid weather.
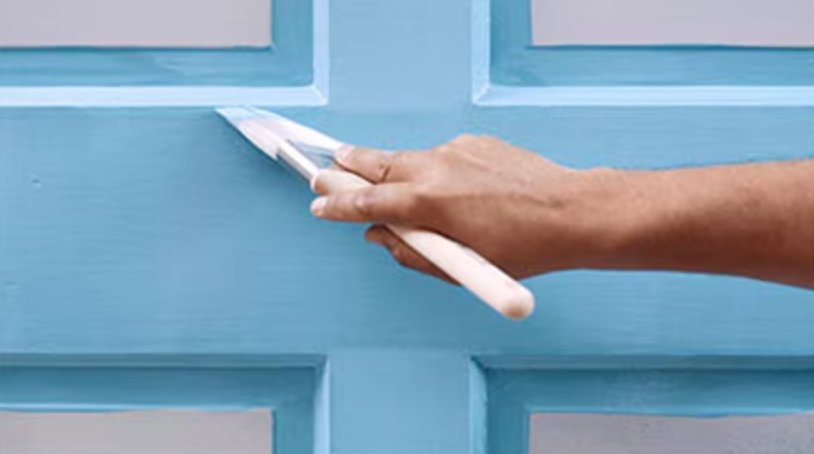
Step 7: Paint. Start with corners, bevels, and edges using a good angled brush. Roll the flat areas after that, working with the panels instead of across them. Do two coats, wait 24 hours between coats, and fix sags while the paint is still wet.
Step 8: Reassemble. Once the paint is completely dry, pull the tape and reinstall the hardware. I like to wait a couple of days before tightening everything down hard, especially in humid weather, so the finish has time to cure around the hardware edges.

I'm Elizabeth, your go-to guide for all things paint and design! My days are filled with color swatches and innovative room makeovers. When I'm not painting the town - literally - I'm soaking up inspiration from my travels. This blog is my way of sharing my passion and making the world a more vibrant place, one color palette at a time.